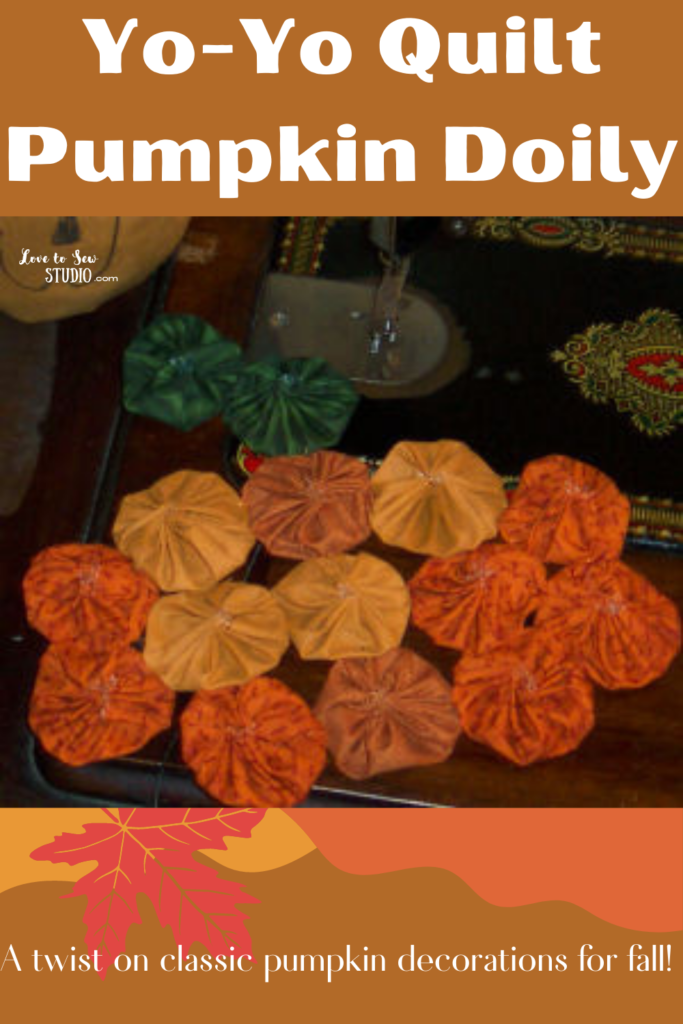
I absolutely love decorating for all the different seasons. With this pumpkin doily it is something unique that I can decorate with. Since it’s different I always get complements on it I get to feel the pride of saying that I made it. It also looks complicated but it is so simple to make make!
This post contains affiliate links. You can read my full disclosure HERE.
HAVE A BLAST MAKING THIS YO-YO QUILT PUMPKIN DOILY! HERE IS WHAT YOU WILL NEED TO MAKE IT:
- small pieces of autumn fabric (orange & green)
- hand needle
- thread
Feel free to use our free Yo-yo Quilt Pumpkin Doily Pattern!
Yo-yo Quilt Pumpkin Doily – Step 1
Start by pinning and cutting out as many yo-yo’s as you want depending on how big and what shape you want your pumpkin to be. You can make your own pattern or use our free Yo-yo Quilt Pumpkin Doily Pattern.
Yo-yo Quilt Pumpkin Doily – Step 2
Now we are going to make a yo-yo. You are going to do a running stitch around the outer edge of your circle.
Yo-yo Quilt Pumpkin Doily – Step 3
Once you are near the end (where you began at the circle) gently pull the thread tight and the outer edge of the circle will begin to pull up and meet in the center. Then use your fingers to flatten your yo-yo till you like the way it looks. After flattening knot the thread a couple of times to hold the yo-yo in place.
Yo-yo Quilt Pumpkin Doily – Step 4
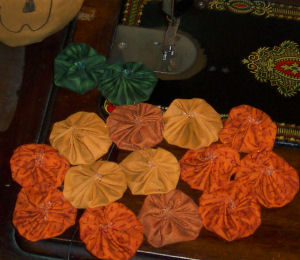
Then once all your yo-yo’s are sewn, place them on a flat surface the way you want them to be sewn together for your pumpkin.
Yo-yo Quilt Pumpkin Doily – Step 5
Finally, on the flat side of the yo-yo, tack the yo-yo’s together one at a time on the outer edges as shown in the photo until all yo-yo’s are sewn together.
Your Yo-yo Quilt Pumpkin Doily is now finished and ready to decorate your home!

PIN IT FOR LATER





Leave a Reply