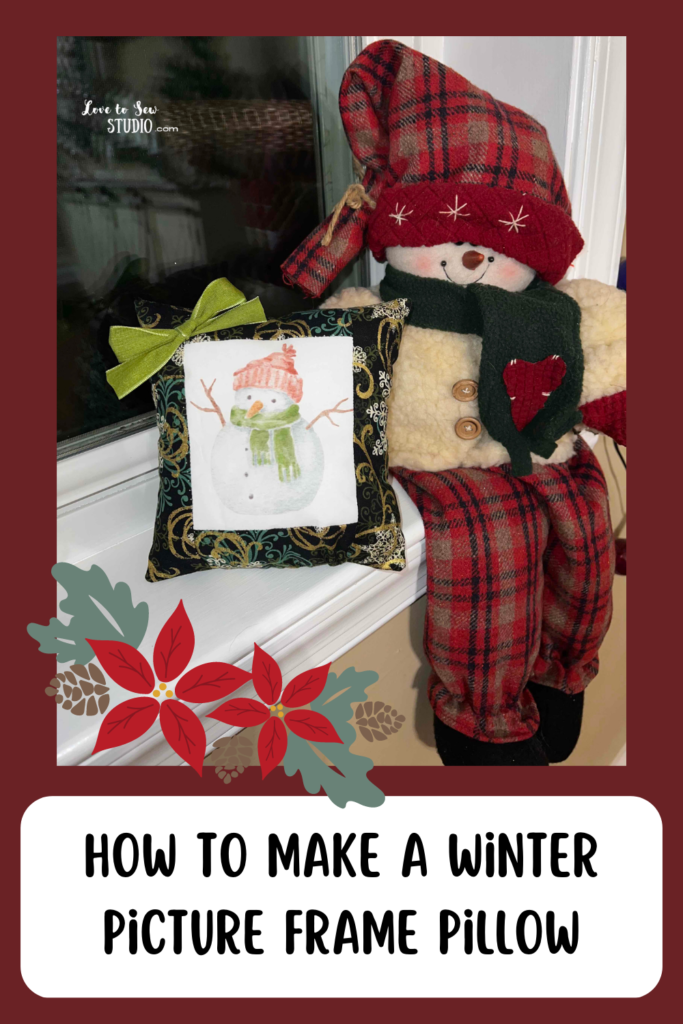
This wintery scene pillow displays the beautiful image in a fun and decorative way. You can put this pillow anywhere in your winter decorating. Not only does it look great for Christmas but you can keep it out all winter long.
This post contains affiliate links. You can read my full disclosure HERE.
I LOVED MAKING THIS WINTER SCENE PILLOW AND YOU WILL TOO! HERE IS WHAT I USED TO MAKE IT:
- fabric printed winter image
- winter, holiday fabric
- ribbon
- stuffing
- basic sewing supplies
Winter Scene Pillow – Step 1
Start by printing out your winter scene by following the manufacturing directions.
Winter Scene Pillow – Step 2
Next you are going to cut two inch strips that fit the images edges.
Winter Scene Pillow – Step 3
Pin and sew two strips to the top and bottom edge of the image at the pressure foot edge.
Winter Scene Pillow – Step 4
Next match the strips to the sides of the image and pin. Sew the edge at the pressure foot. This will be the front of your pillow press the seams down.
Winter Scene Pillow – Step 5
Then you are going to use the front of your pillow to cut out a back.
Winter Scene Pillow – Step 6
Now you want to pin and sew the front to the back pretty sides together at the pressure foot edge. Leave a two inch opening at the bottom of the pillow.
Winter Scene Pillow – Step 7
Trim and turn your pillow pretty sides out and stuff it.
Winter Scene Pillow – Step 8
Finally hand sew the opening closed and attach a bow to the corner.
Your adorable winter scene pillow is now finished and ready to be displayed!

PIN IT FOR LATER




Leave a Reply