
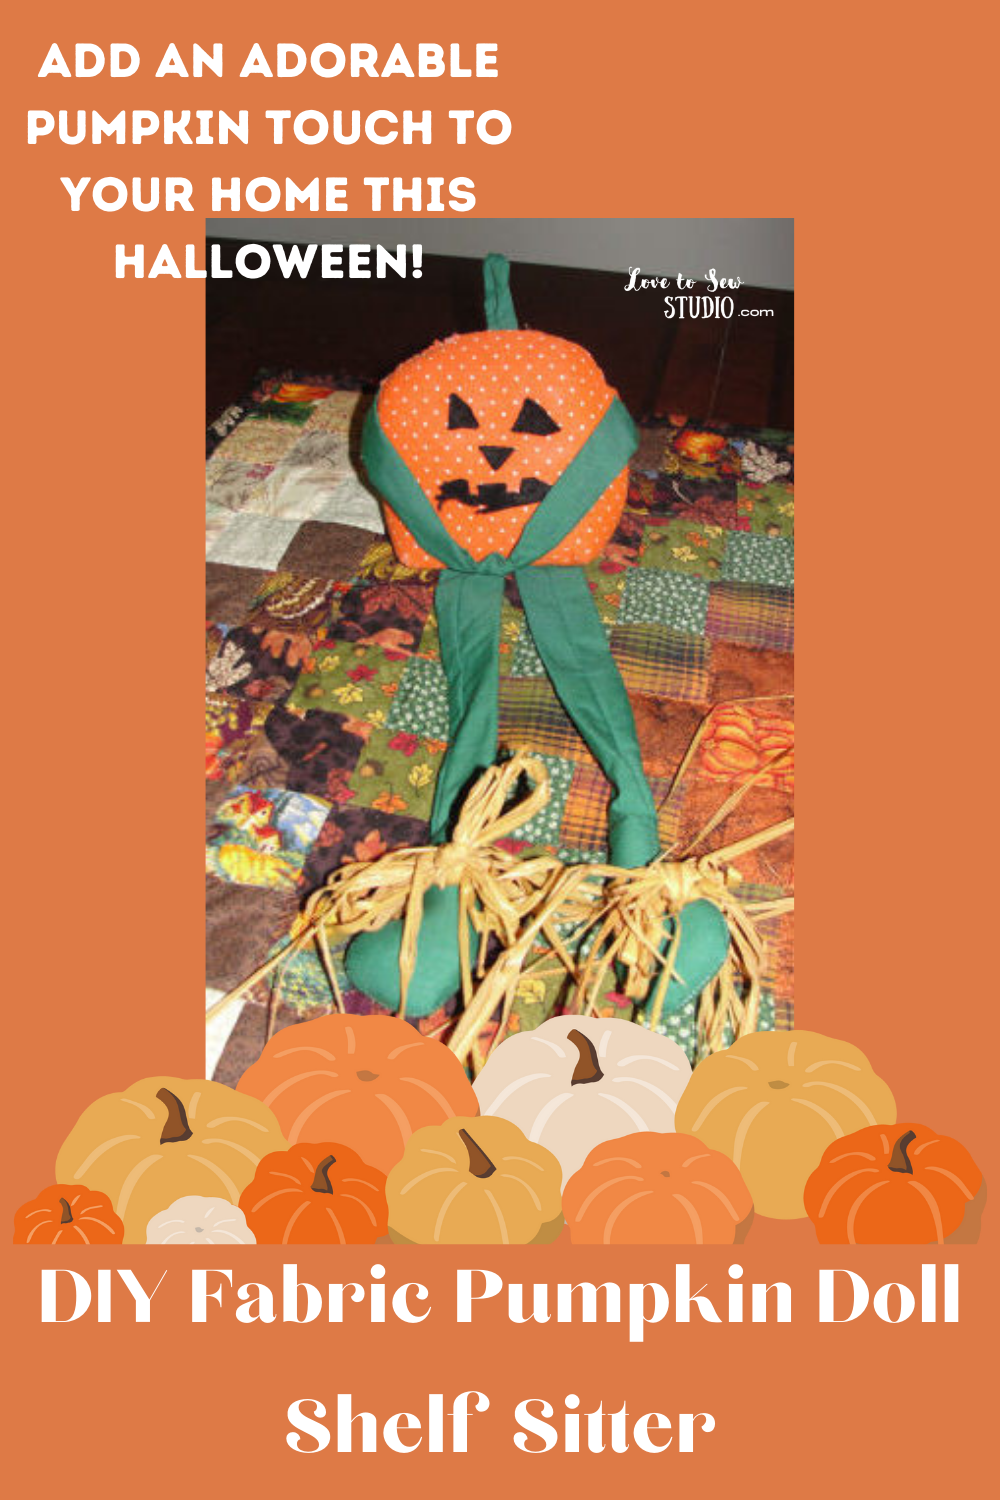
This cute fabric pumpkin doll has been around for years. We will show you how to stitch this up with no patterns. It is the perfect decoration for you house this Halloween season!

This post contains affiliate links. You can read my full disclosure HERE.
WE LOVED MAKING THIS ADORABLE PUMPKIN DOLL! HERE IS WHAT WE USED TO MAKE IT:
- two 6″x7″ orange fabric for body
- two 2.5″x10″ green fabric for legs
- one 2.5″x15″ green fabric for arms and stem
- rice or sand
- black marker
- stuffing or fiberfill
- basic sewing needs
DIY Fabric Pumpkin Doll Shelf Sitter – Step 1
With a black permanent marker draw a pumpkin face in the center of one square on the pretty side of the fabric.

DIY Fabric Pumpkin Doll Shelf Sitter – Step 2
Pin one of the 10″ leg fabric pieces pretty sides together on the long side. Stitch 1/4″ seam down the long side and one short side, leaving the other short side open for turning. Do the same to the other leg piece.
Do the same to the 15″ piece for arms and stem.

DIY Fabric Pumpkin Doll Shelf Sitter – Step 3
Turn the legs pretty side out and stuff 3″ from bottom leaving the rest of the legs unstuffed.
Turn the arms/stem piece pretty side out. Cut off 4″ from the sewn short end of the arm piece to use for the stem. Set aside.
The remainder piece is the arms. Tie a knot in the center of the arm piece.

DIY Fabric Pumpkin Doll Shelf Sitter – Step 4
Pin the arms and legs in place, facing in as shown in the photo, on the pretty side of the faced fabric. Stitch near the edge to hold in place.

DIY Fabric Pumpkin Doll Shelf Sitter – Step 5
Keeping the legs and arms in place, pin the orange pieces pretty sides together. (My legs sticking out are shown where the opening is going to be on top.)
Pin around the edge leaving a 4″ opening in the top. (Check where your pumpkin face is to determine the top.)
Stitch around making sure not to catch the arms or legs and leaving a 4″ opening at the top.

DIY Fabric Pumpkin Doll Shelf Sitter – Step 6
Box corners. To do so, pull corner so that the seam allowance is facing up. Draw a line 1″ in from corner. Stitch.

DIY Fabric Pumpkin Doll Shelf Sitter – Step 7
Here is a close up of how to “box” or “corner” a project. This is done to help your project “sit up” on its own by forming a bottom.
This technique can also be found on purses, bags, and stuffed animals.

DIY Fabric Pumpkin Doll Shelf Sitter – Step 8
Do this to all four corners.
Turn your pumpkin doll pretty side out.

DIY Fabric Pumpkin Doll Shelf Sitter – Step 9
Put 1-2 cups of rice or sand in the pumpkin doll. Stuff the rest with fiberfill or stuffing.

DIY Fabric Pumpkin Doll Shelf Sitter – Step 10
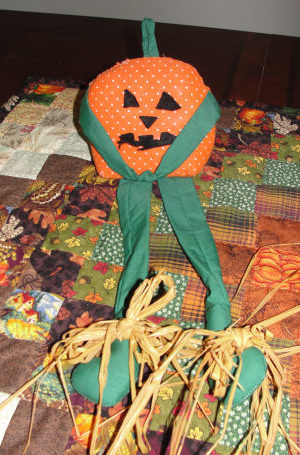
Place the stem in the top and hand stitch in place while stitching the opening closed. Your adorable pumpkin doll is done!

DIY Fabric Pumpkin Doll Shelf Sitter – Step 11
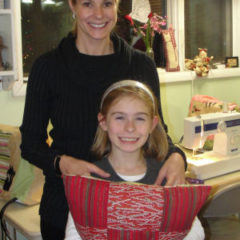
Here is seven year old Morgan sewing the top of her pumpkin doll closed.

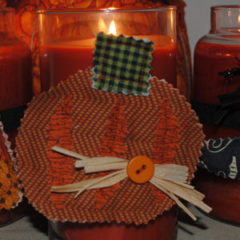
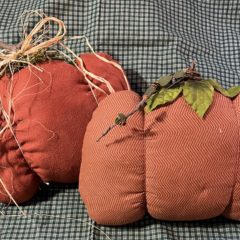
DIY Fabric Pumpkin Doll Shelf Sitter – Step 12 (optional)
Here is another version of the same pumpkin doll. This one has raffia on the bottom of its legs.


Leave a Reply