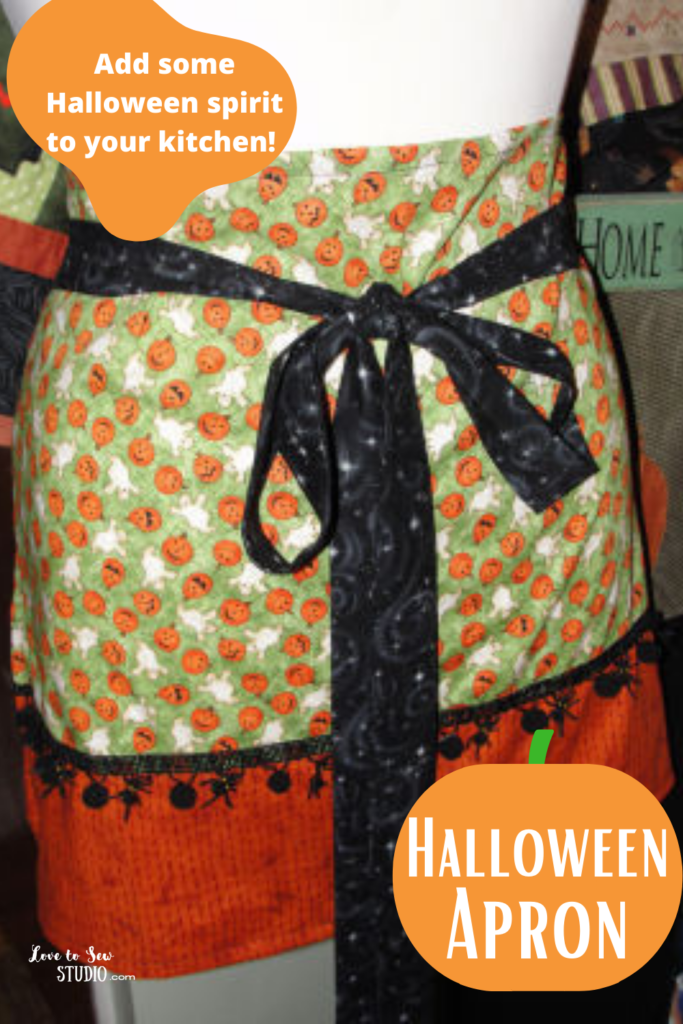
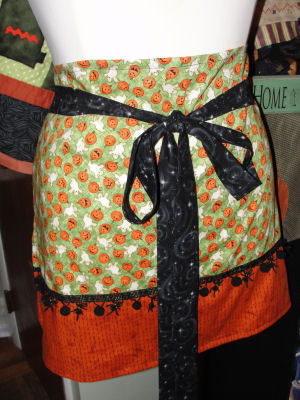
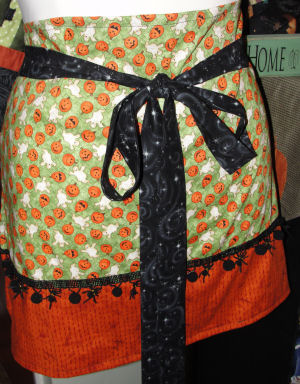
Autumn time means more time in the kitchen baking. You will need a cute Halloween apron for that. This apron is so easy to sew you can stitch it up in one hour.
This post contains affiliate links. You can read my full disclosure HERE.
IT’S SO MUCH FUN MAKING HALLOWEEN TREATS IN MY HALLOWEEN APRON. HERE’S WHAT I USED TO MAKE IT:
- Apron base 15″x30″
- Apron bottom 7″x30″
- Ties (2) 4″x50″
- 30″ of Halloween decorative trim

LET’S BEGIN THIS SPOOKY APRON!
HALLOWEEN APRON – STEP 1
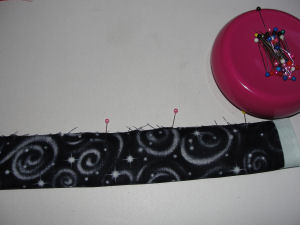
Make the apron ties:
Pin the long sides of one tie pretty sides together. Stitch down one long side and one short side using a 1/4″ seam allowance.
HALLOWEEN APRON – STEP 2

Turn the tie pretty side out. Poke out corners. Press flat. Turn up the end that is sewn on an angle as shown in the photo. Stitch in place.
Do the same to the other tie.
HALLOWEEN APRON – STEP 3
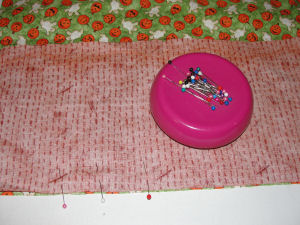
Pin pretty sides together apron base to apron bottom on a 30″ side. Stitch using a 1/4″ seam allowance.
HALLOWEEN APRON – STEP 4
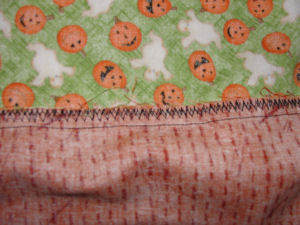
(Optional) Zigzag seam finish the seam. Make sure there is no fabric under the seam when zigzagging.
HALLOWEEN APRON – STEP 5
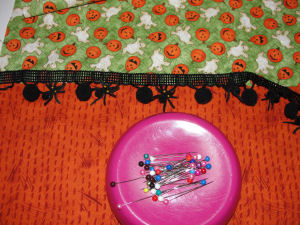
Pin decorative ribbon over seam line on pretty side of fabric. Stitch in place.
HALLOWEEN APRON – STEP 6
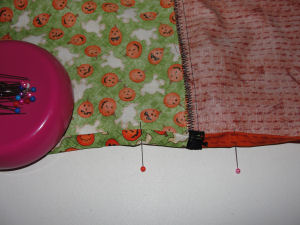
Hem the apron:
Fold outer edges of apron 1/2″, fold again 1/2″. Pin in place. Stitch.
HALLOWEEN APRON – STEP 7
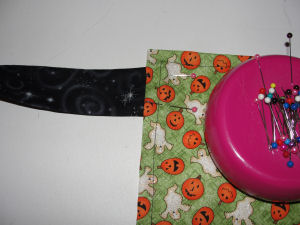
Fold under raw edge of tie end. Pin on wrong side of fabric at the top sides.
Stitch in place.
HALLOWEEN APRON – STEP 8
Your apron ties cross in the back and then come around the front to make a bow.
You are ready to start baking some Halloween cookies!
Wonderful! You’ve now made an awesome apron!







Leave a Reply