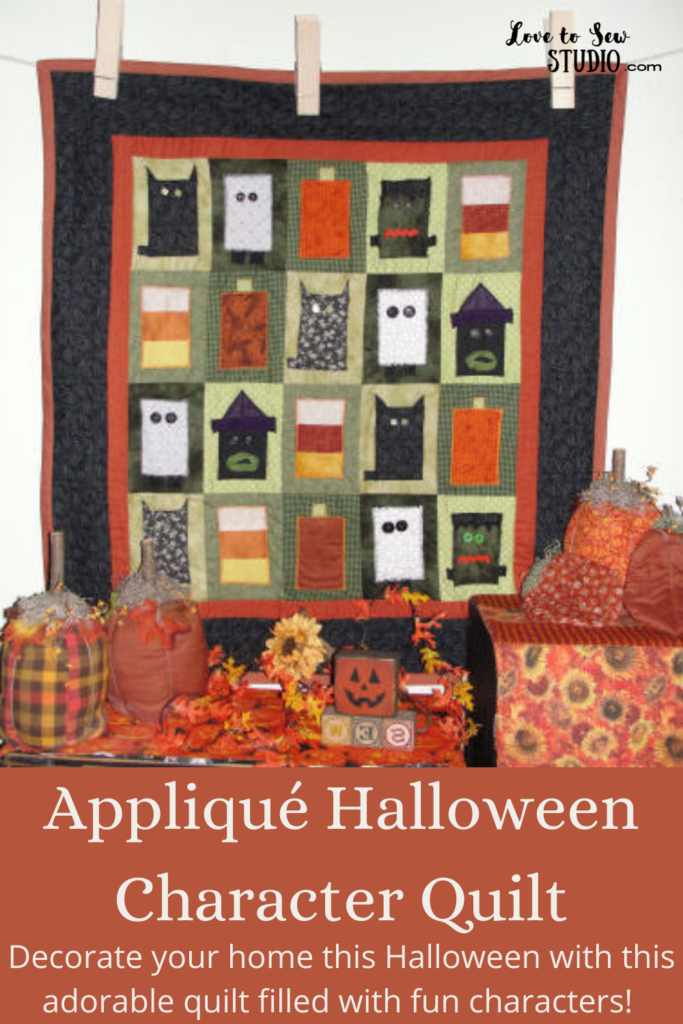
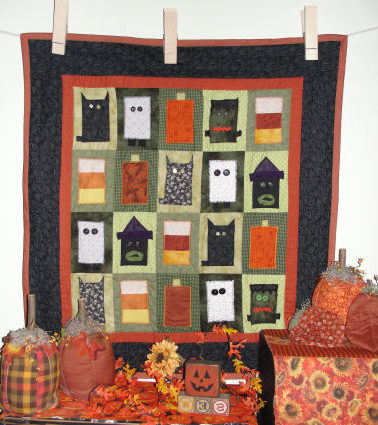
I saw a Halloween quilt similar to this in the corner of a magazine. It was too complicated for me to figure out the exact blocking to make each character, so I decided to make my own Halloween characters and just zigzag appliqué them on. So, this is my version of a Halloween character quilt! ENJOY.
This post contains affiliate links. You can read my full disclosure HERE.
THIS QUILT IS PERFECT FOR HALLOWEEN! HERE IS WHAT YOU WILL NEED TO MAKE IT:
- Five different color green fabric (about 1/3 yard ea.)
- Scraps of black, orange, yellow, and white fabrics
- Cotton batting
- Fabric for back of quilt
- Quilters double fold extra wide bias tape for the quilt binding
Appliqué Halloween Character Quilt – STEP 1
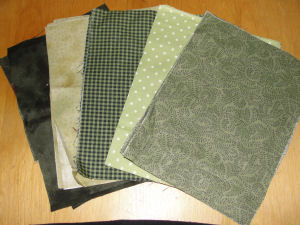
For this project you will need: four squares of five different color green fabric each.
Appliqué Halloween Character Quilt – STEP 2
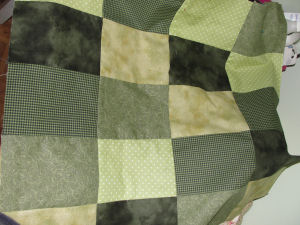
Begin by sewing two green pieces pretty sides together. Continue until a row of five squares are sewn together.
Once the rows are sewn, begin sewing the rows together matching seams until all 4 rows are sewn together to form a quilt top as shown in the photo.
Appliqué Halloween Character Quilt – STEP 3
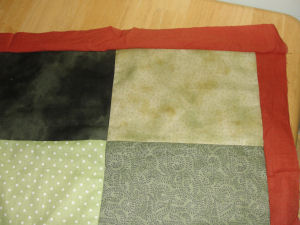
Cut the orange fabric into 2″ strips.
Pin one long side pretty sides together.
Once both long sides are done, add the strips to the short sides.
Appliqué Halloween Character Quilt – STEP 4
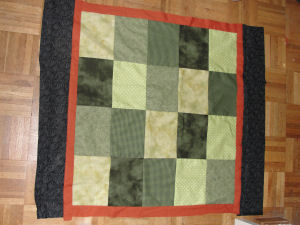
Add the 4″ black strips in the same manner.
Appliqué Halloween Character Quilt – STEP 5
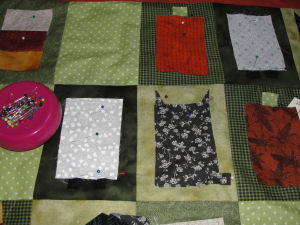
Cut and place your Halloween ghosts, cats, pumpkins, candy corns, witches, and Frankenstein.
Zigzag stitch around the edge of the Halloween characters.
Appliqué Halloween Character Quilt – STEP 6
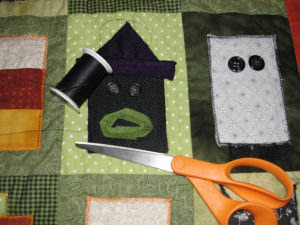
Sew seam binding and/or rick-rack for mouths. Hand sew buttons on for eyes.
Appliqué Halloween Character Quilt – STEP 7
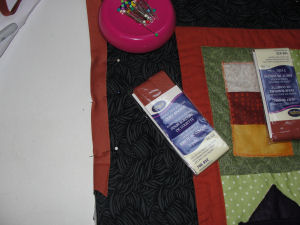
To finish up the quilt we will be using extra wide quilt batting.
Sandwich the edge of the quilt in between the binding and stitch along the edge of the quilt binding.
Appliqué Halloween Character Quilt – STEP 8
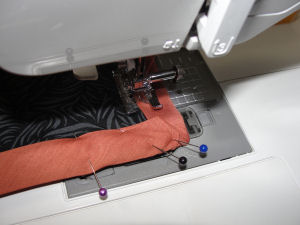
Fold the corners as shown in the photo.
Appliqué Halloween Character Quilt – STEP 9
To “quilt” the Halloween quilt, straight stitch around every Halloween character, green square, and border using the “stitch in the ditch” method.
Congratulations! You’ve now made a wonder Halloween character quilt!

PIN IT FOR LATER


Leave a Reply