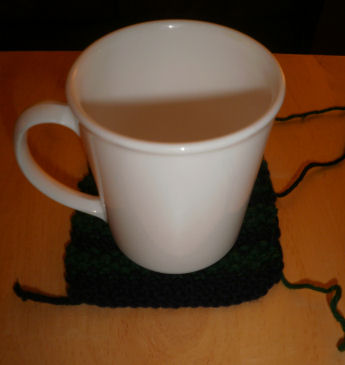
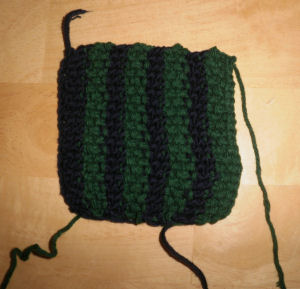
These coasters are some of my favorite housewarming gifts. This project is a great way to get used to changing colors. Here you’ll find directions for striped coasters, but remember you can make them in any style you’d like. Let’s say you’re making 6 coasters. You can make all 6 one solid color, 6 different solid colors, 3 one color and 3 another, or any combination of stripes. This project is done in seed stitch because it will lay flat and be a good support for those cups of tea, glasses of water, or whatever you’re thirsty for.
This post contains affiliate links. You can read my full disclosure HERE.
MAKE YOUR OWN CUSTOMIZABLE KNITTED COASTERS FOR YOUR HOME! HERE IS WHAT WE USED TO MAKE OURS:
- 1 pair of size 7 knitting needles
- 1 skein of cotton yarn, color A
- 1 skein of cotton yarn, color B
Knitted Coasters – Step 1
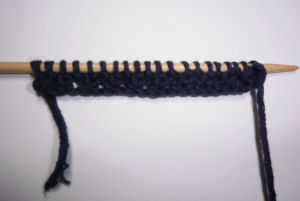
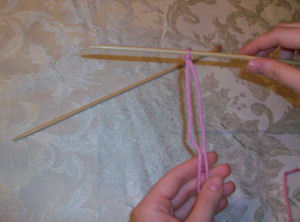
First cast on 12 stitches.
Row 1: *K1, P1* Continue in pattern till end of row
Row 2: *P1, K1* Continue in pattern till end of row
Repeat rows 1 and 2, for a total of 4 rows
Knitted Coasters – Step 2
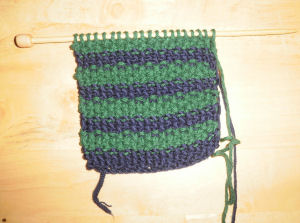
Change color, repeat rows 1-4
*A note on changing colors: If you are using more than one color, make stripes at least 2 row each. When changing colors, simply feed the yarn from the new color into first stitch of new row. Be sure to keep yarn pulled firmly, especially yarn from the color you’ve just finished using. This easier than you might imagine, but keeping the stitches pulled firmly but not too tightly is the secret.
Knitted Coasters – Step 3
Work till the coaster is an even square, about 3″. If the yarn you’re using is slightly thicker, your coasters will be slightly larger. Most important is getting that even square shape. Remember these can vary in size, depending on how heavy your yarn is. Bind off. Trim ends.
Enjoy your coffee, tea, or cup of hot chocolate with your new coaster.
An Idea… Make a set of four coasters and place them together with pretty ribbon tied in a bow to give as a house warming gift. Everyone loves handmade gifts because they are made from the heart.
PIN IT FOR LATER





Leave a Reply