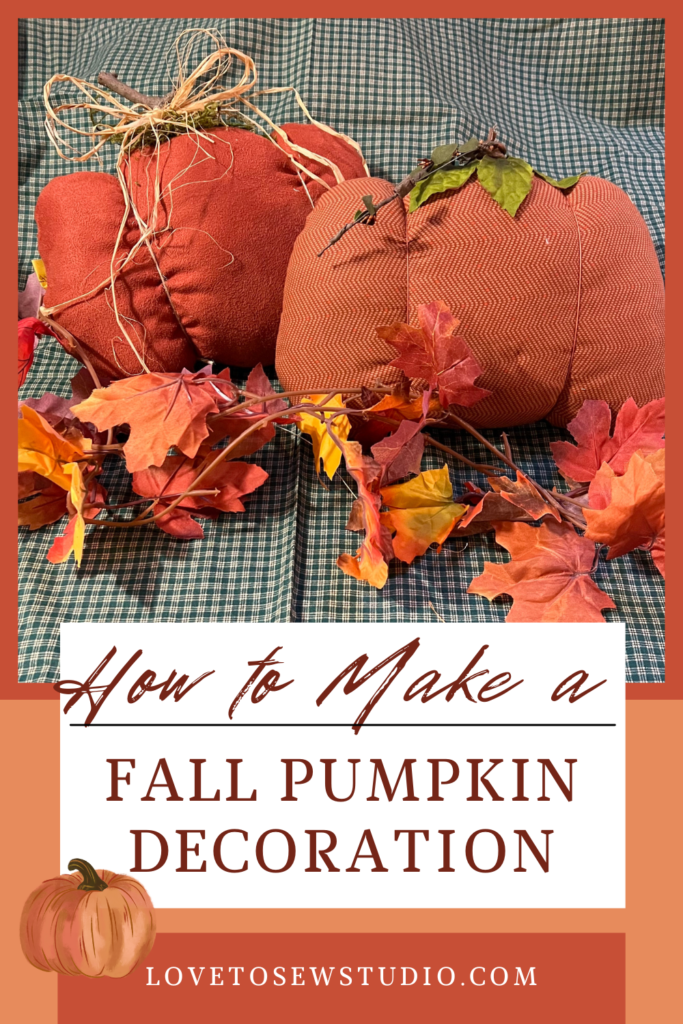
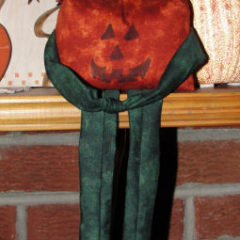
Get your home ready for fall with this primitive pumpkin! It will look great anywhere in your home this autumn season!
This post contains affiliate links. You can read my full disclosure HERE.
WHAT BETTER WAY TO DECORATE THIS FALL SEASON THEN WITH THIS PRIMITIVE PUMPKIN! HERE IS WHAT WE USED TO MAKE IT:
- orange fabric
- yarn or twine
- raffia, fake moss, and fake leaves
- stick
- stuffing
- hot glue gun
- basic sewing supplies
Feel free to use our free Pumpkin Pattern!
Primitive Pumpkin – Step 1
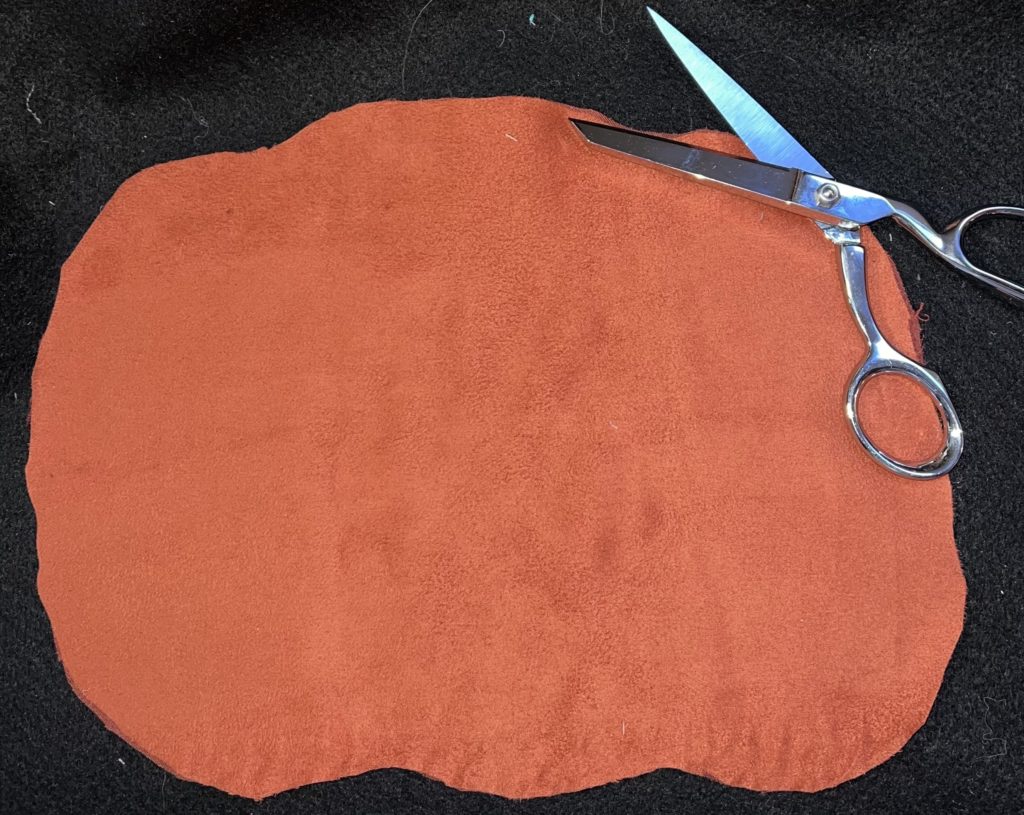
Start by cutting out two pumpkin pieces from orange fabric. Feel free to use our free Pumpkin Pattern!
Primitive Pumpkin – Step 2
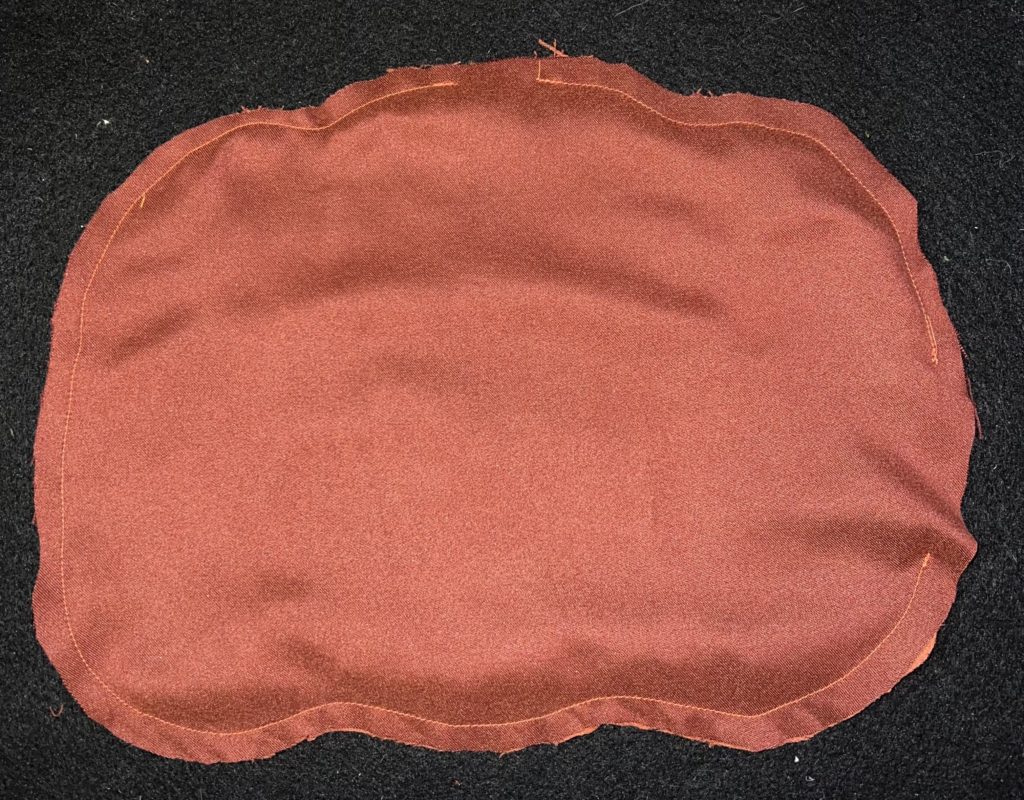
Next you are going to pin and sew around your pumpkin pressure foot edge. Make sure your put your pumpkin pieces pretty sides together. You want to leave a tiny opening for a stick at the top of your pumpkin and a slightly bigger opening on the side for turning.
Primitive Pumpkin – Step 3
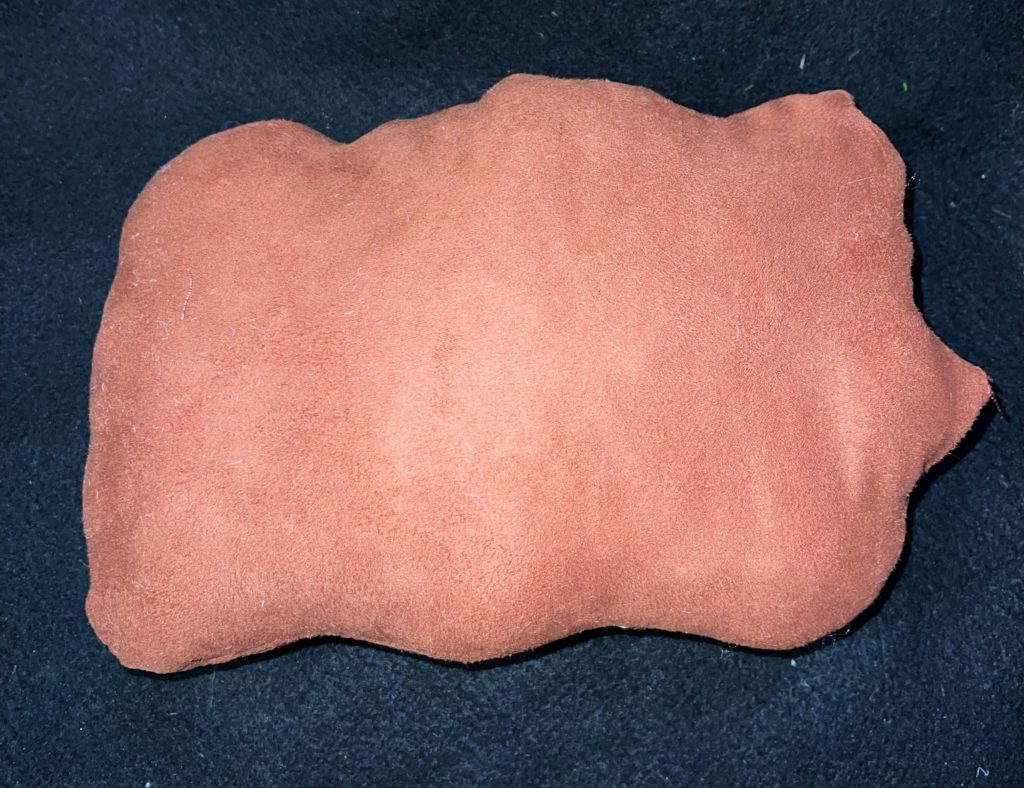
Now you are going to turn your pumpkin pretty sides out and stuff it through the bigger opening you left. Hand sew the bigger opening closed.
Primitive Pumpkin – Step 4
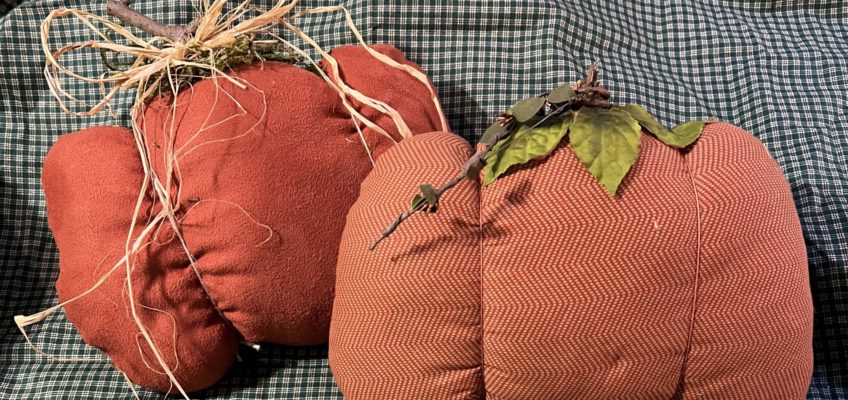
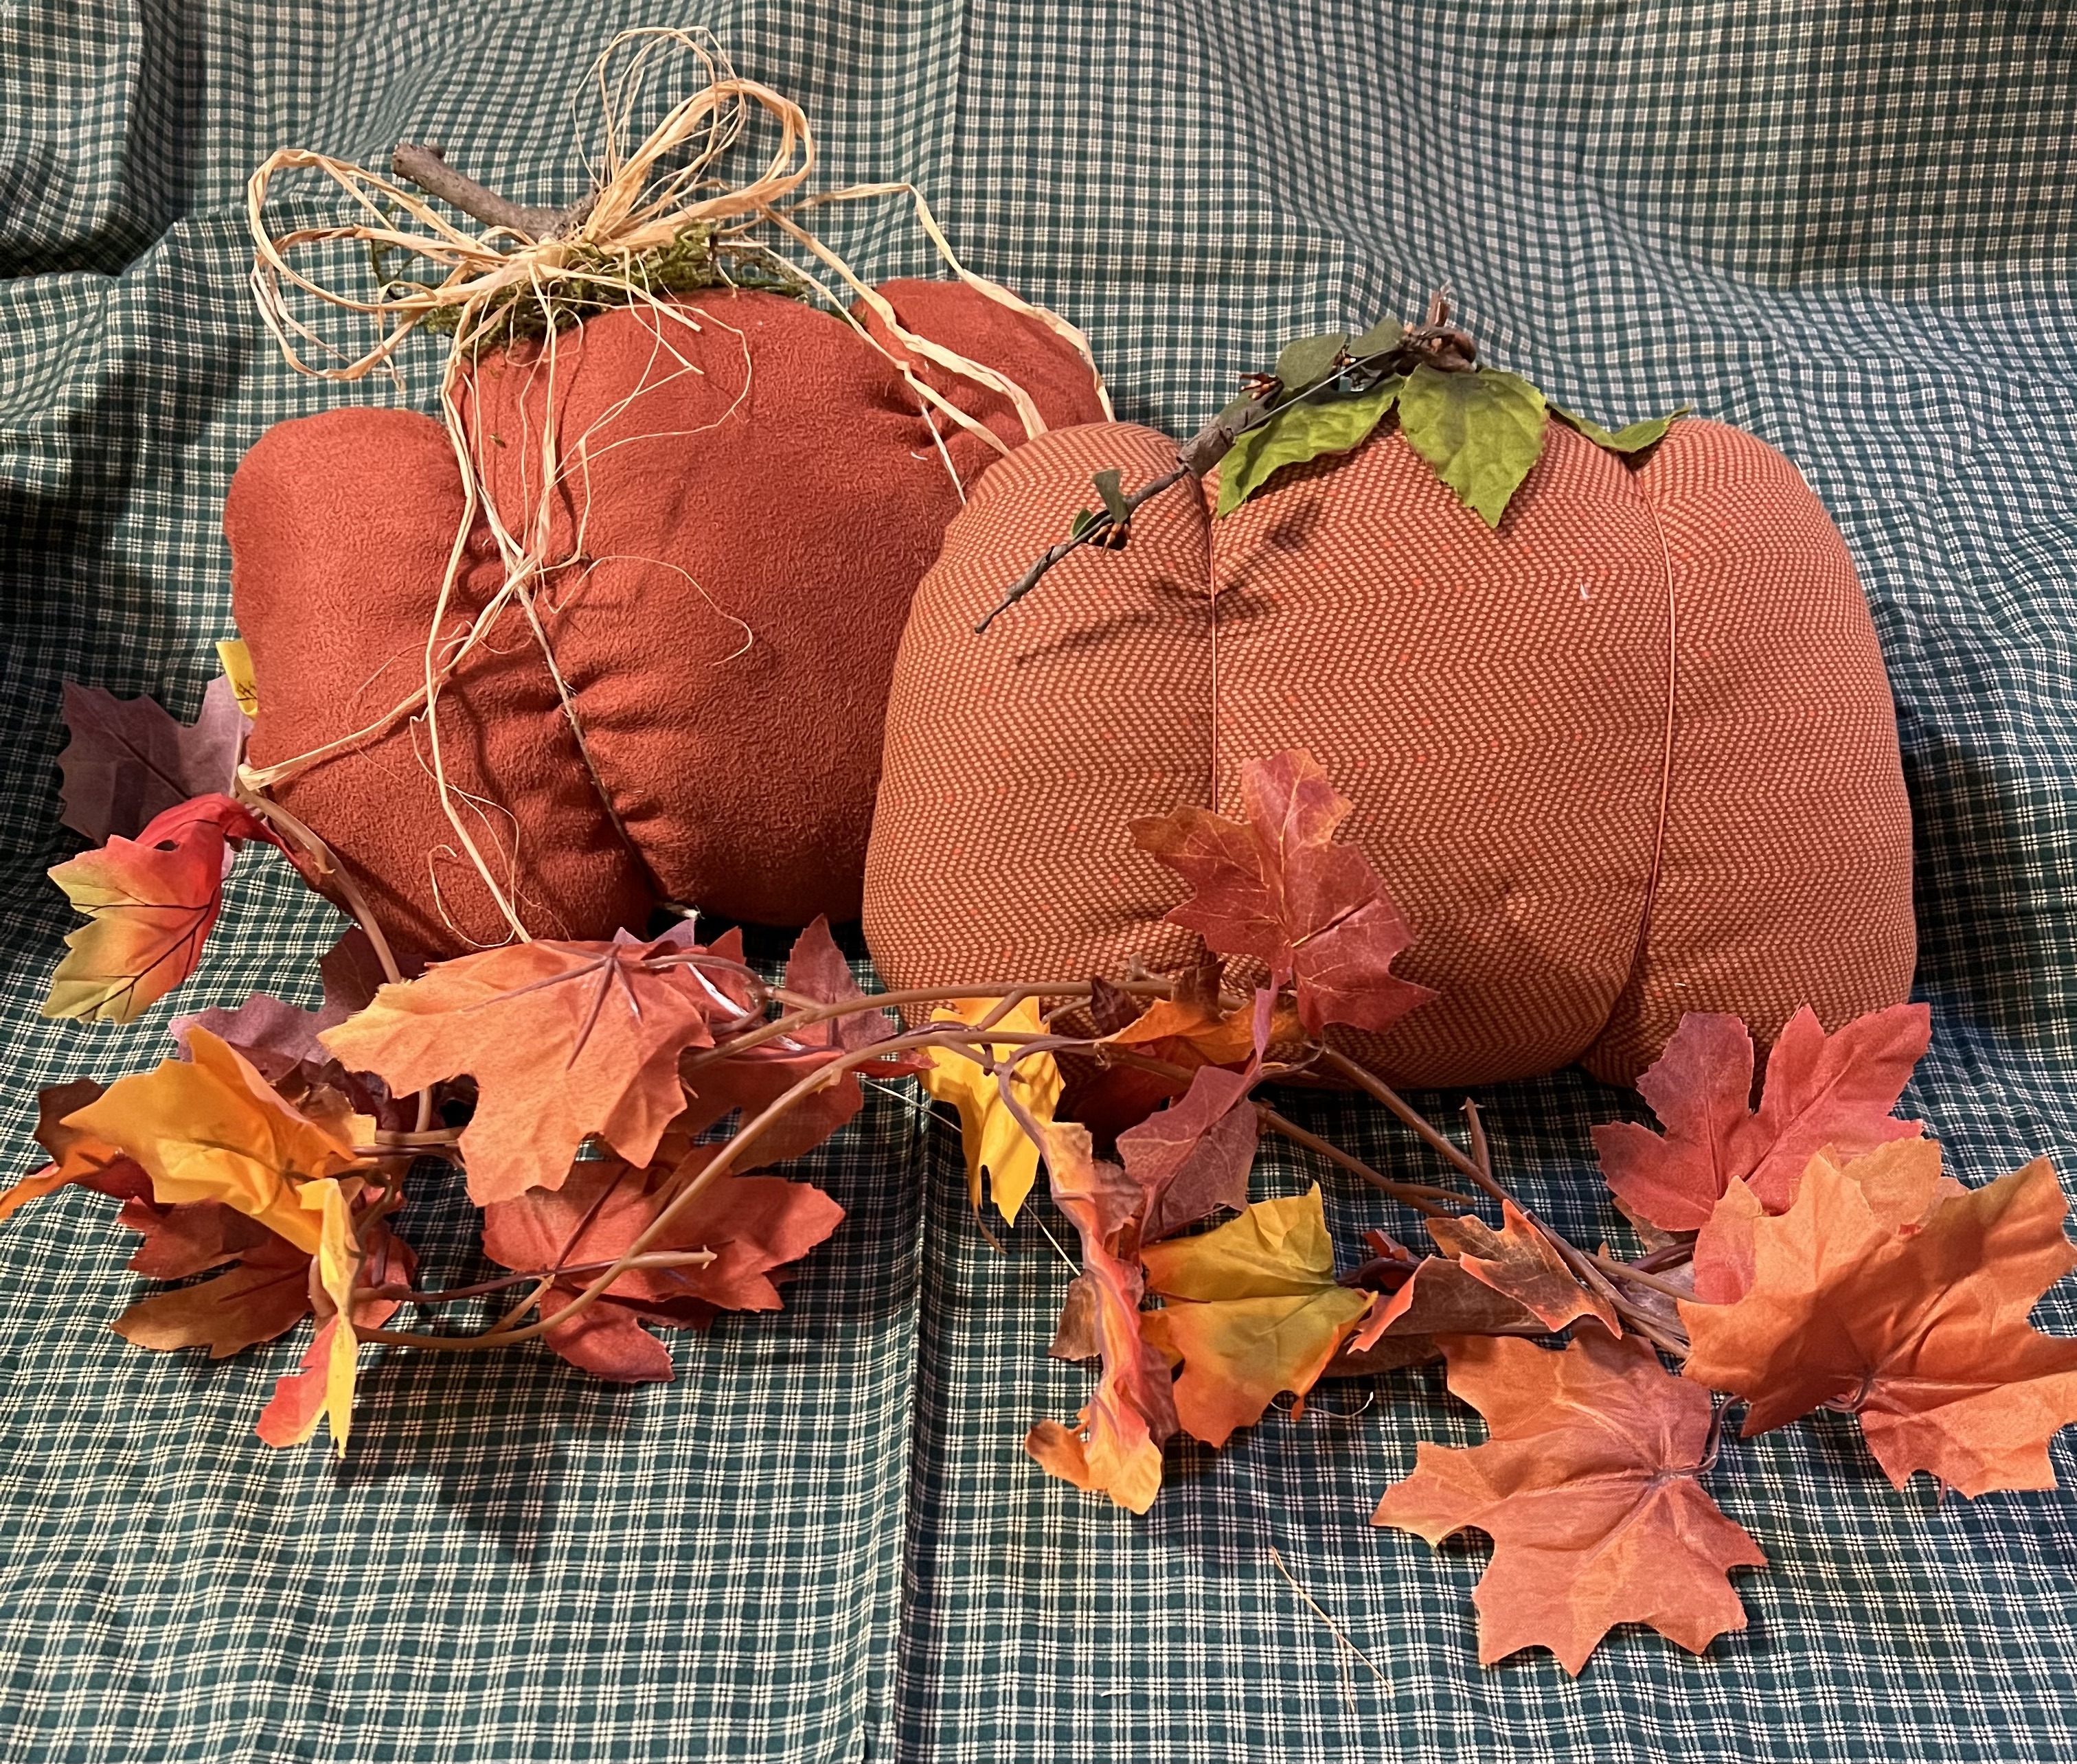
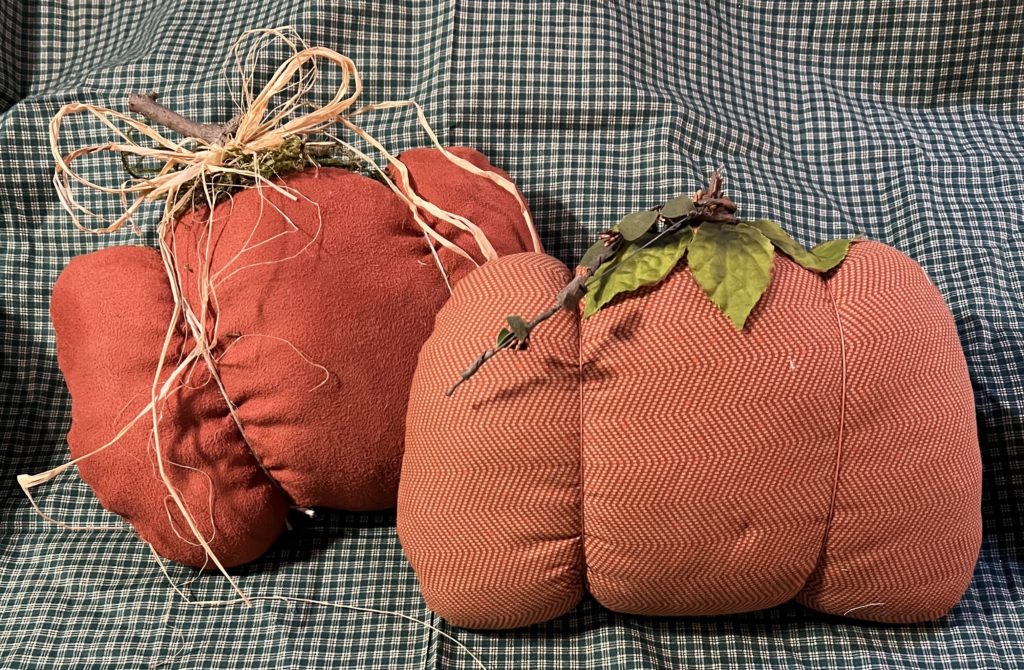
Finally hot glue a stick in the top of your pumpkin. As well as any raffia, moss, or leaves you want to add. Also feel free to add twine or yarn around your pumpkin it give it shape and make it look more realistic.
Your primitive pumpkin is now finished and ready to be used to decorate!

PIN IT FOR LATER





Leave a Reply