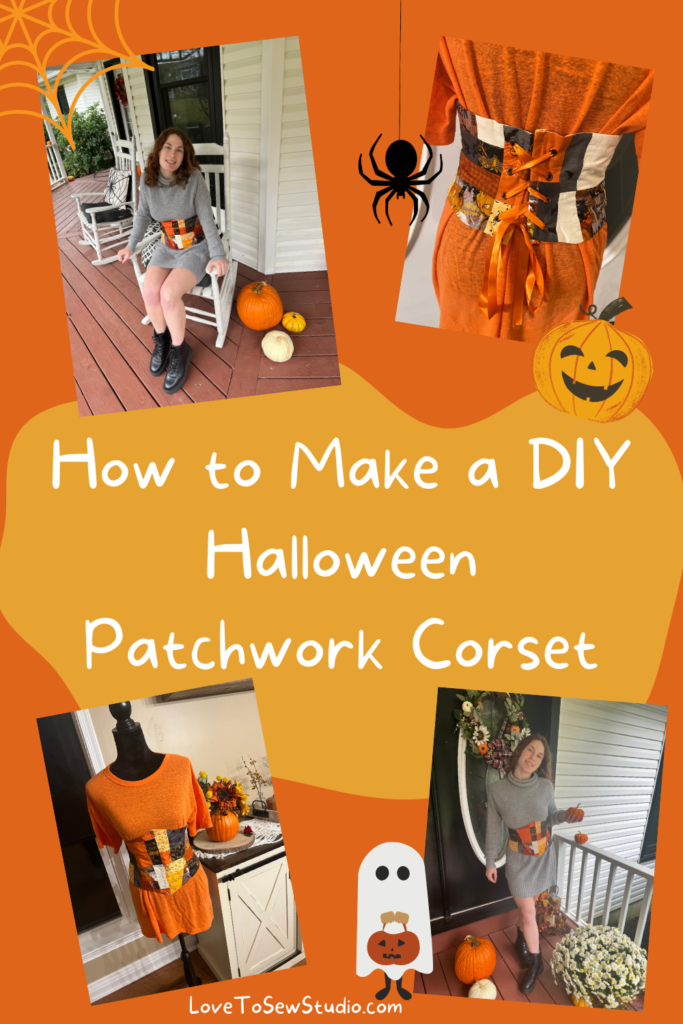
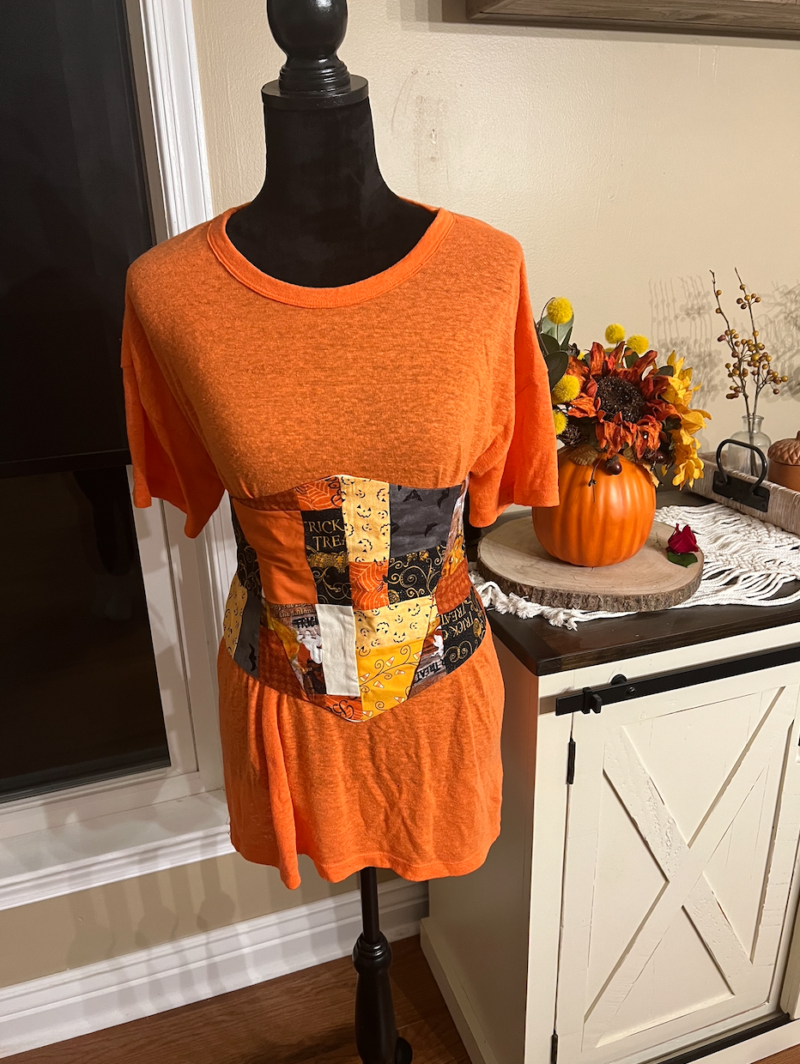
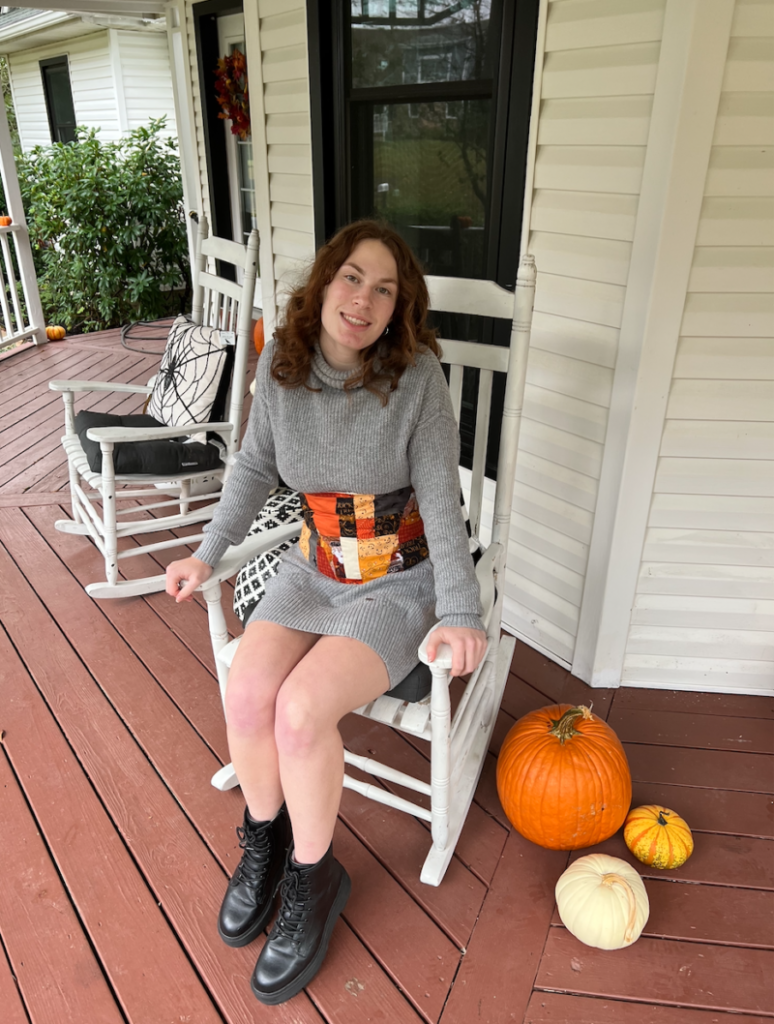
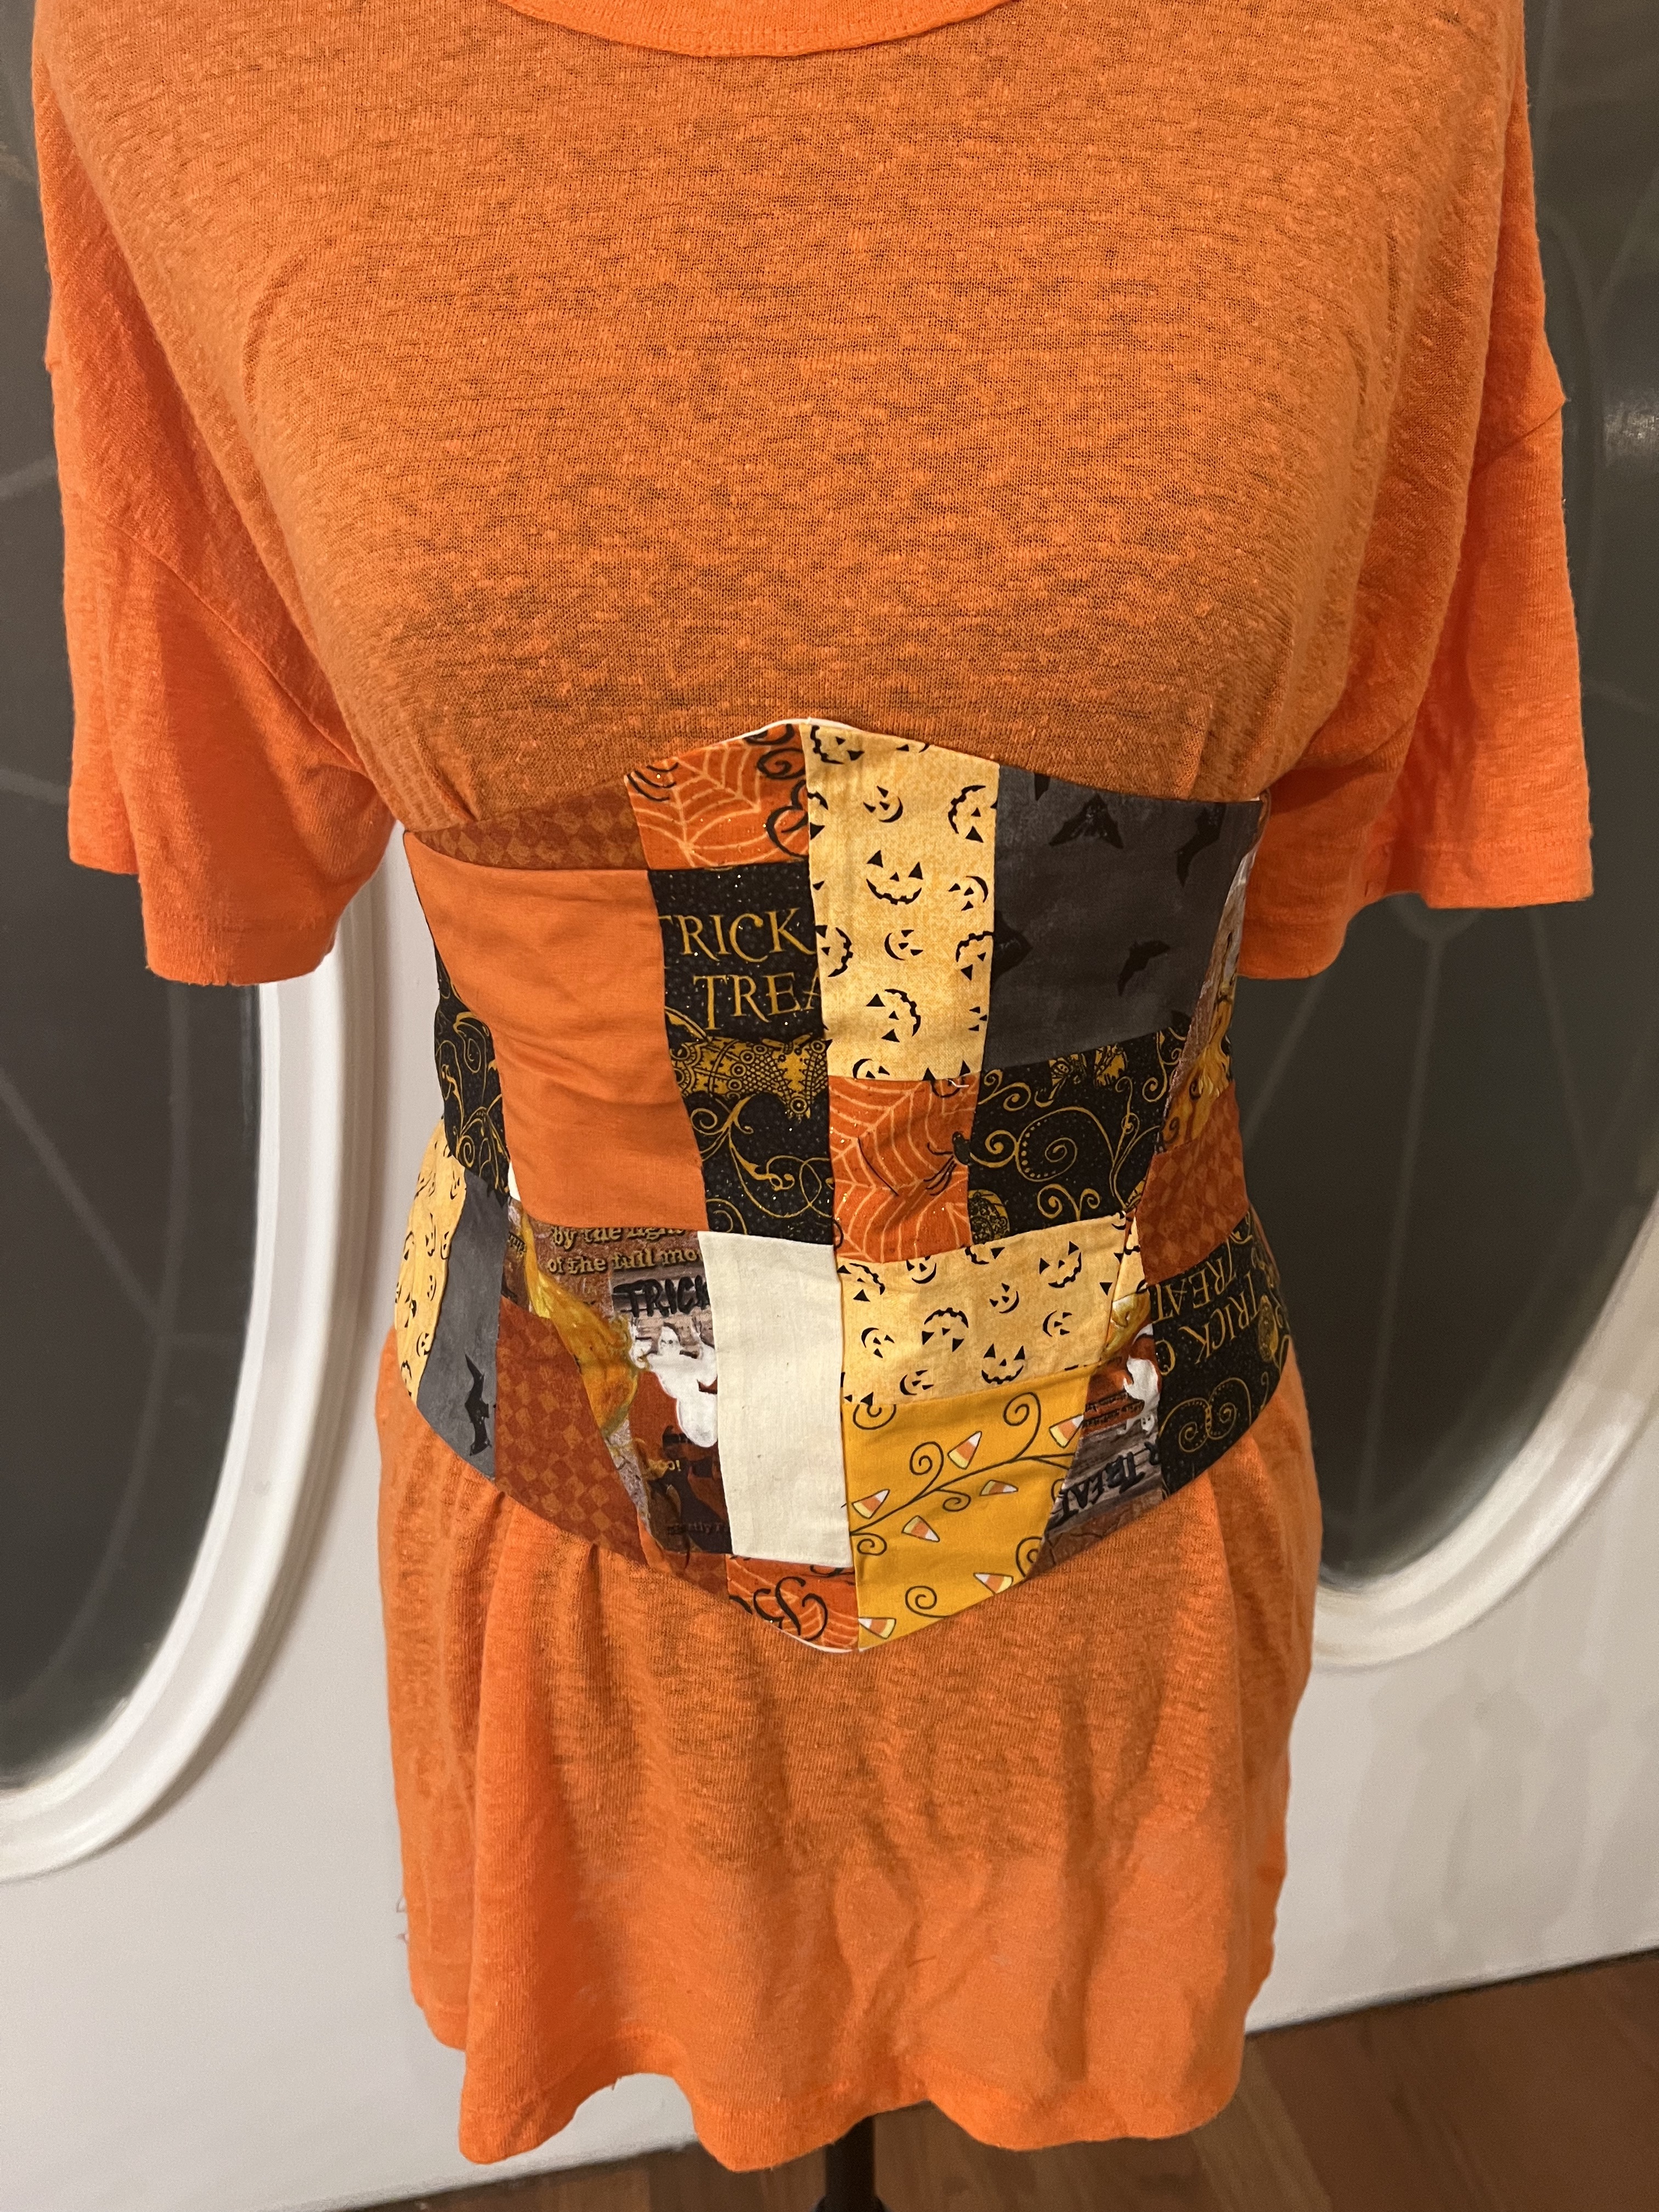
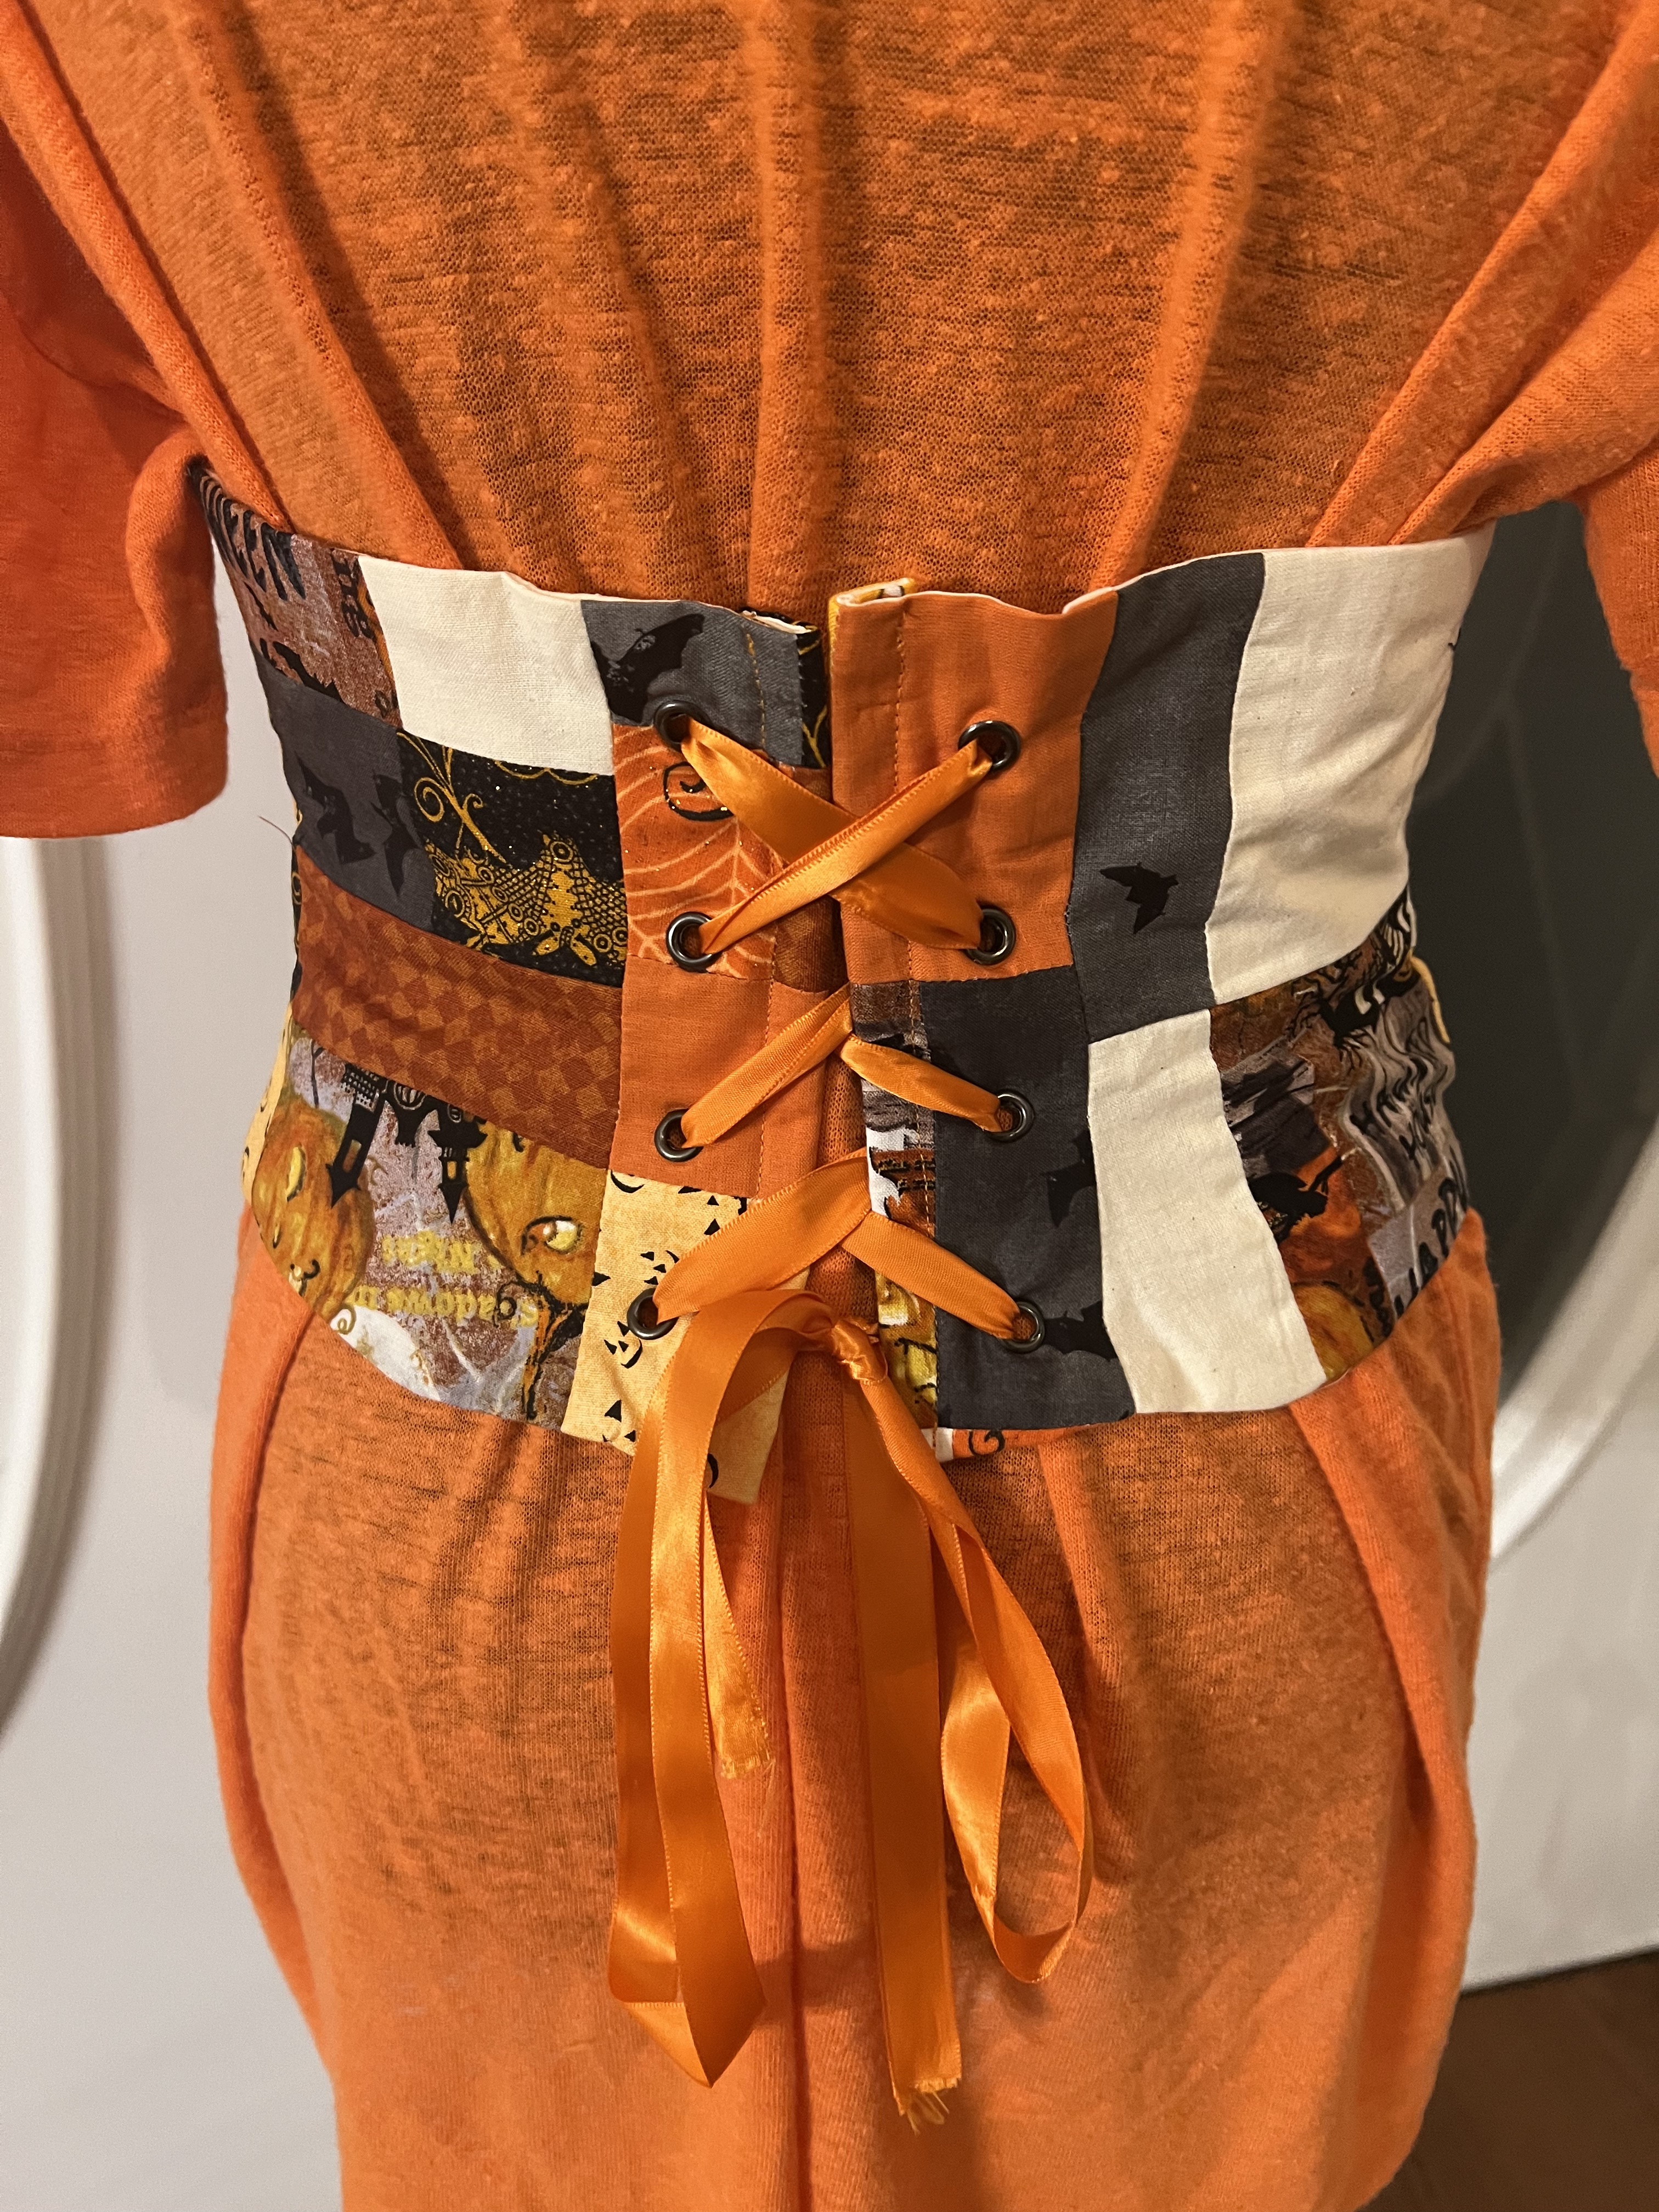
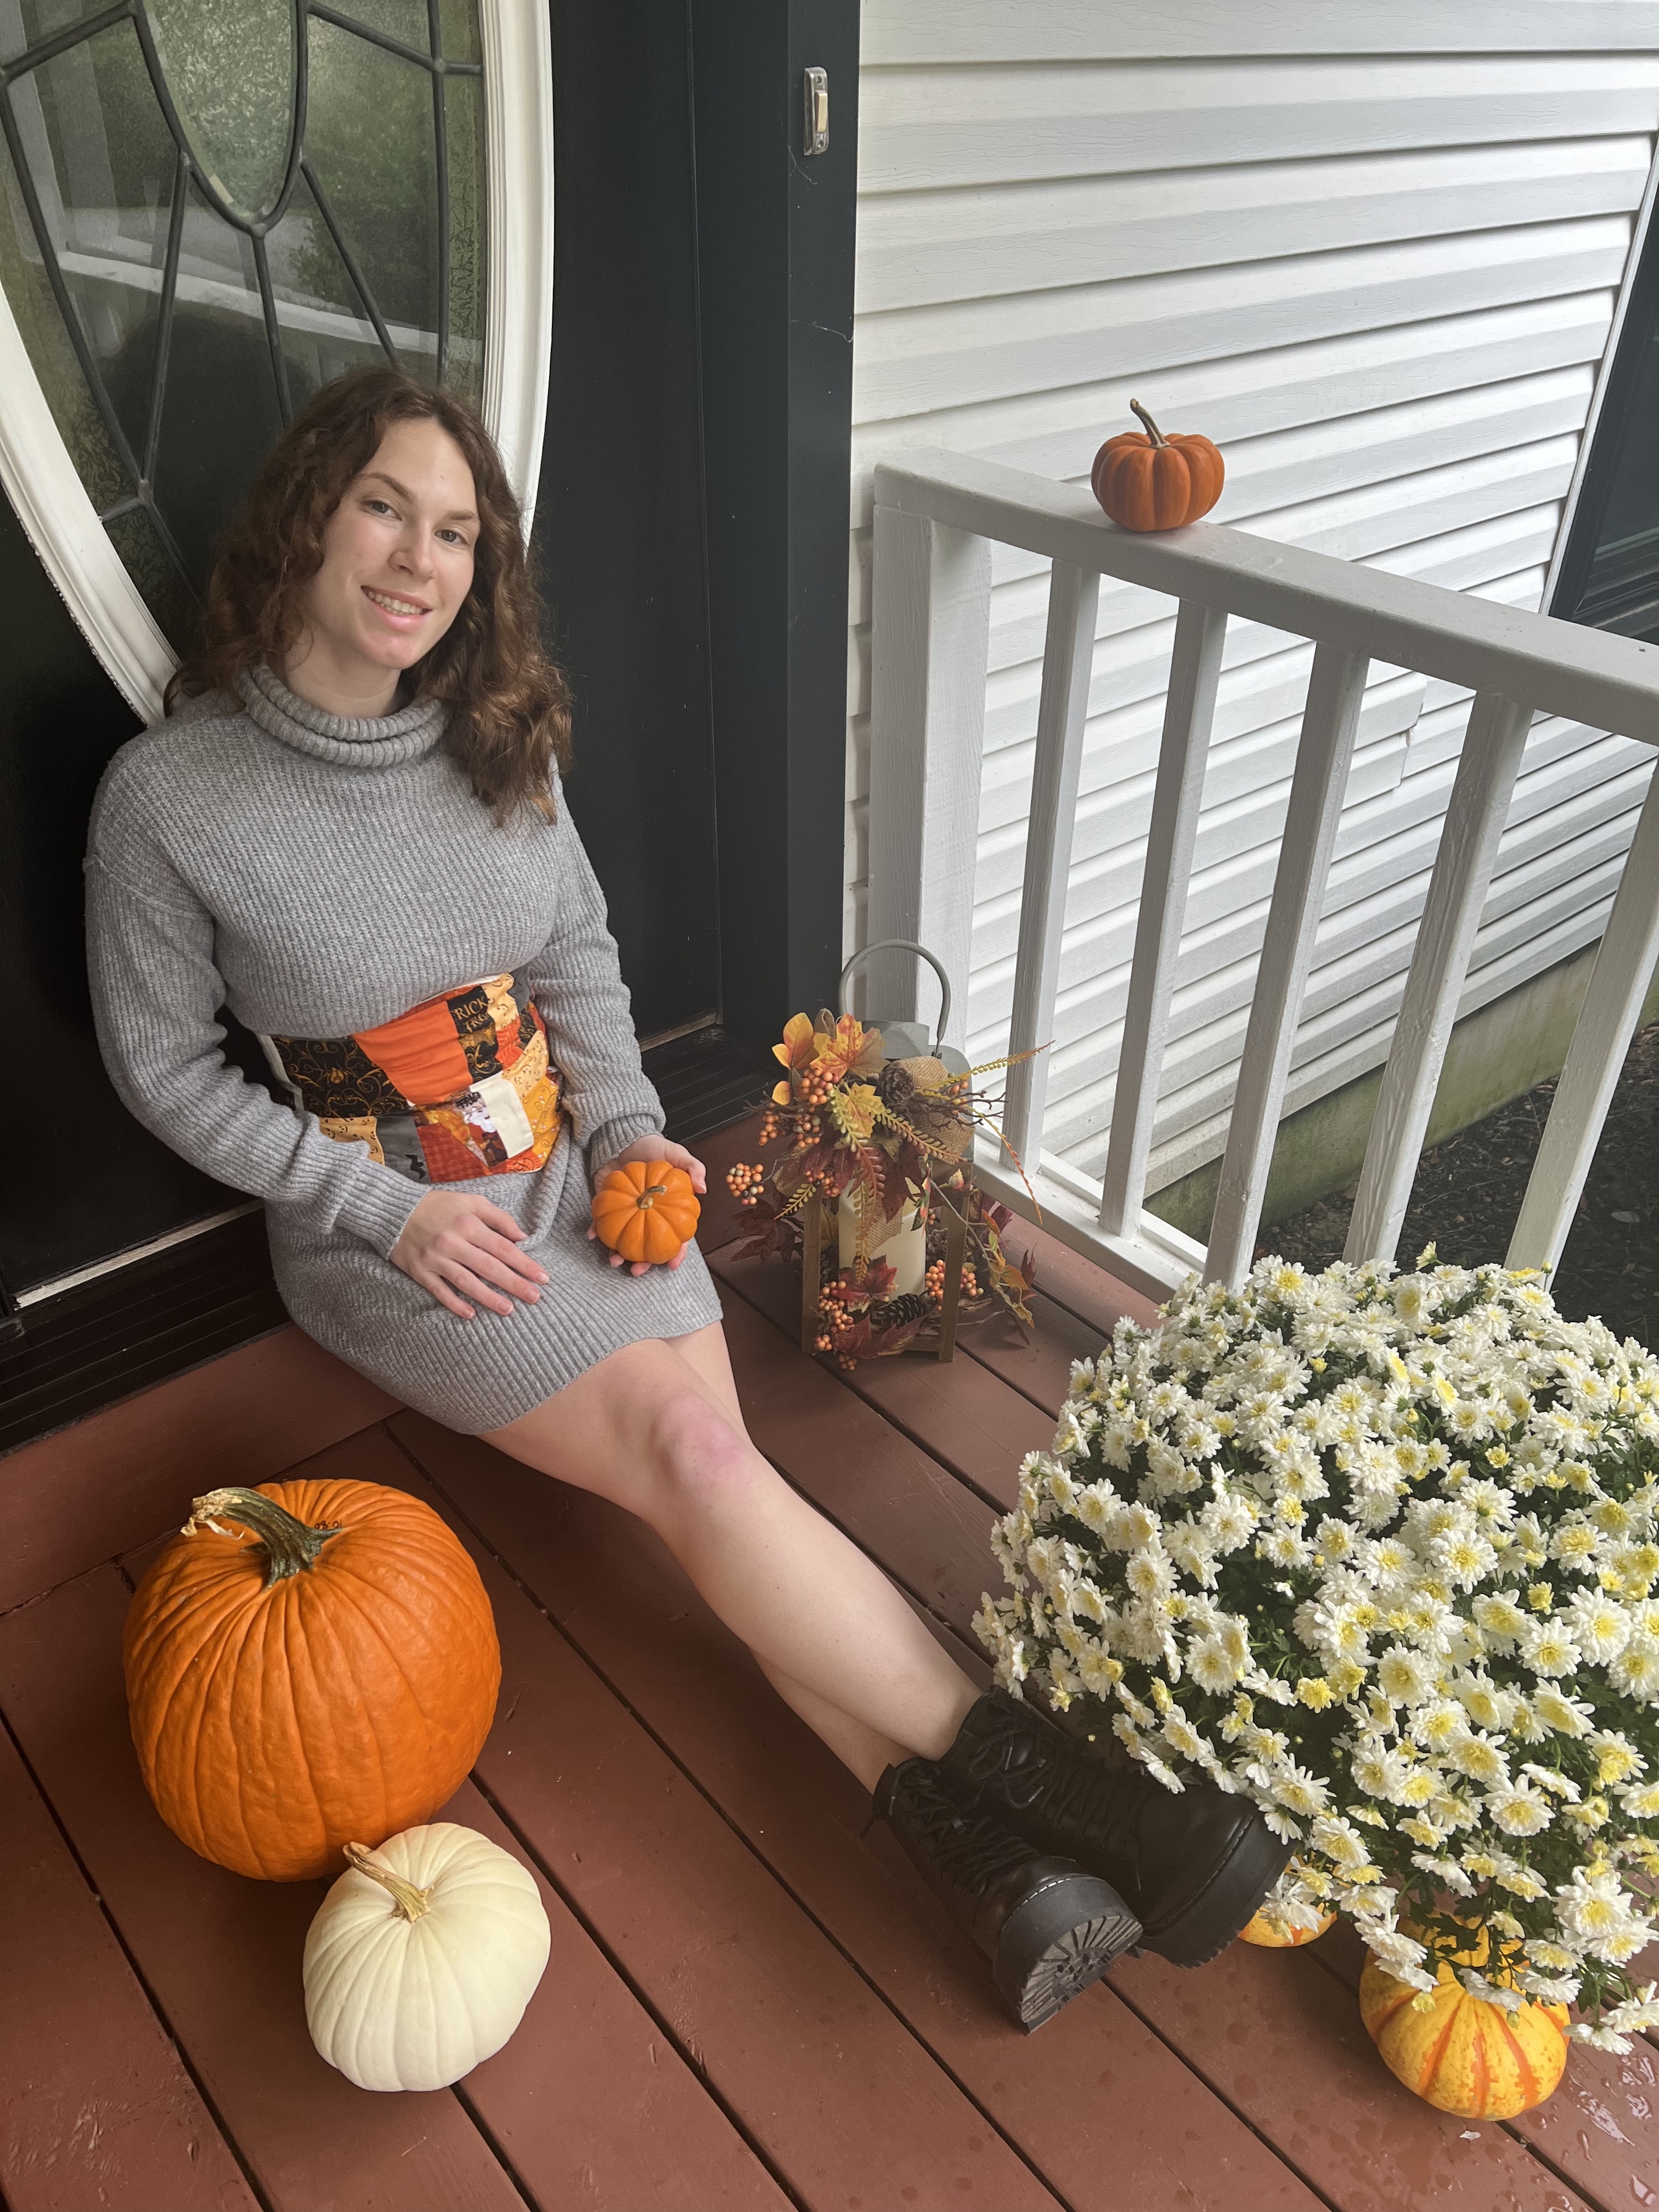
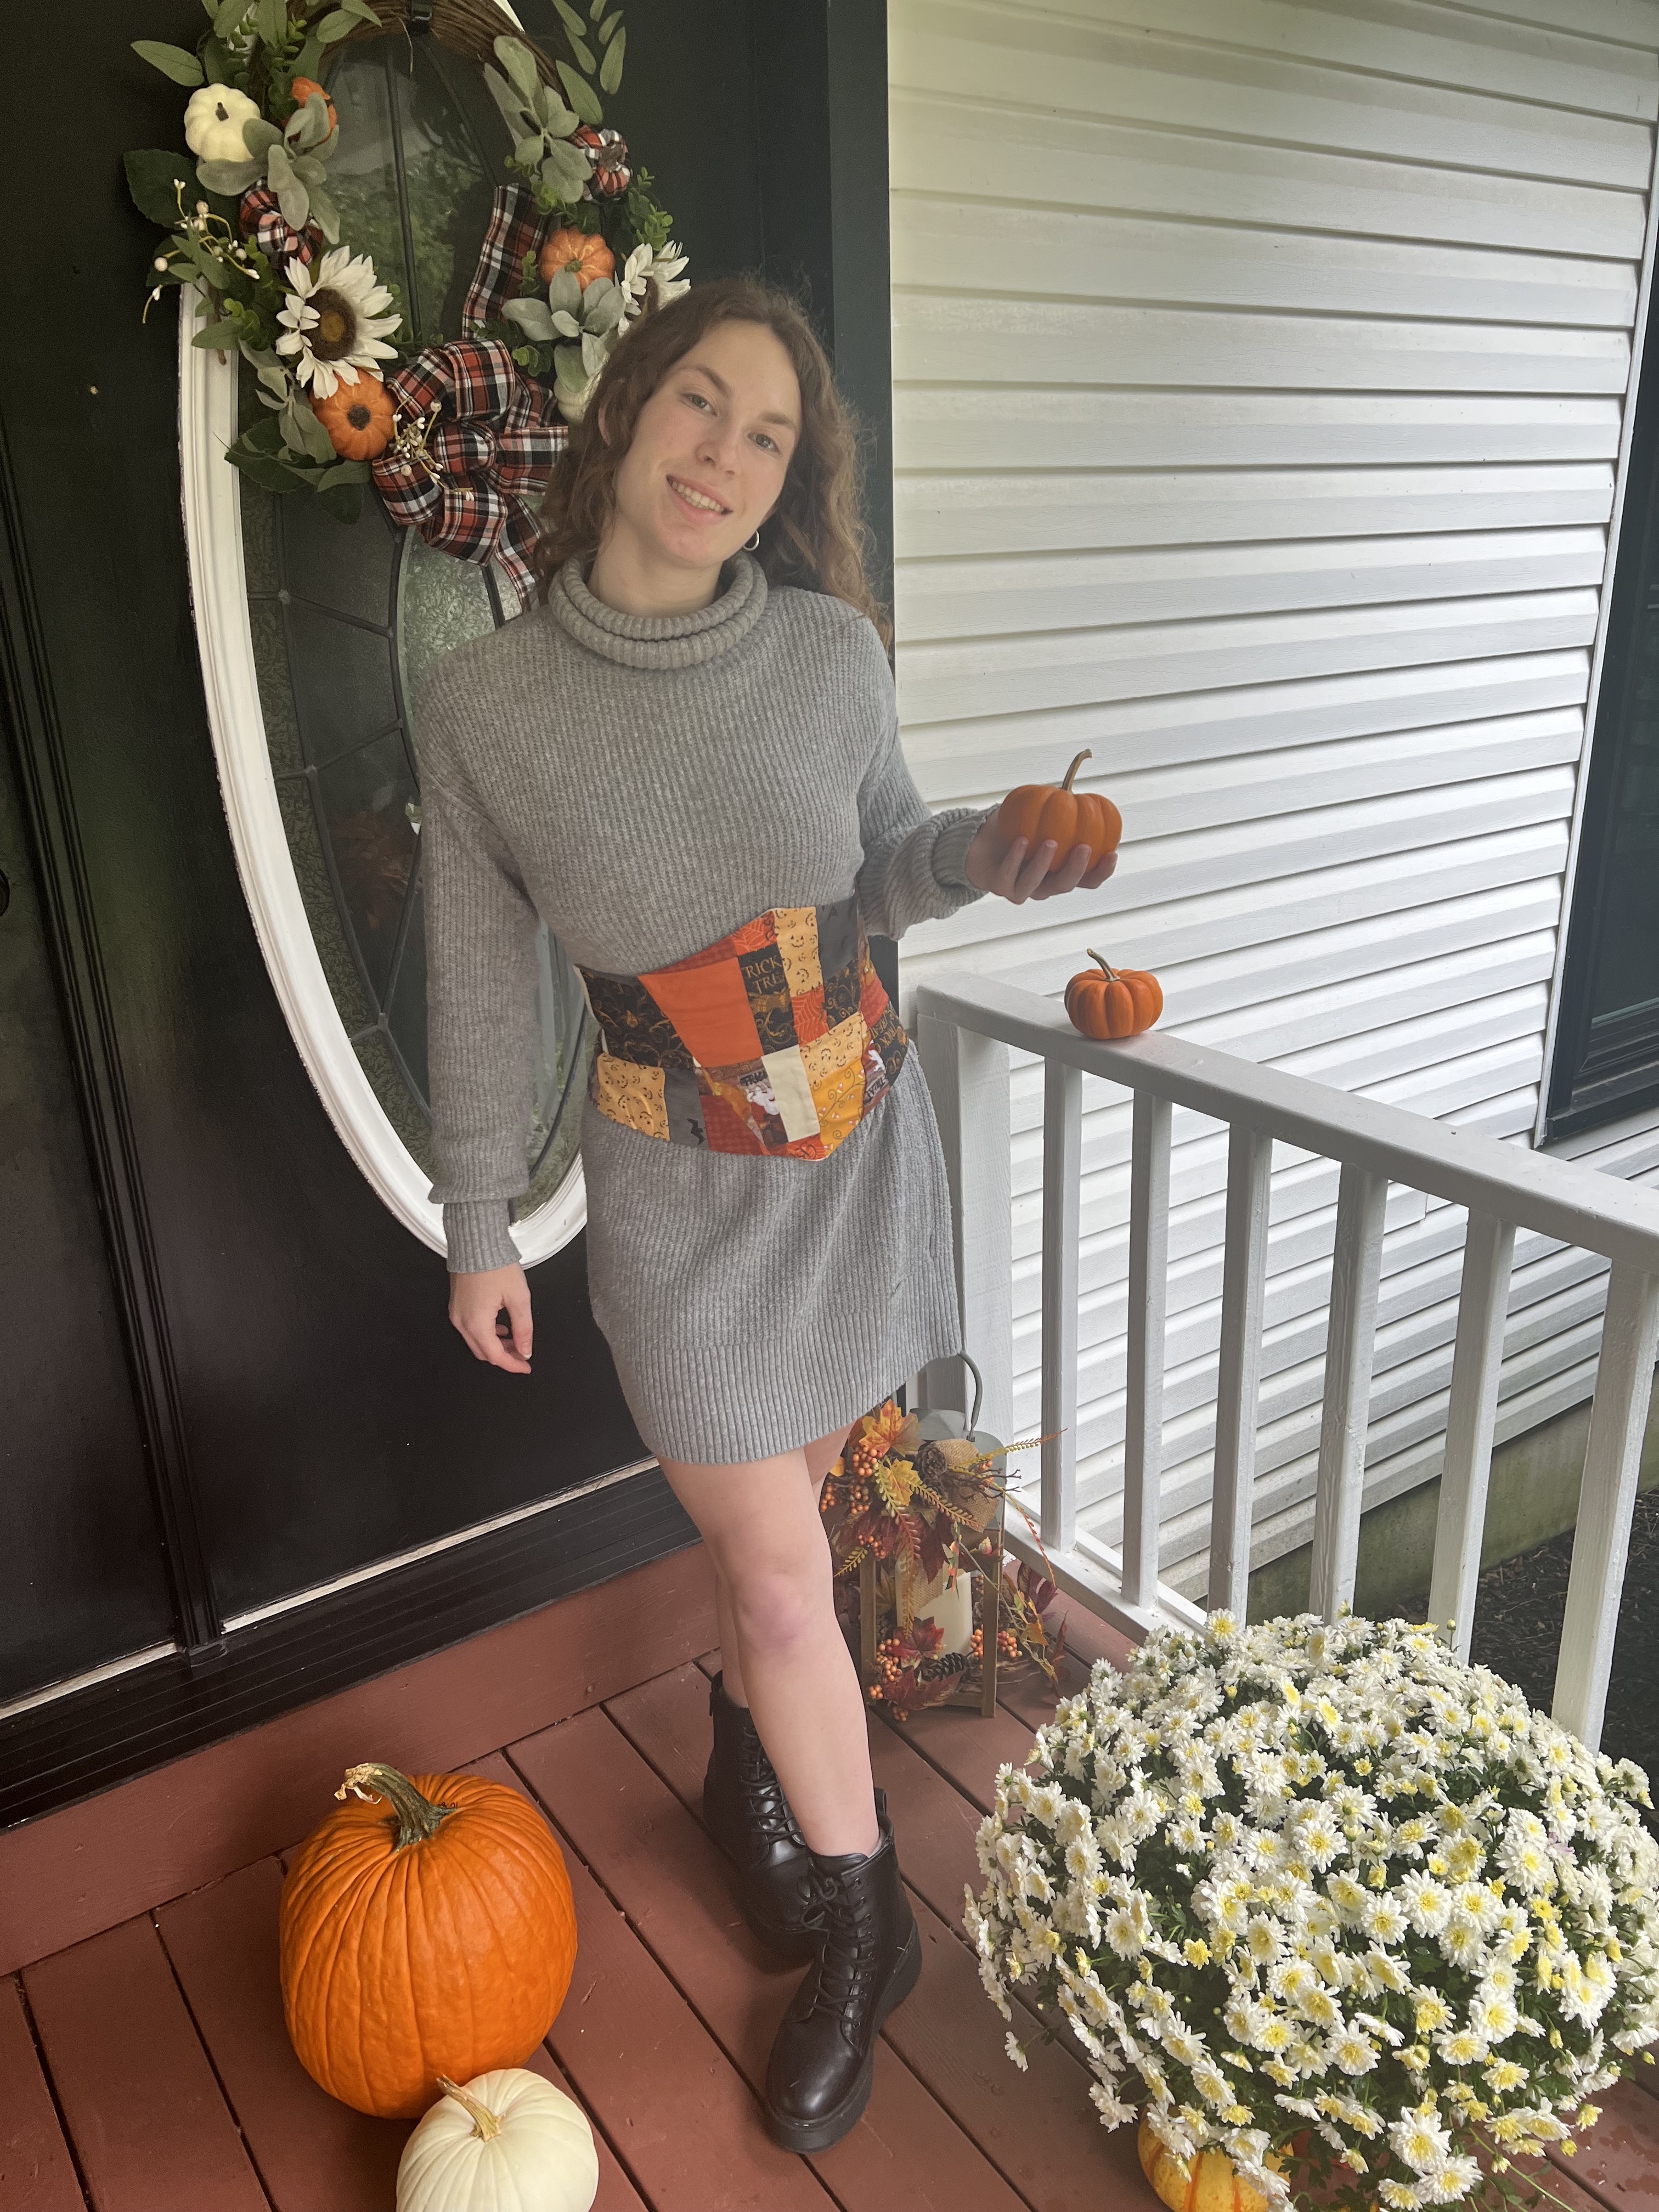
Halloween is just around the corner, which is why I decided to make some fun spooky season fashion! This Halloween patchwork corset is perfect for any spooky party or event. I love all the different Halloween fabrics that I got to use to make this corset! The best part is you can style it however you want.
This post contains affiliate links. You can read my full disclosure HERE.
I ADORE THIS SPOOKY HALLOWEEN PATCHWORK CORSET AND YOU WILL TOO! HERE IS WHAT I USED TO MAKE IT:
- scraps of Halloween fabric
- 1 yard of lining fabric
- 1 yard of interfacing
- boning (optional)
- grommets
- corset pattern (Simplicity 1093)
- basic sewing supplies
Halloween Corset – Step 1
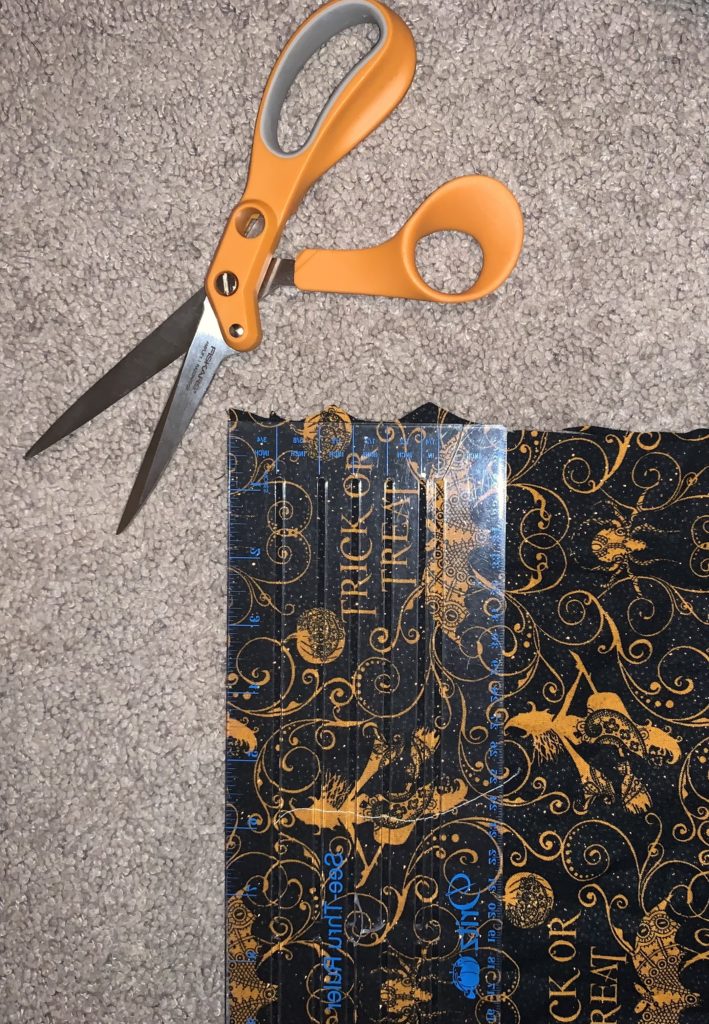
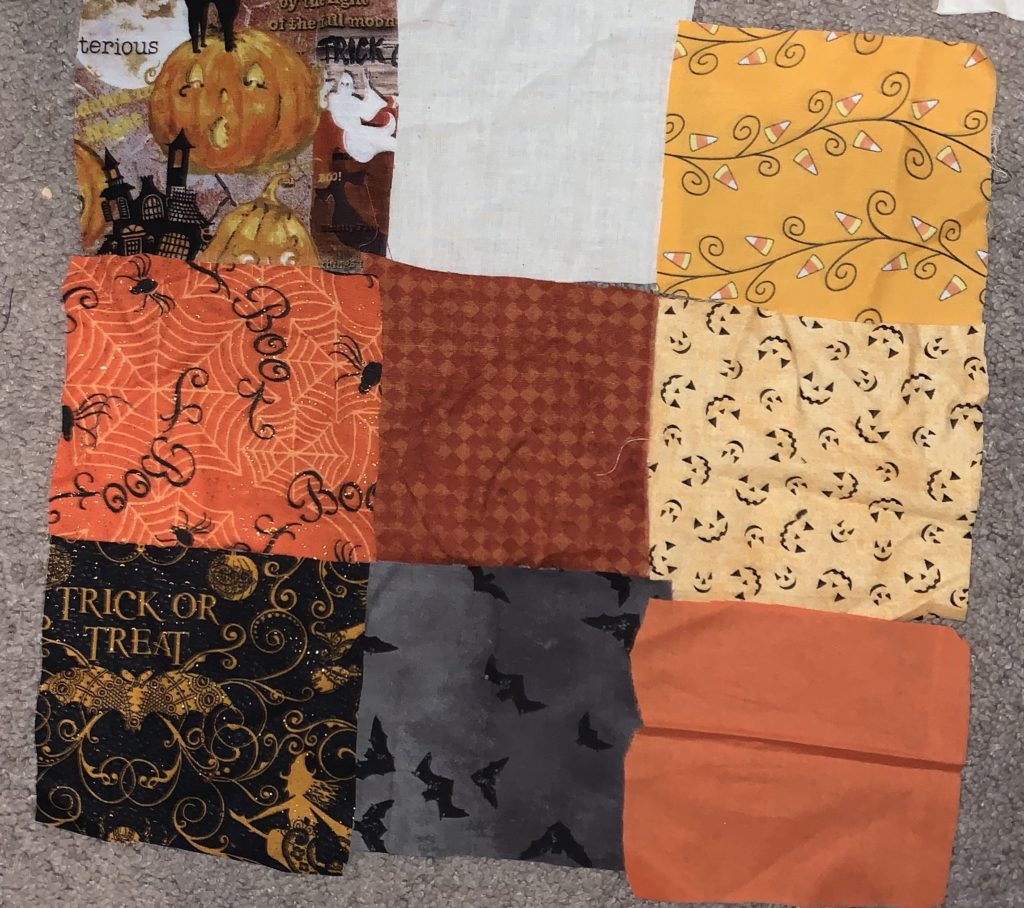
We are going to start by making a disappearing nine patch with your Halloween fabric so that you have a patchwork look to your corset. First cut out 4″ by 4″ squares from your different Halloween fabrics.
Halloween Corset – Step 2
Next you are going to arrange those squares that you just cut out into a nine patch pattern. You are going to want to make multiple nine patches because you need to cut out your corset pieces from them. I made five, but you can make as many as you need for your project.
Halloween Corset – Step 3
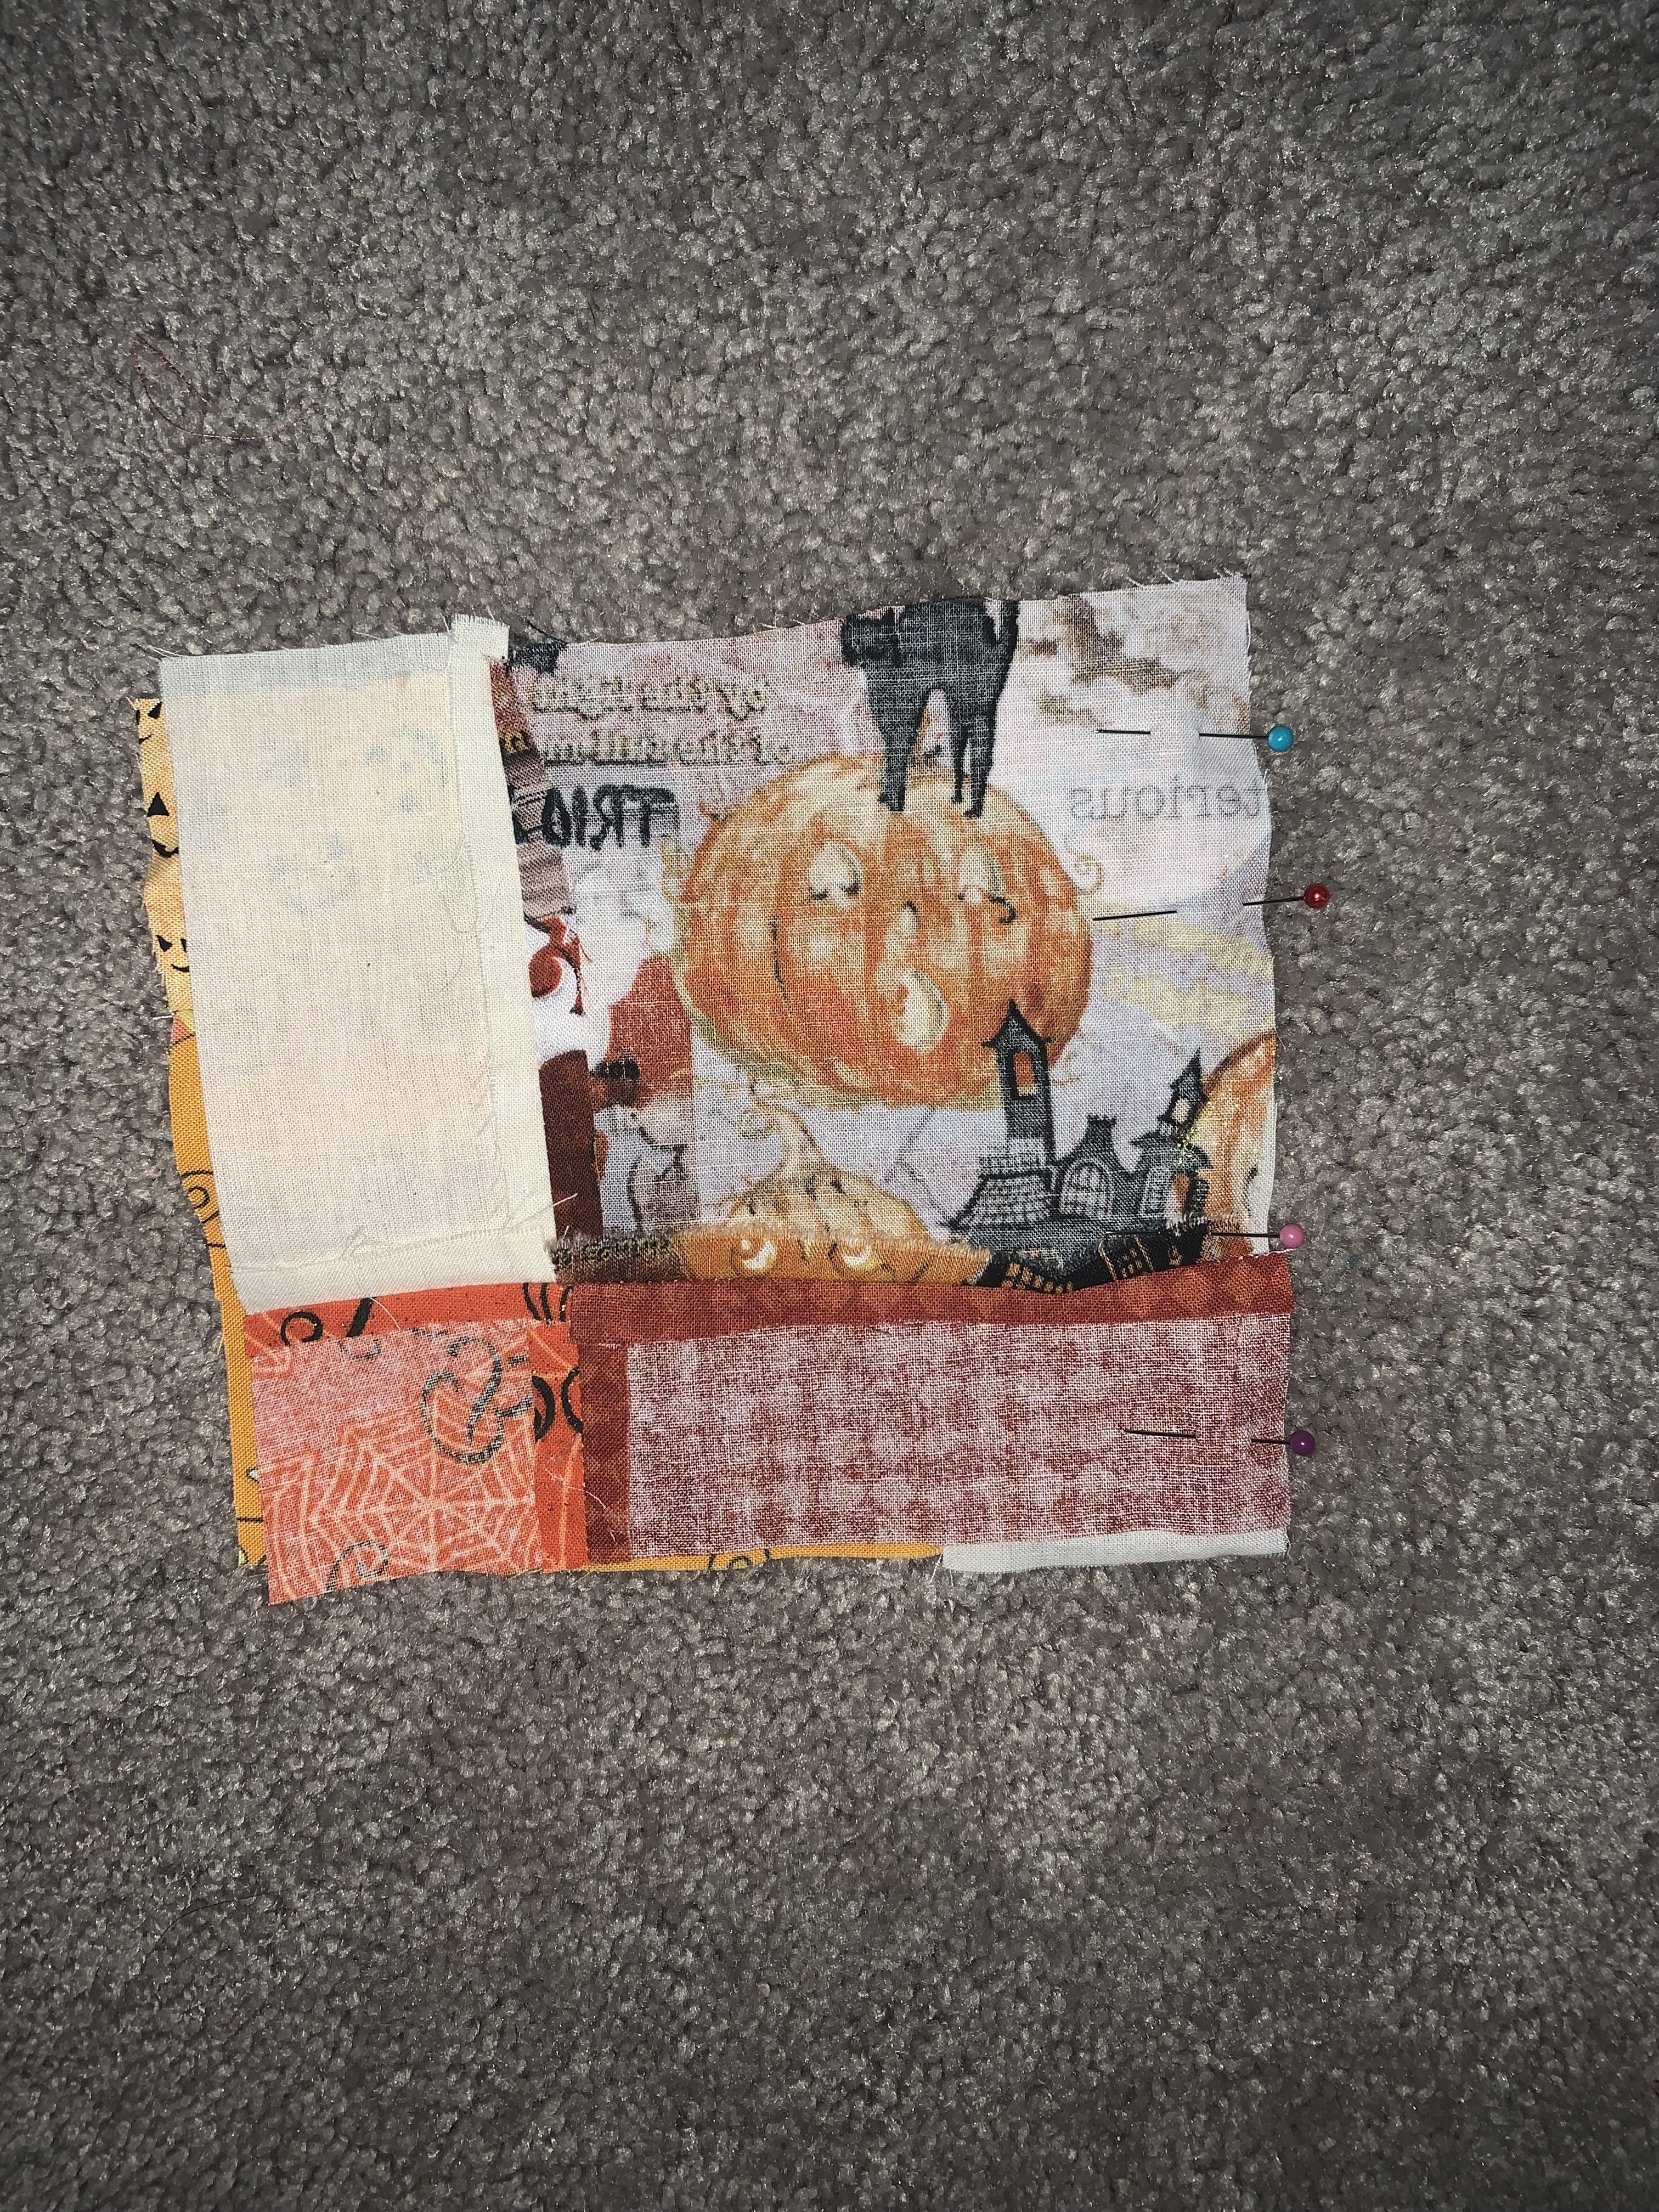
Next you are going to sew all of your nine patch rows and columns together using the pressure foot as your guide.
Halloween Corset – Step 4
Trim all of the threads and seams of your nine patch. Make sure to press your seams nice and flat.
Halloween Corset – Step 5
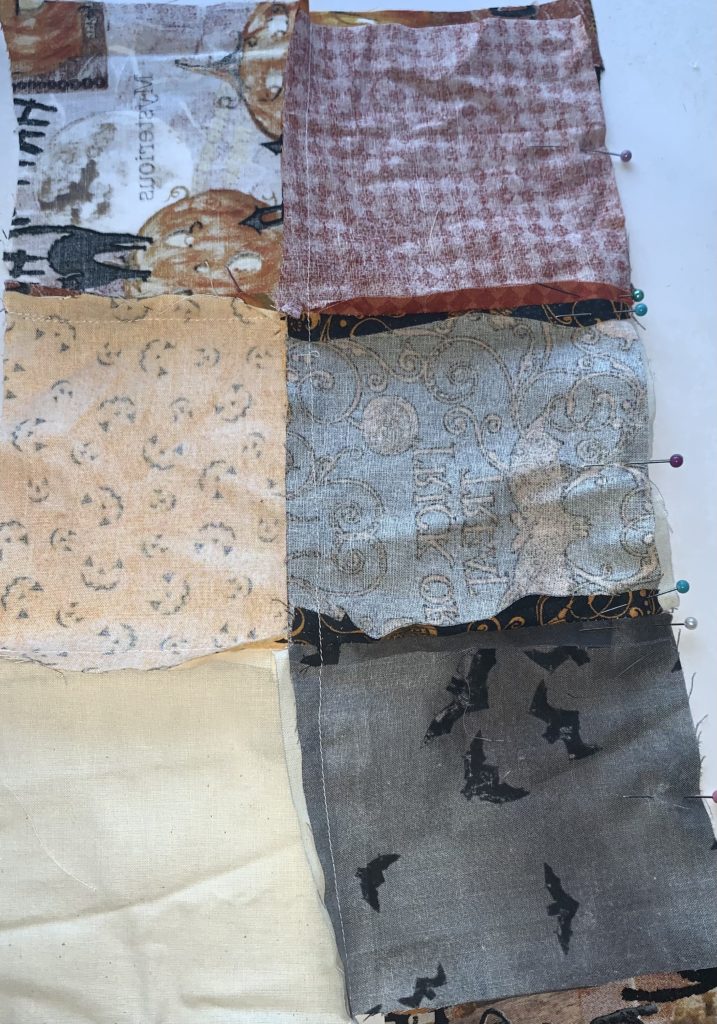
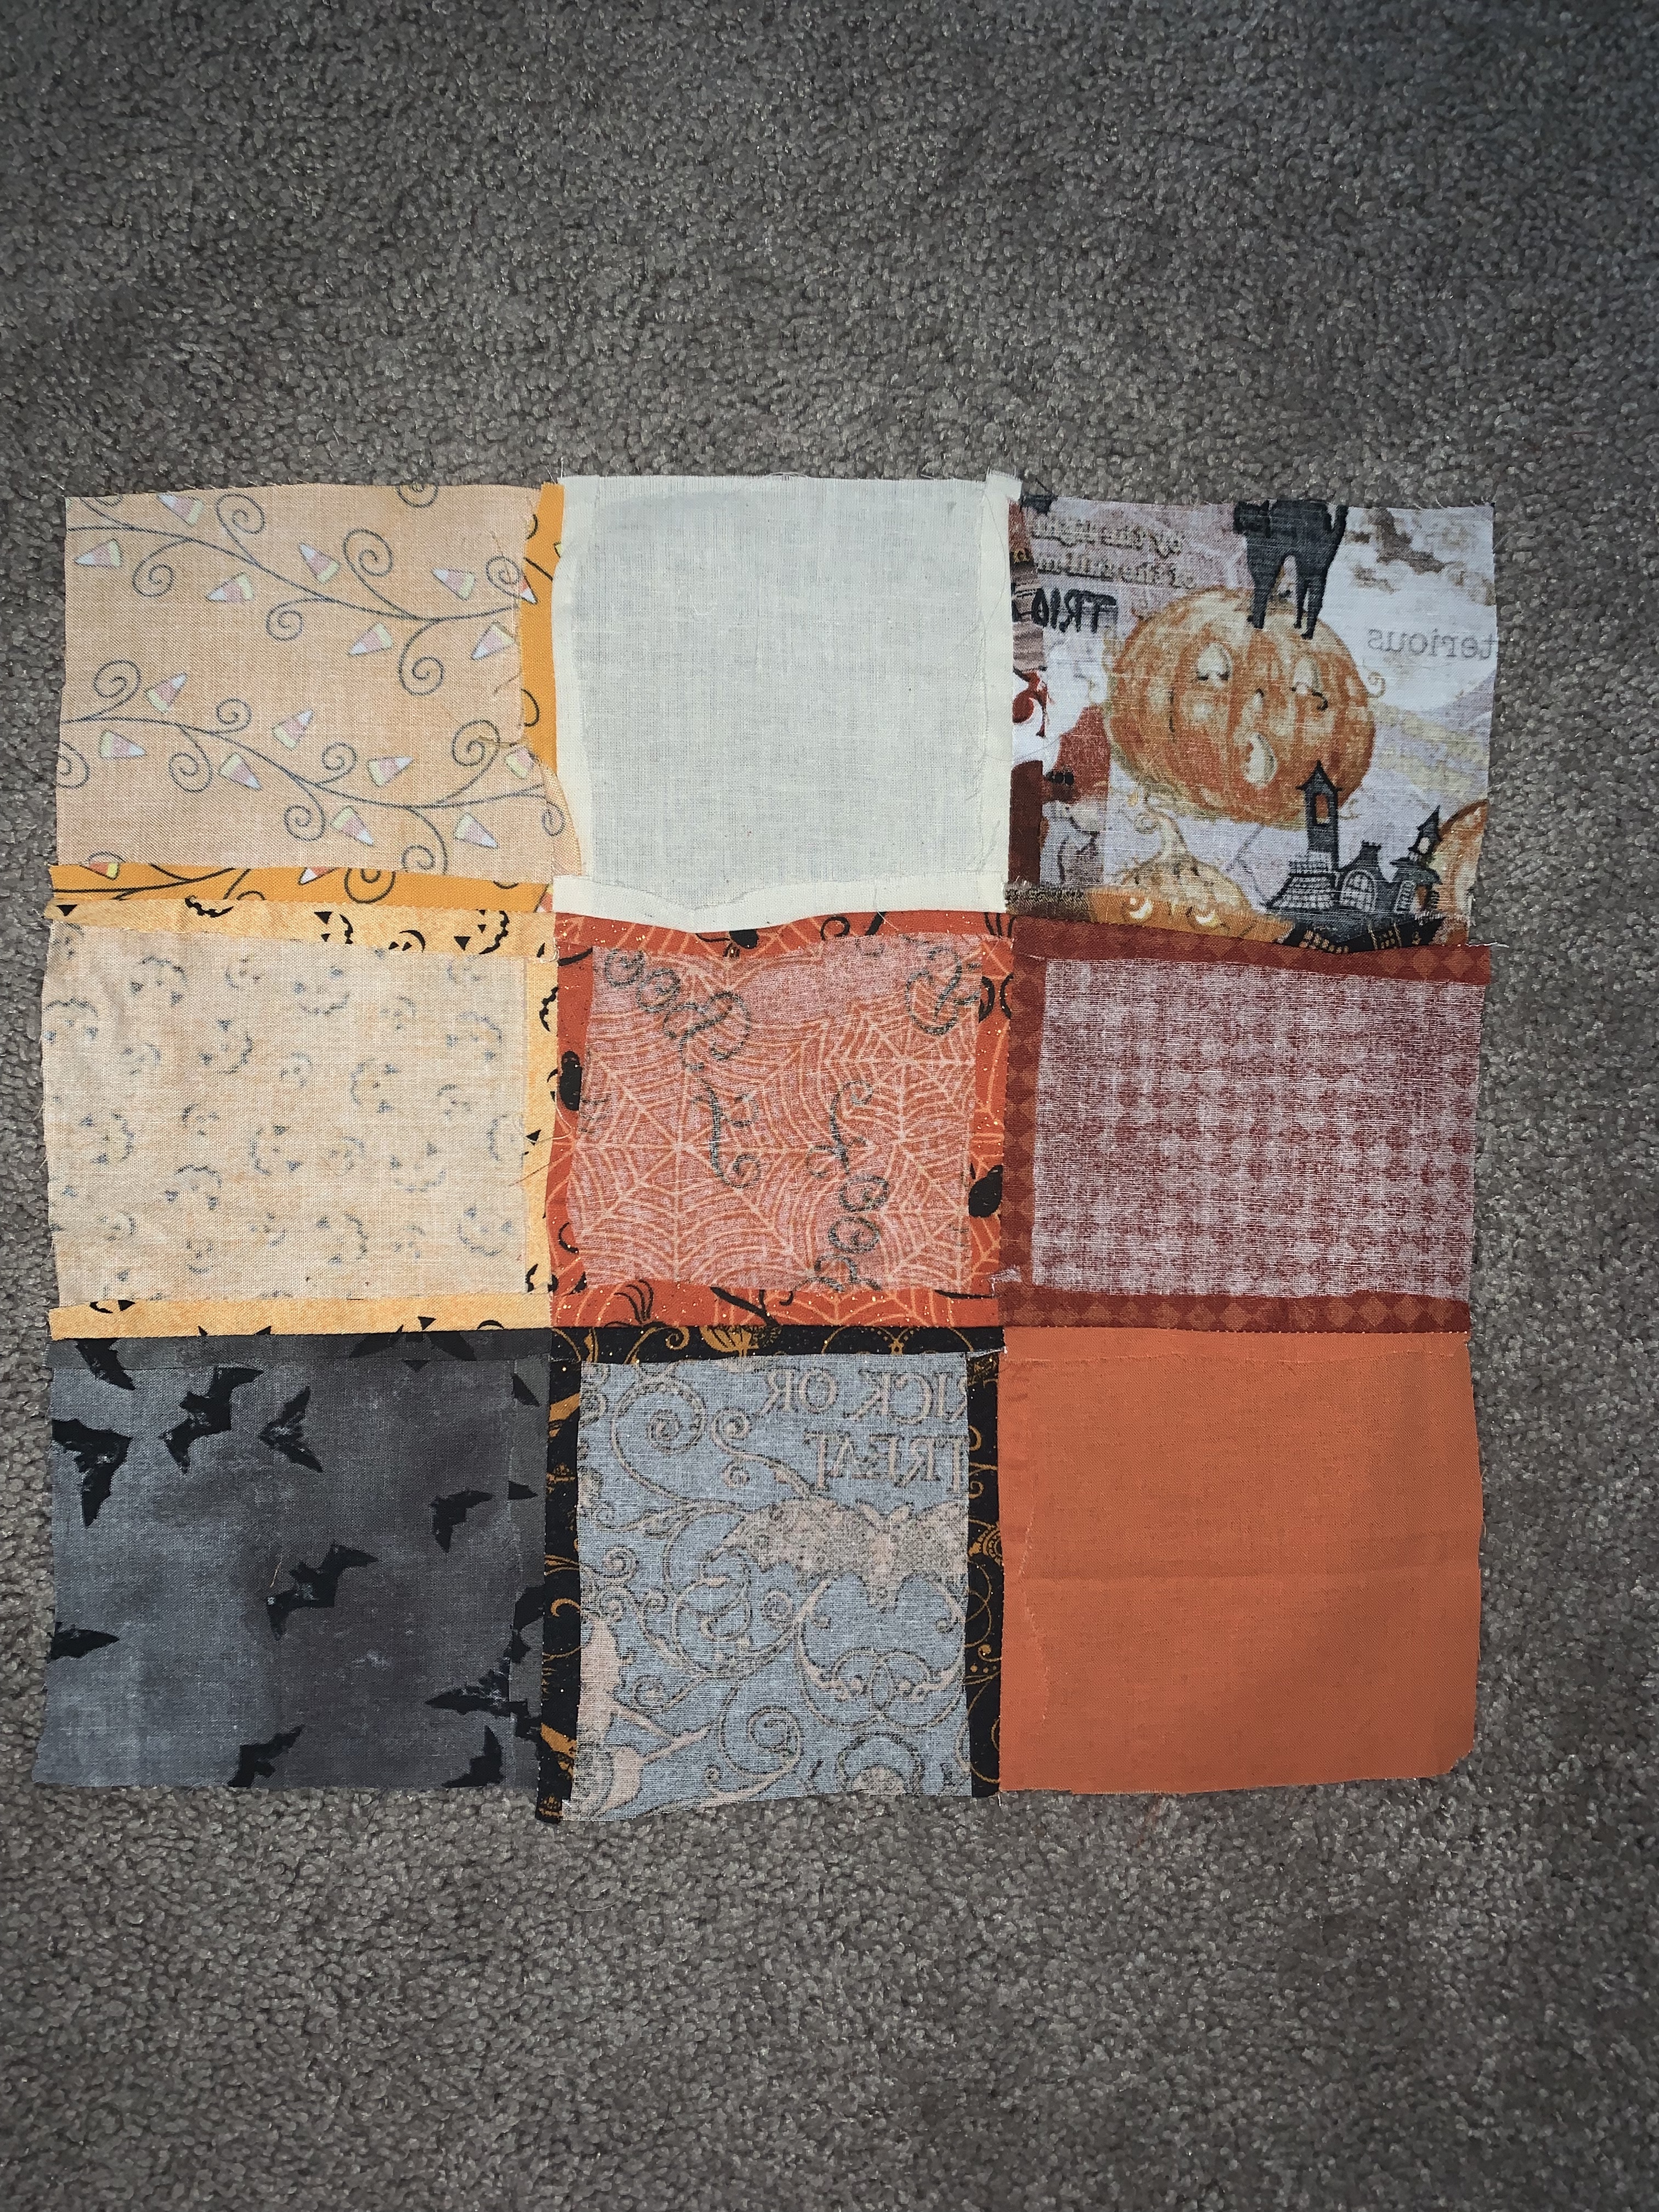
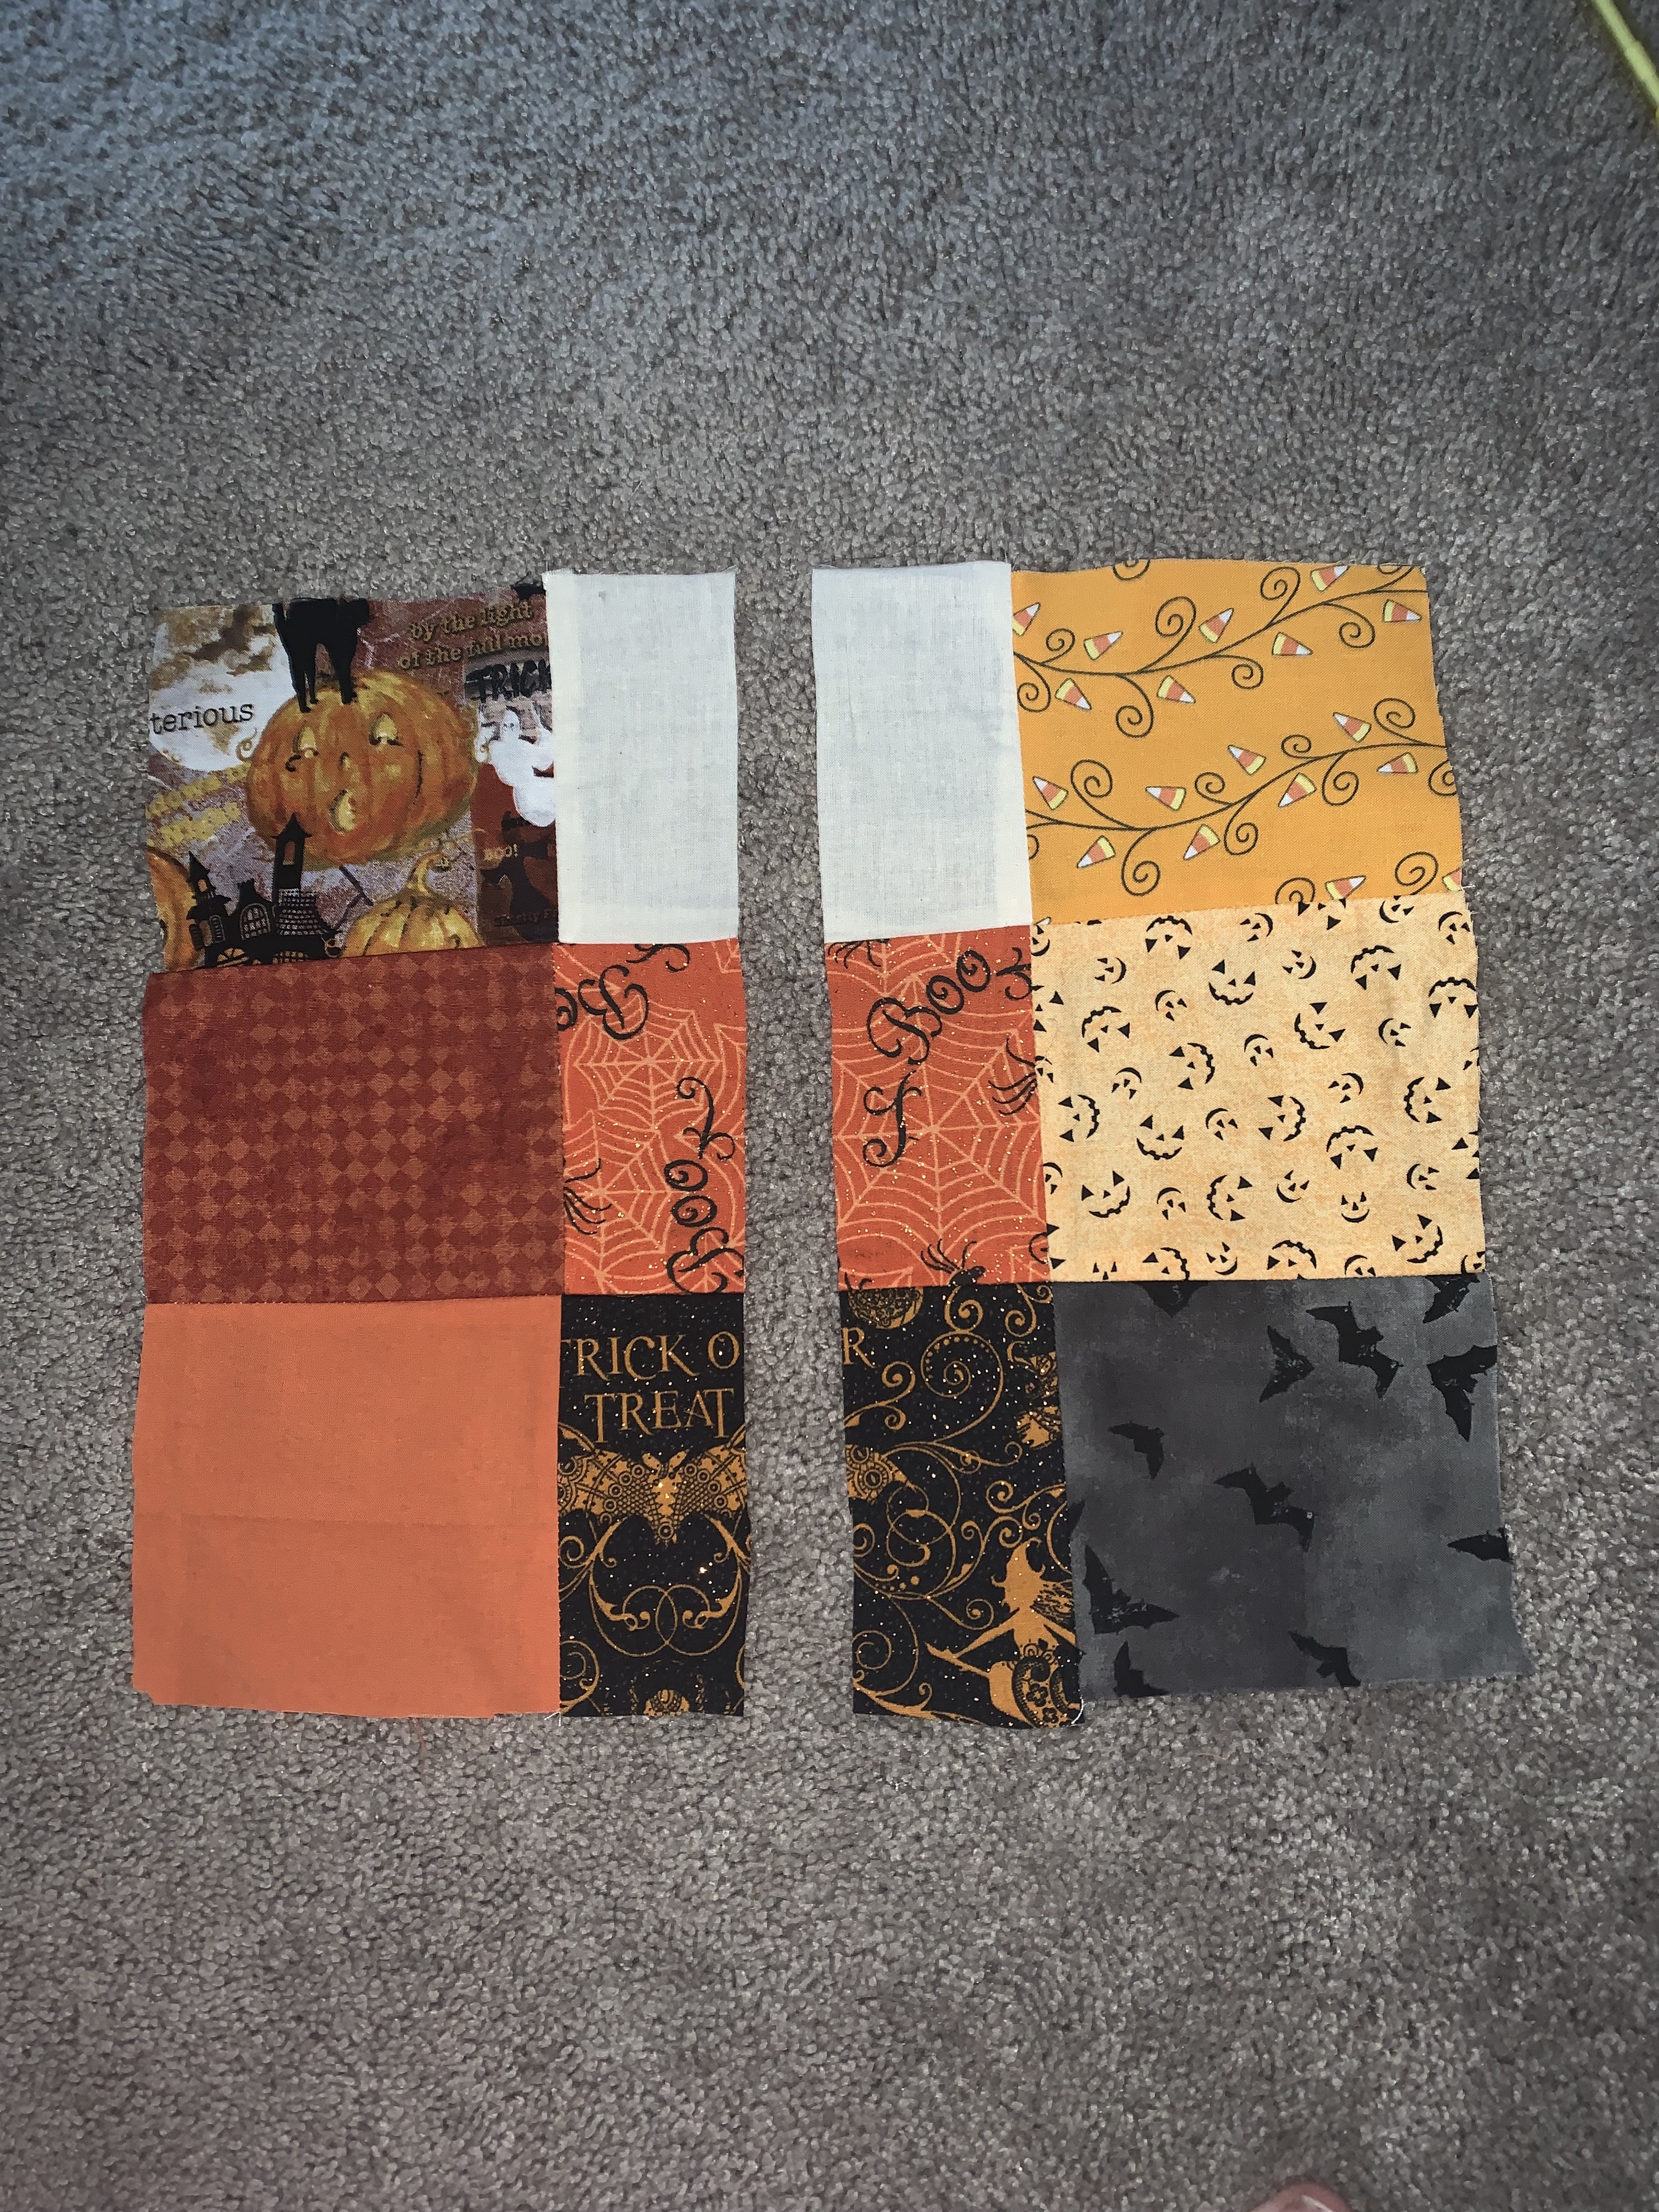
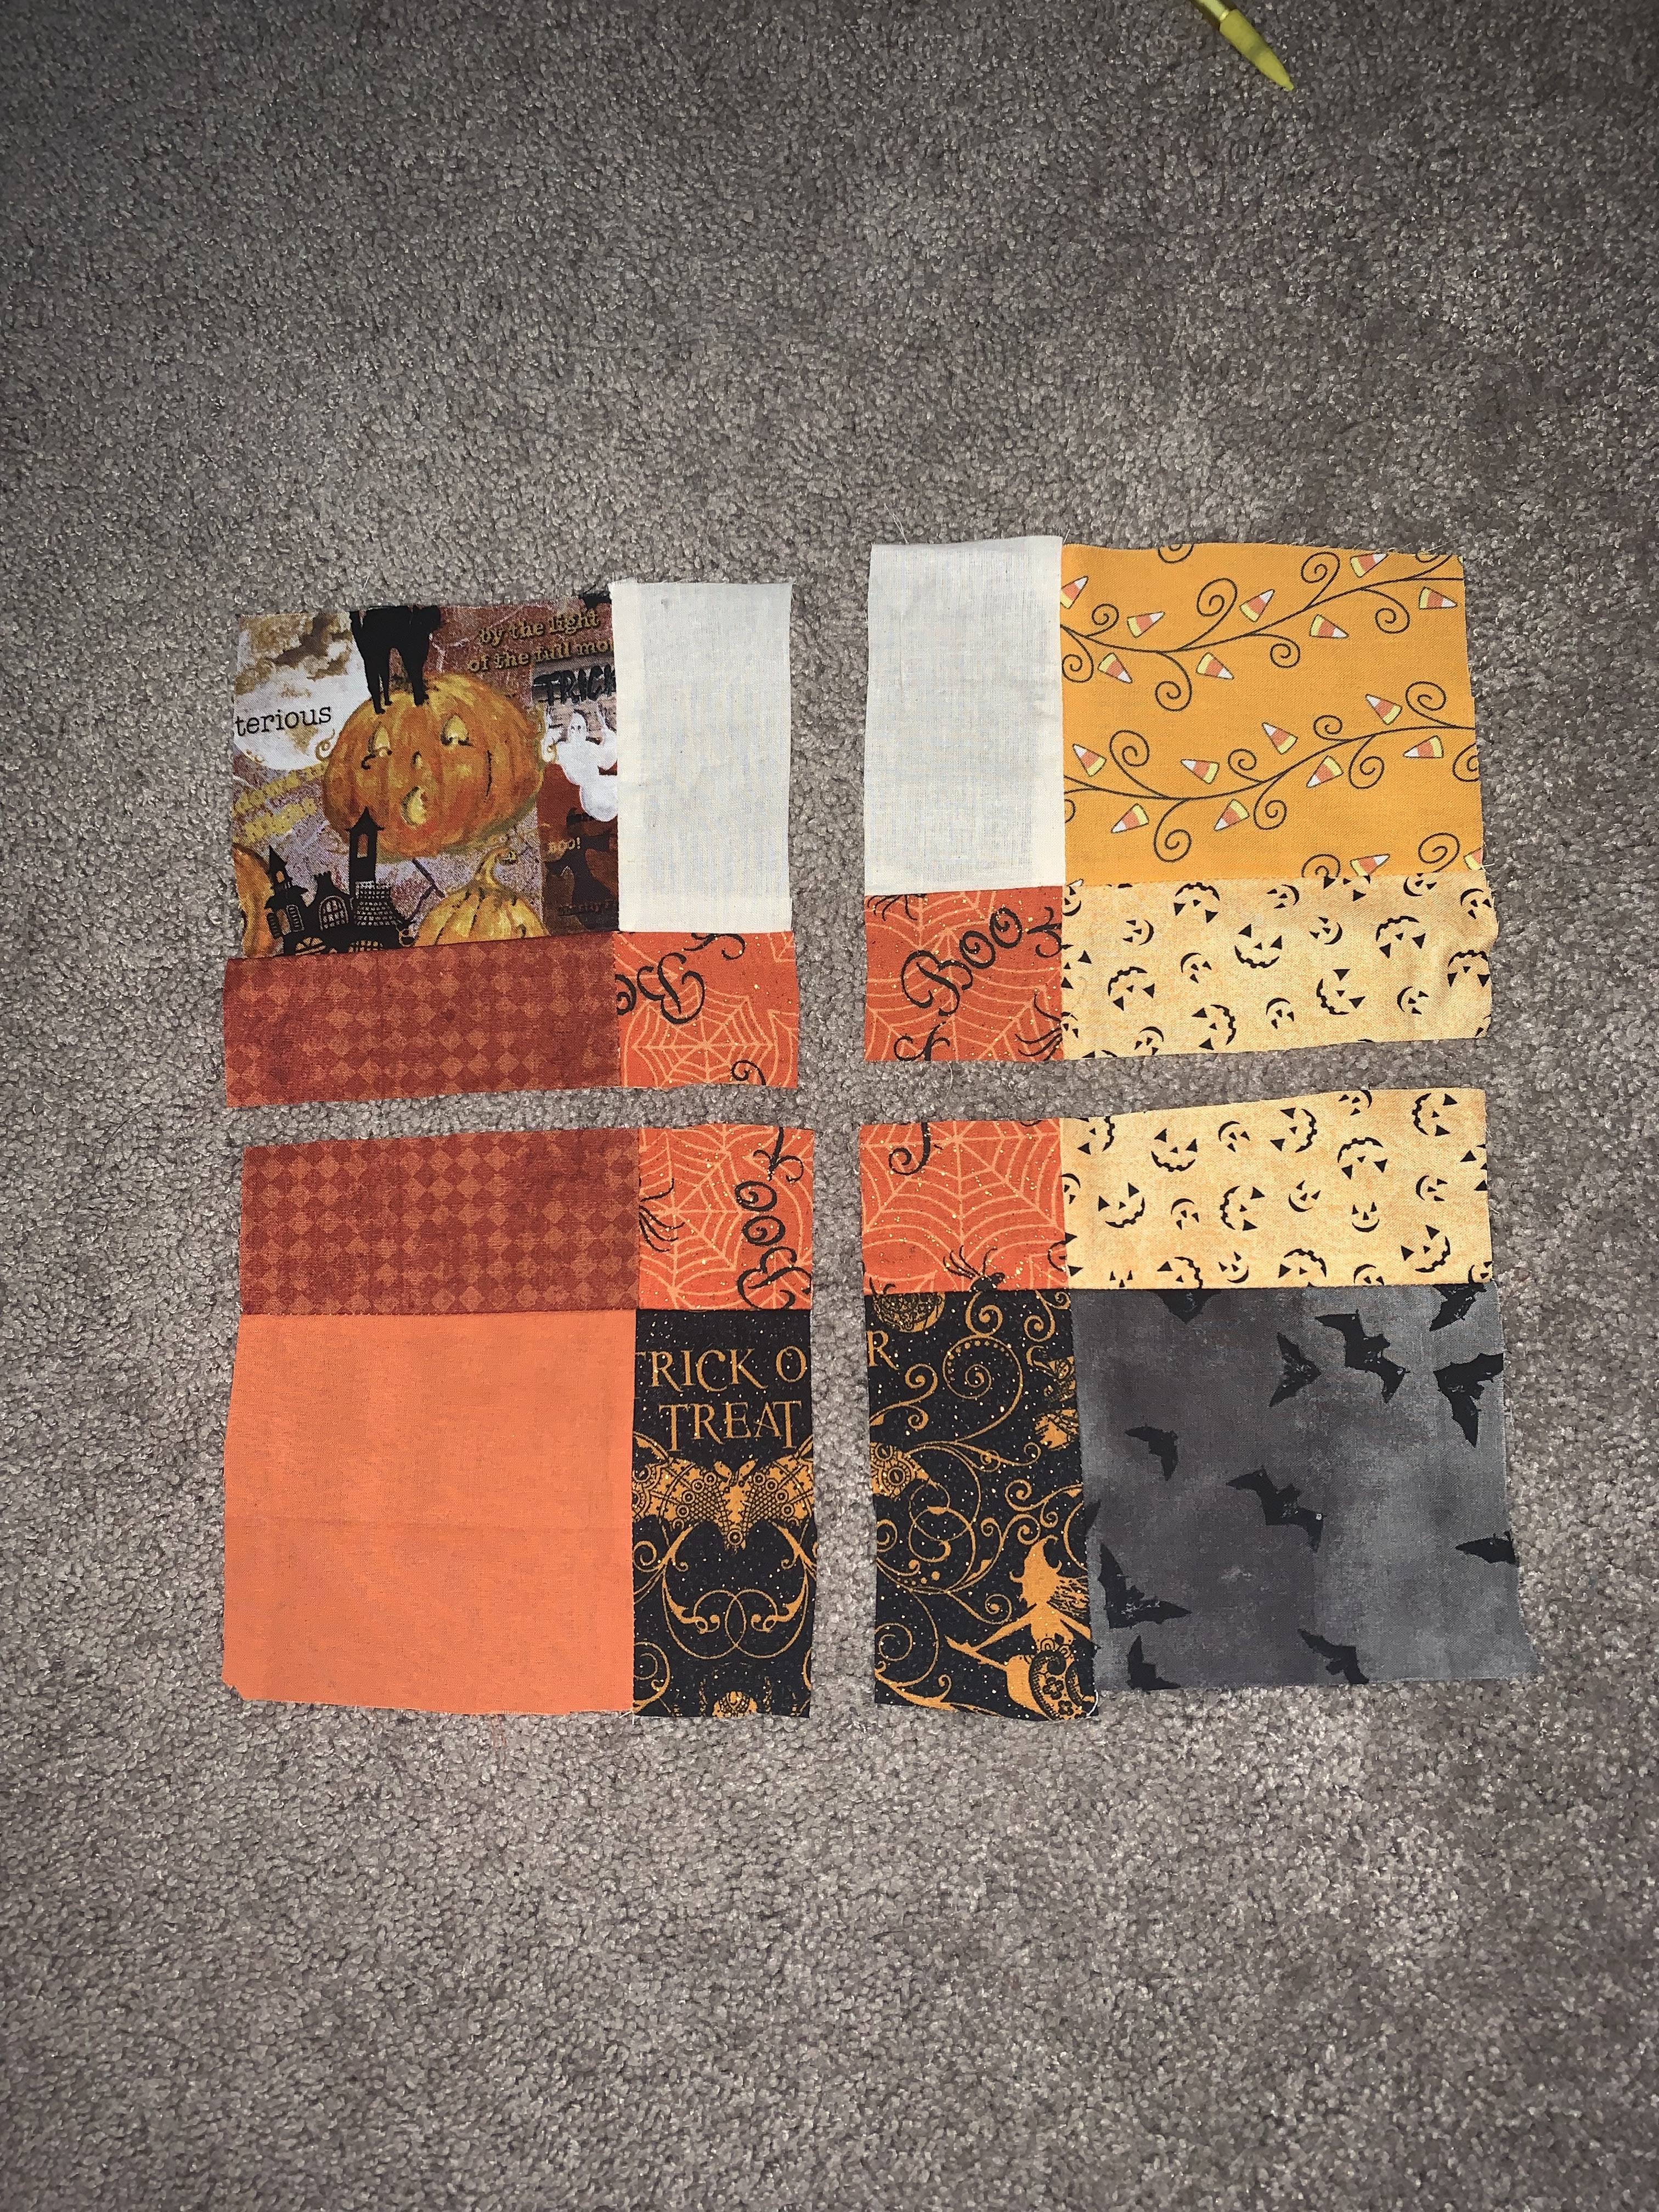
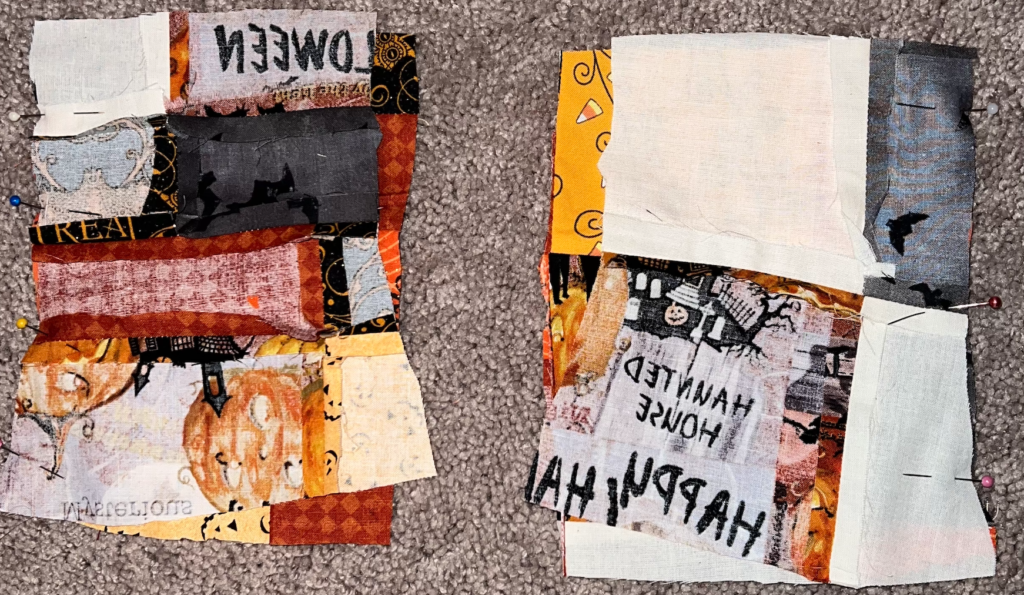
Once you have finished making all of your nine patches it is time to turn them into a disappearing nine patches. Cut each nine patch down the center and across the middle.
Halloween Corset – Step 6
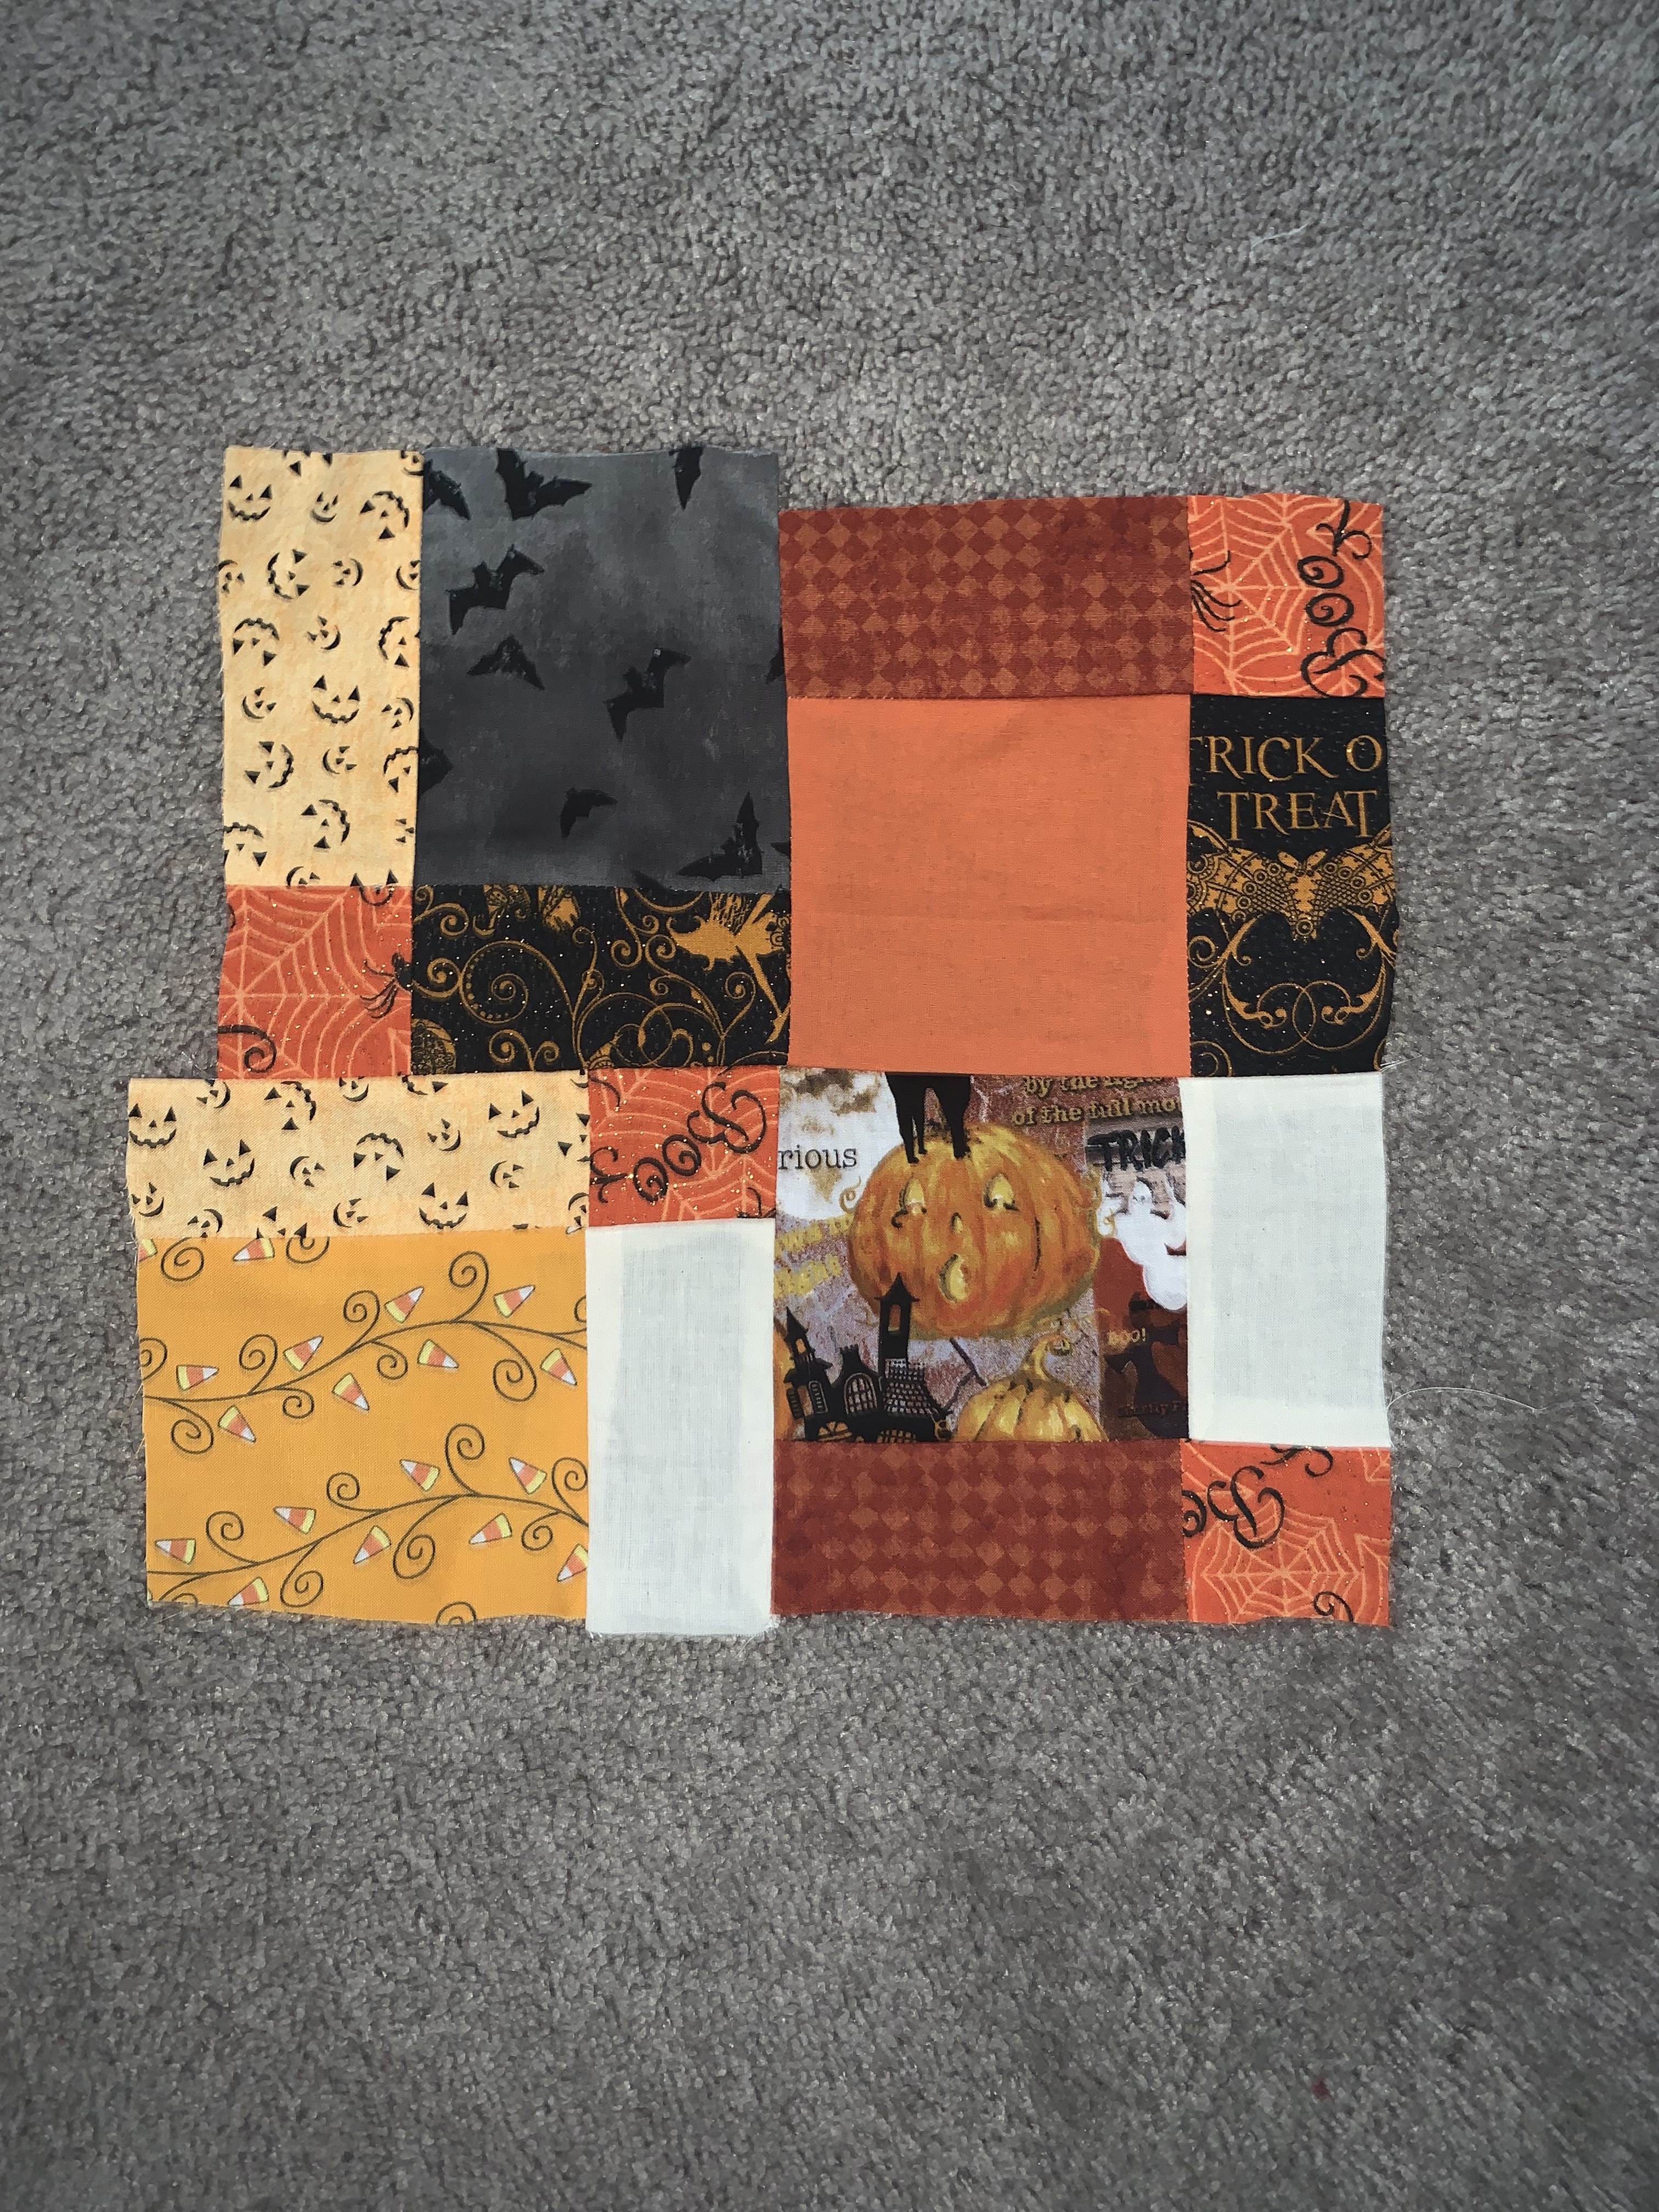
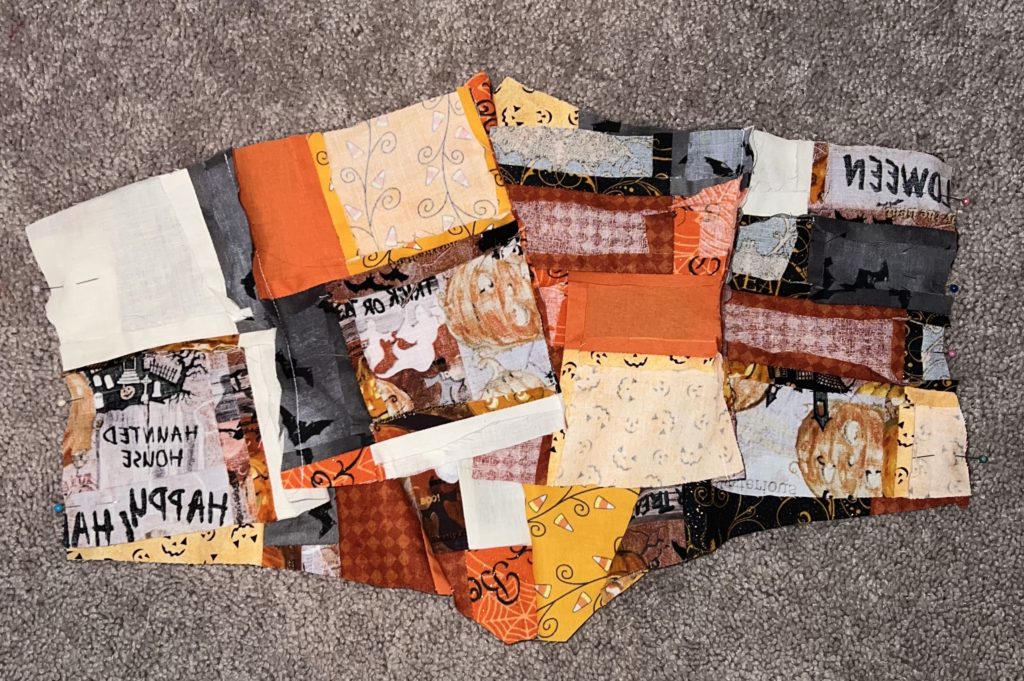
Then you are going to rotate each square so that they look like random patches. Once you have them the way you like them sew them together just like we did with the nine patch, except this time it’s a four patch. Trim and press all of your seams. Make sure you do this to all of your nine patches.
Halloween Corset – Step 7
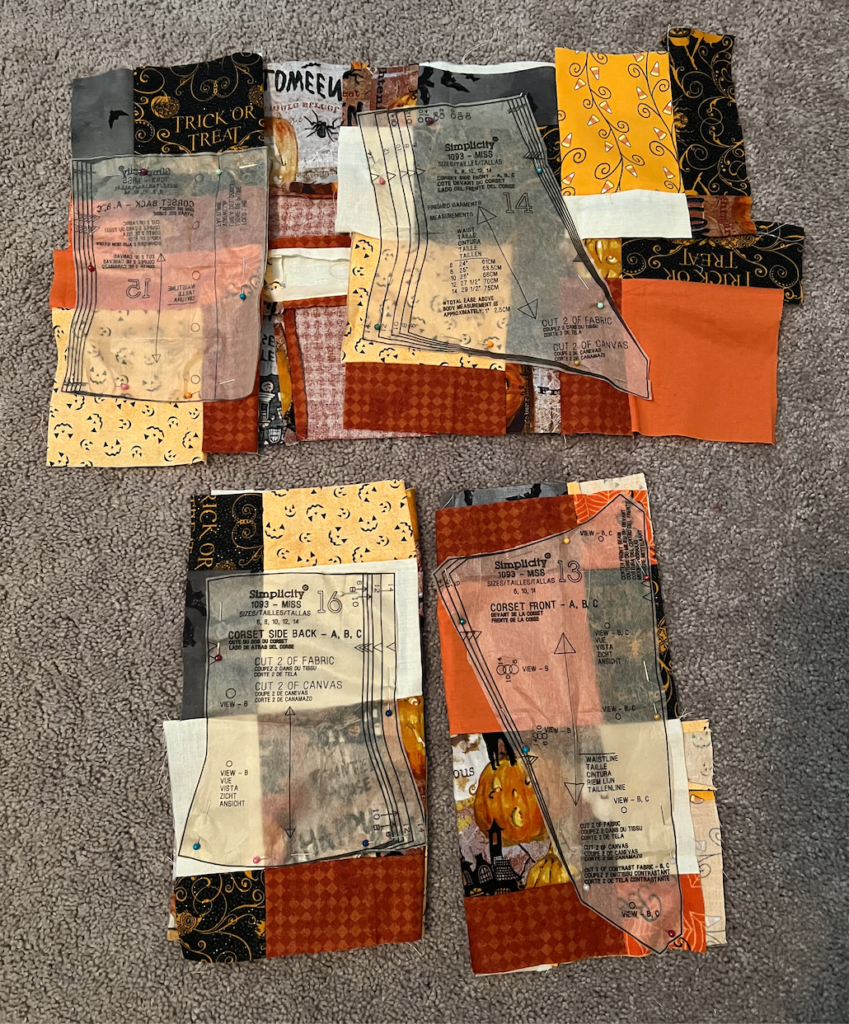
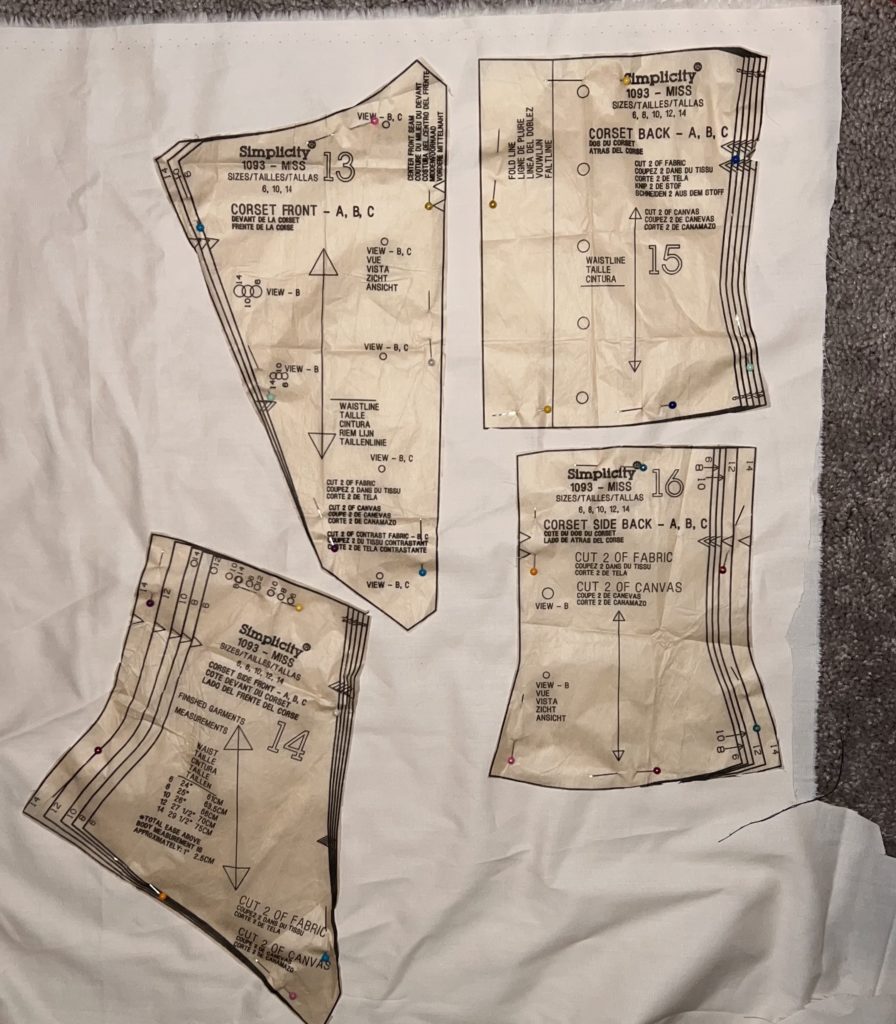
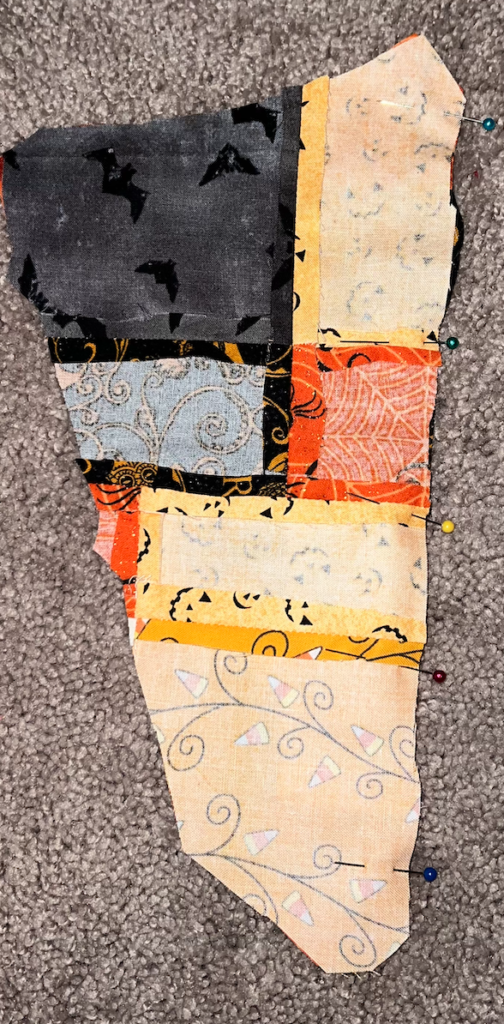
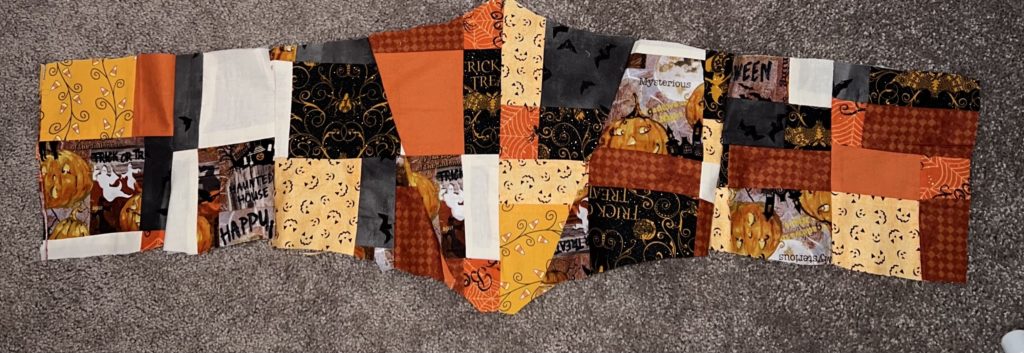
Now you are going to pin and cut out all of your corset pieces from the Halloween Patchwork pieces. I used the pattern Simplicity 1093 but you can use any corset pattern that you like.
Halloween Corset – Step 8
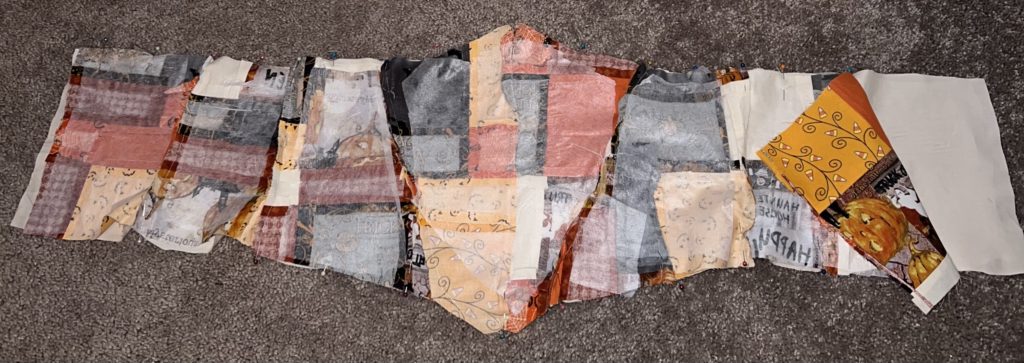
Then pin and cut out all of your corset pieces from your lining fabric.
Halloween Corset – Step 9
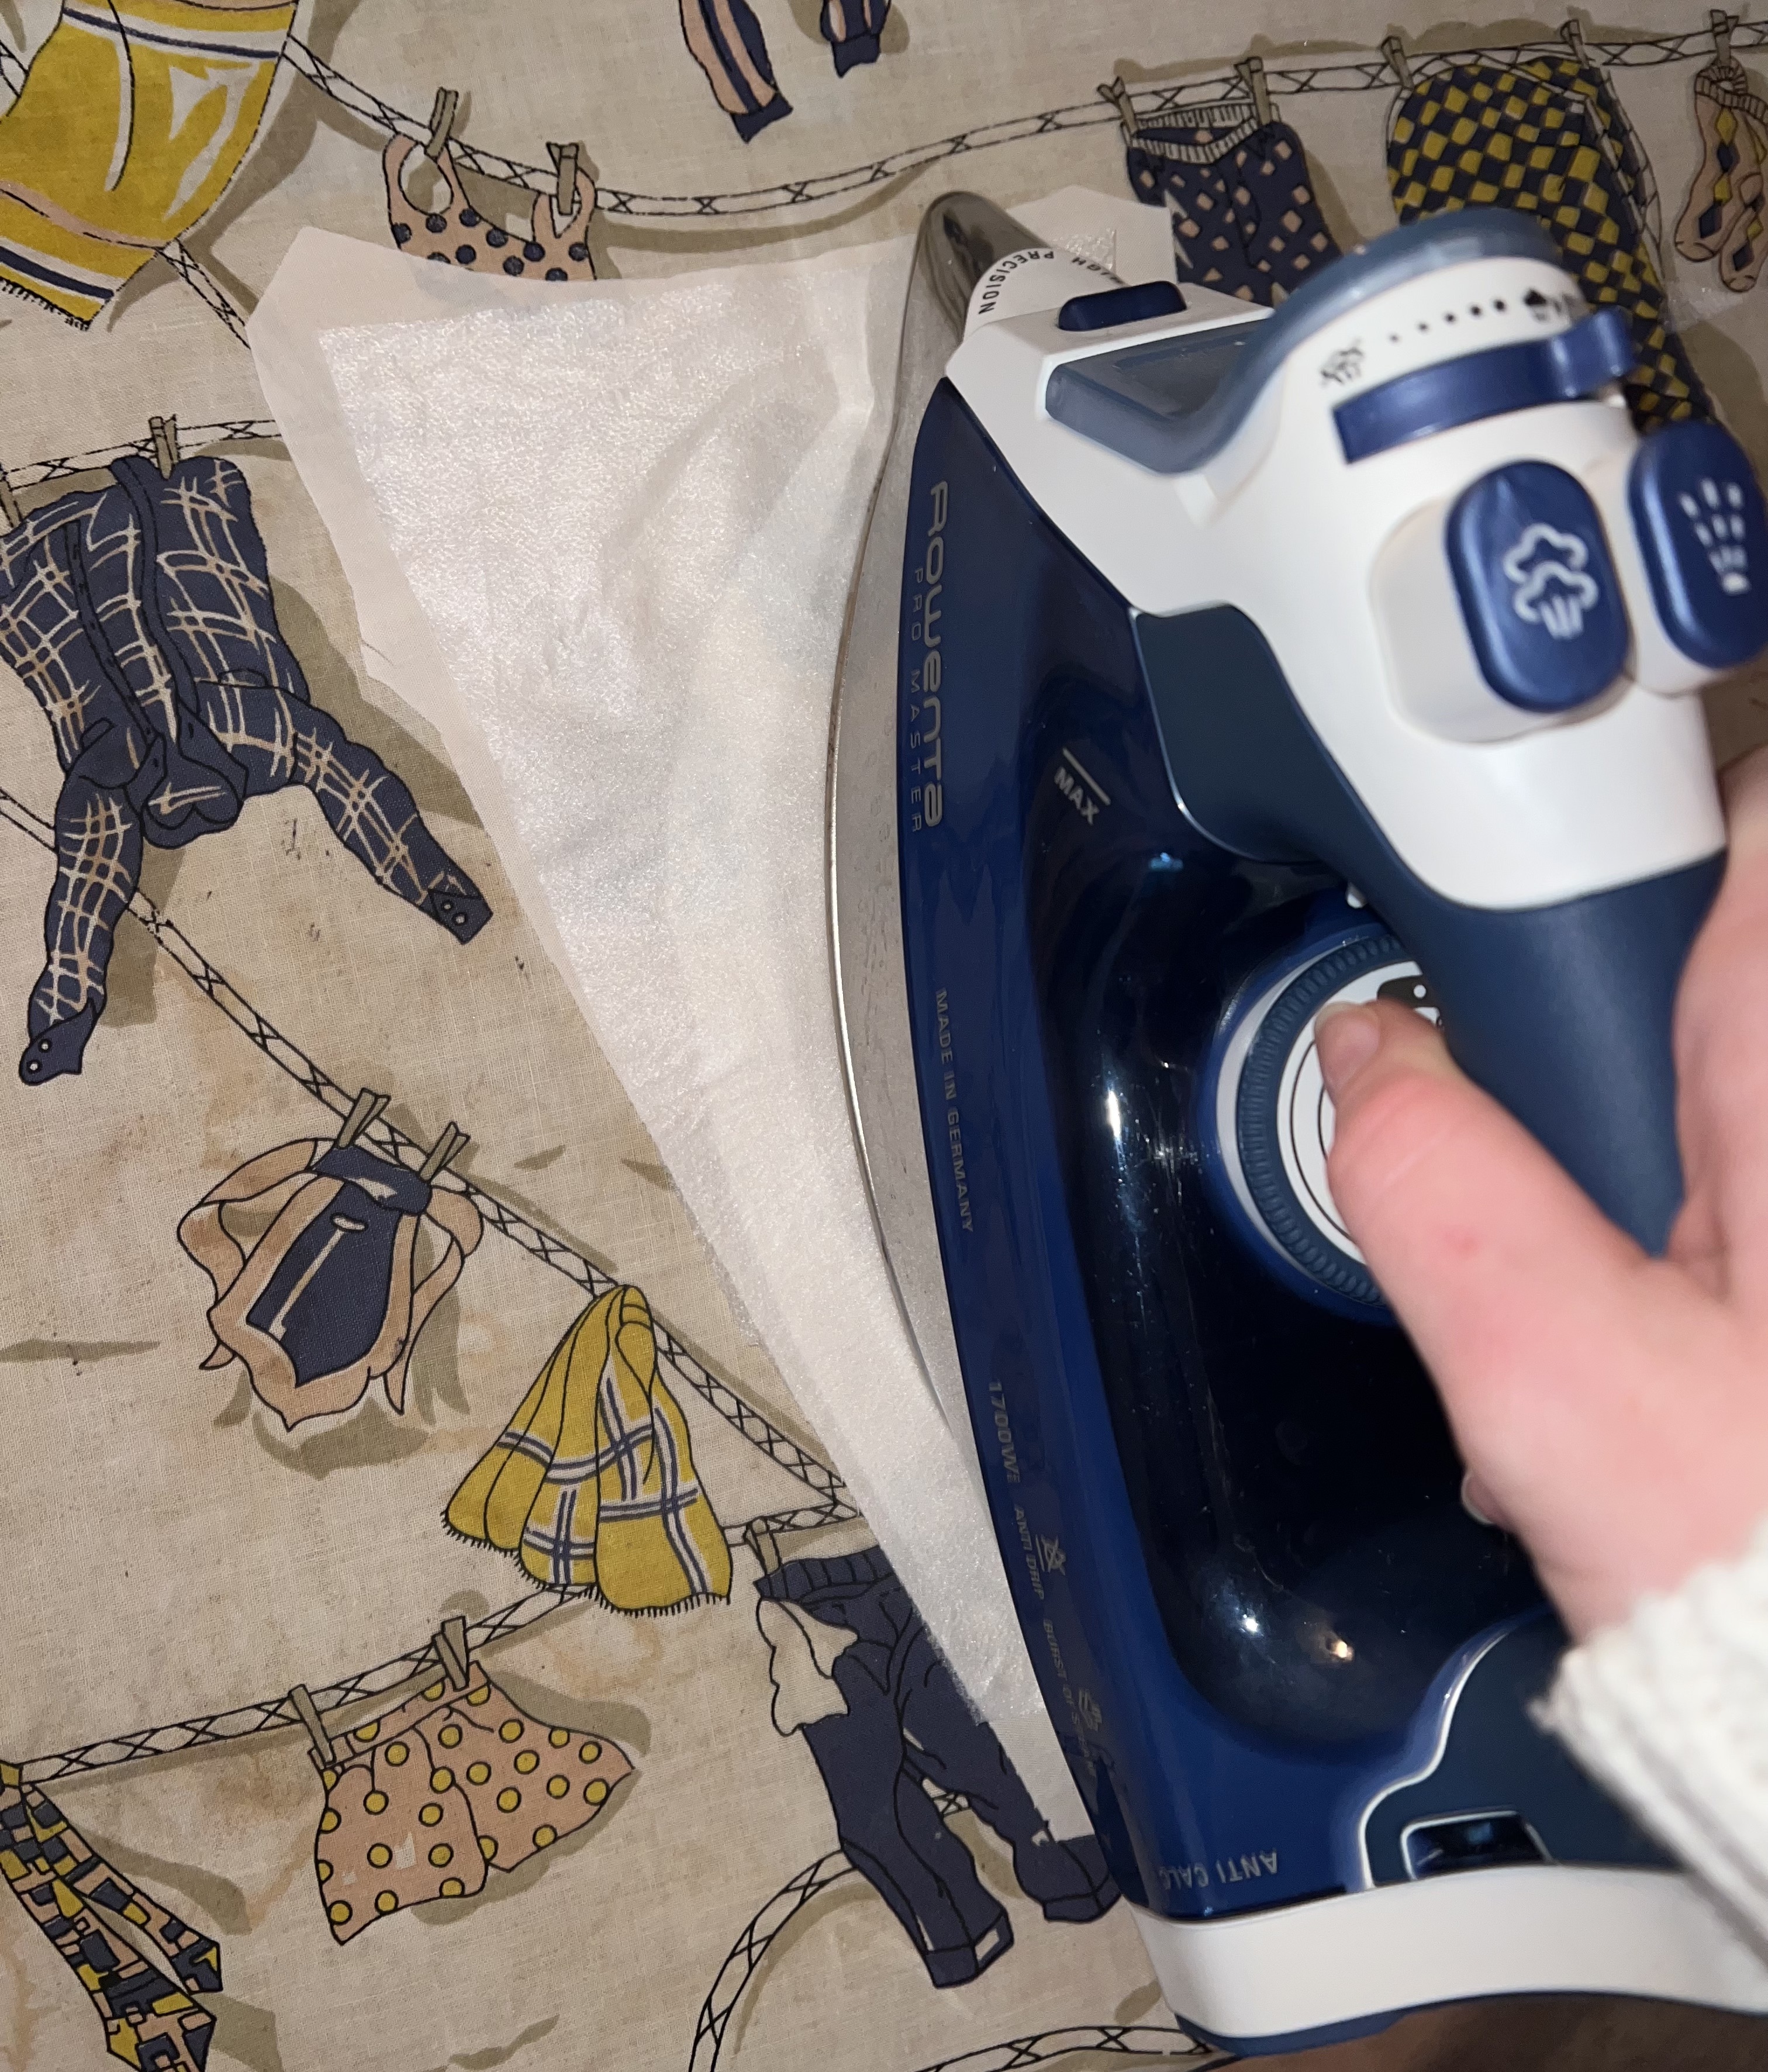
Add interfacing to all of your pattern pieces for structure. Make sure to follow the manufacturers instructions. I put interfacing on both my lining and Halloween fabric because my interfacing was thin but you can just put it on the Halloween fabric if yours is thicker.
Halloween Corset – Step 10
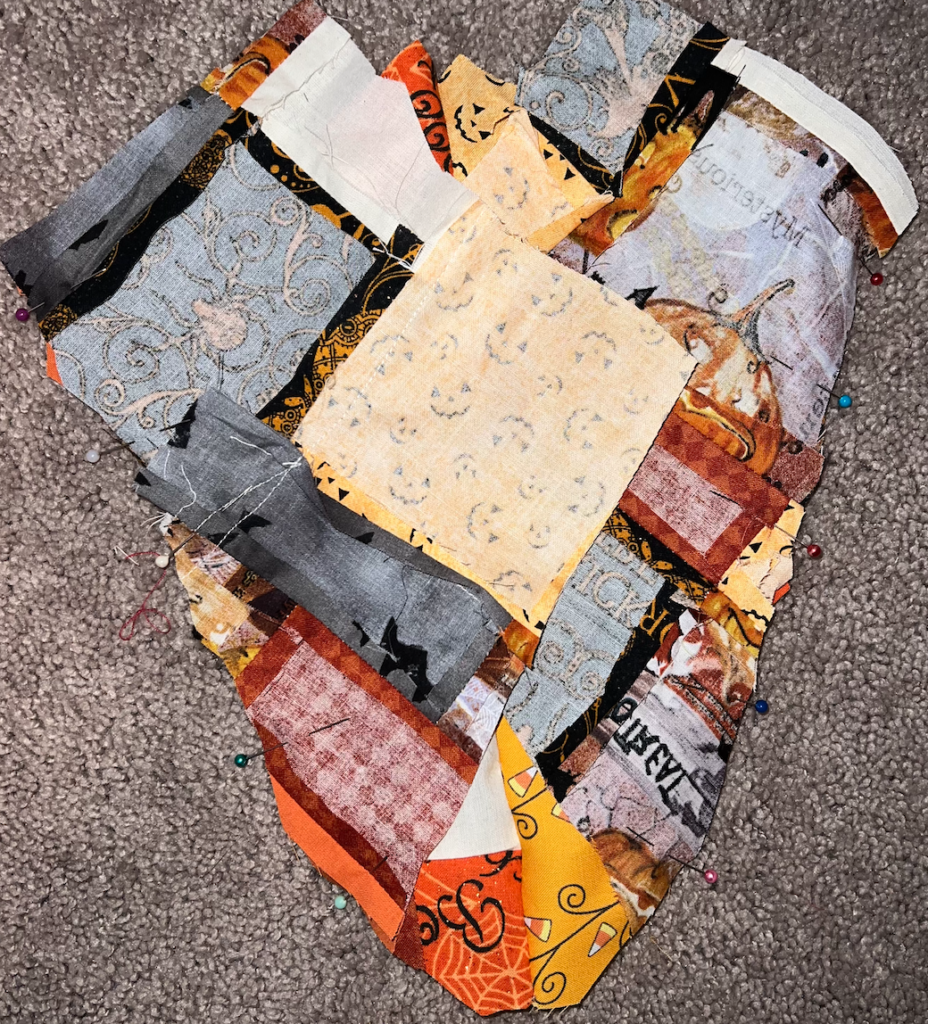
It’s time to start sewing your corset together. Start by pining and sewing your right side of your front pieces down the center seam, making sure to match edges and notches.
Halloween Corset – Step 11
Now you are going to pin and sew your side front pieces right sides together. You want to match your notches so that you know you are putting the right seams together.
Halloween Corset – Step 12
Pin and sew your back and side back pieces right sides together. Check that you are matching your notches and seams.
Halloween Corset – Step 13
Next pin and sew the side seams of your side pieces right sides together. Verify that you are matching your notches and side seams. Quickly wrap the corset around you to make sure that your corset fits. There should be a little extra in the back for grommets. Once you finished putting your corset pieces together with your Halloween fabric do repeat these steps for the lining fabric as well. Press all of your seams of your corset pieces nice and flat.
Halloween Corset – Step 14
It is now time to sew your lining and Halloween fabric pieces together. If you want to add boning for extra structure go ahead and do that now before this step. Pin and sew the top and bottom edges of your corset pieces pretty sides together. Make sure to leave the side edges open so that you can turn your corset later.
Halloween Corset – Step 15
Trim the seams of your corset top and bottom. After that turn your corset pretty sides out through the sides. Make sure to poke out that edge and press the corset flat. If you want to keep that top and bottom edge from rolling, go ahead and top stitch the edge.
Halloween Corset – Step 16
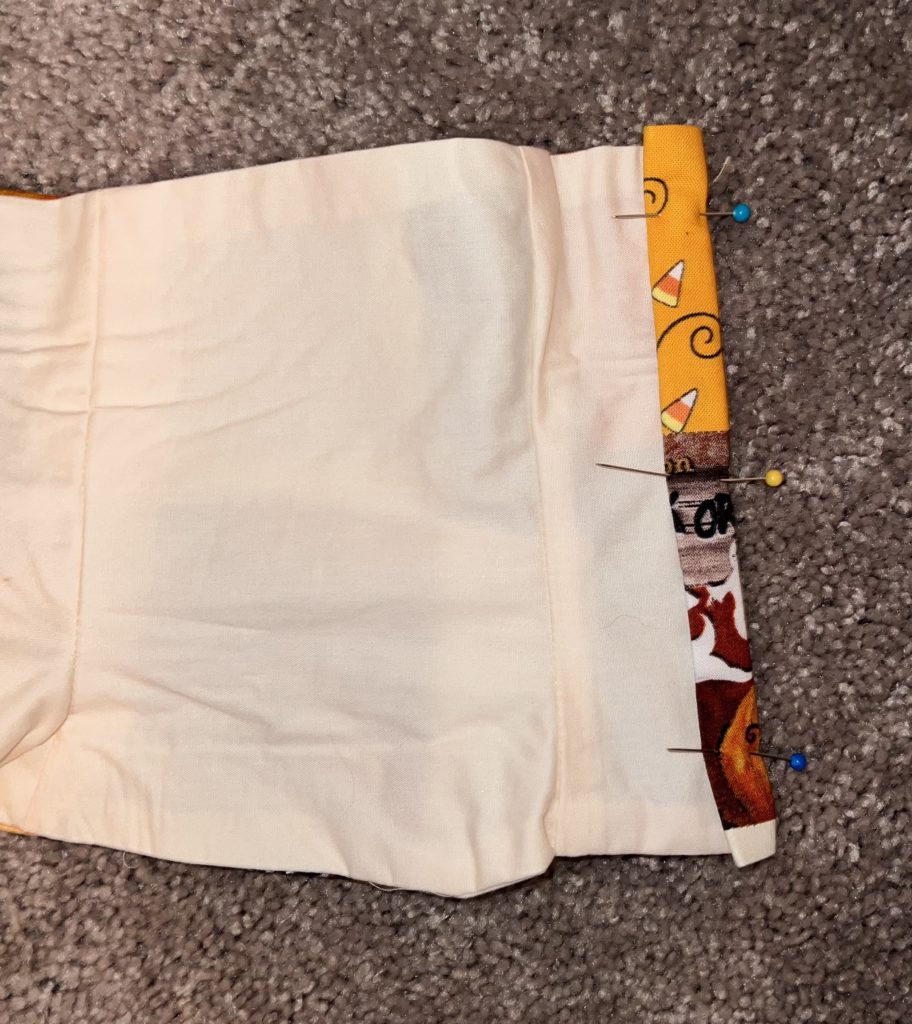
Next, fold the side edges a half an inch twice in towards the lining. Pin and sew these edges pressure foot edge.
Halloween Corset – Step 17
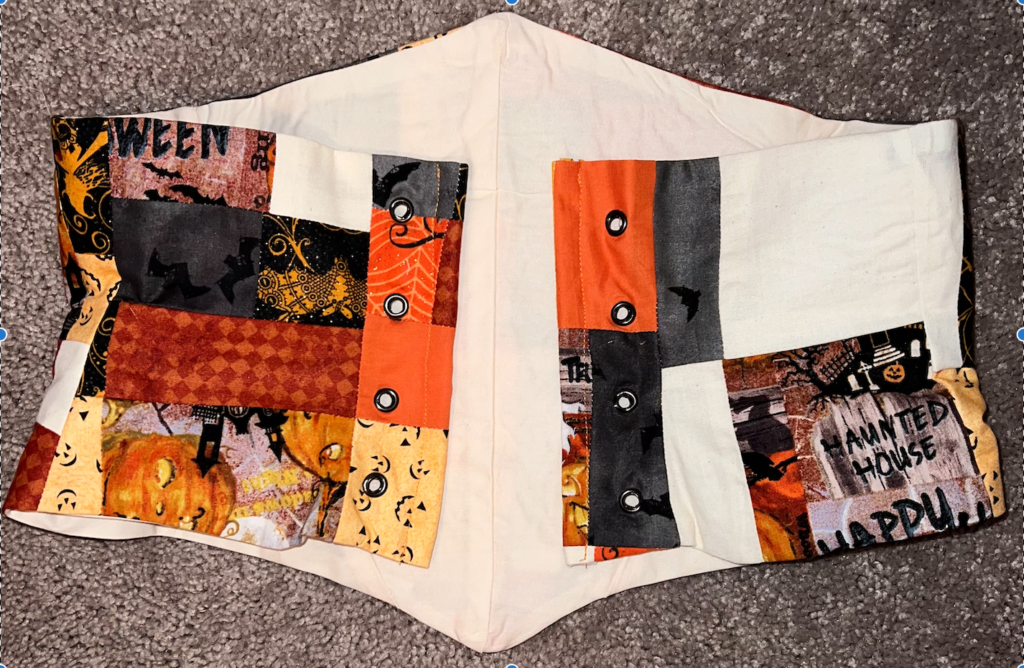
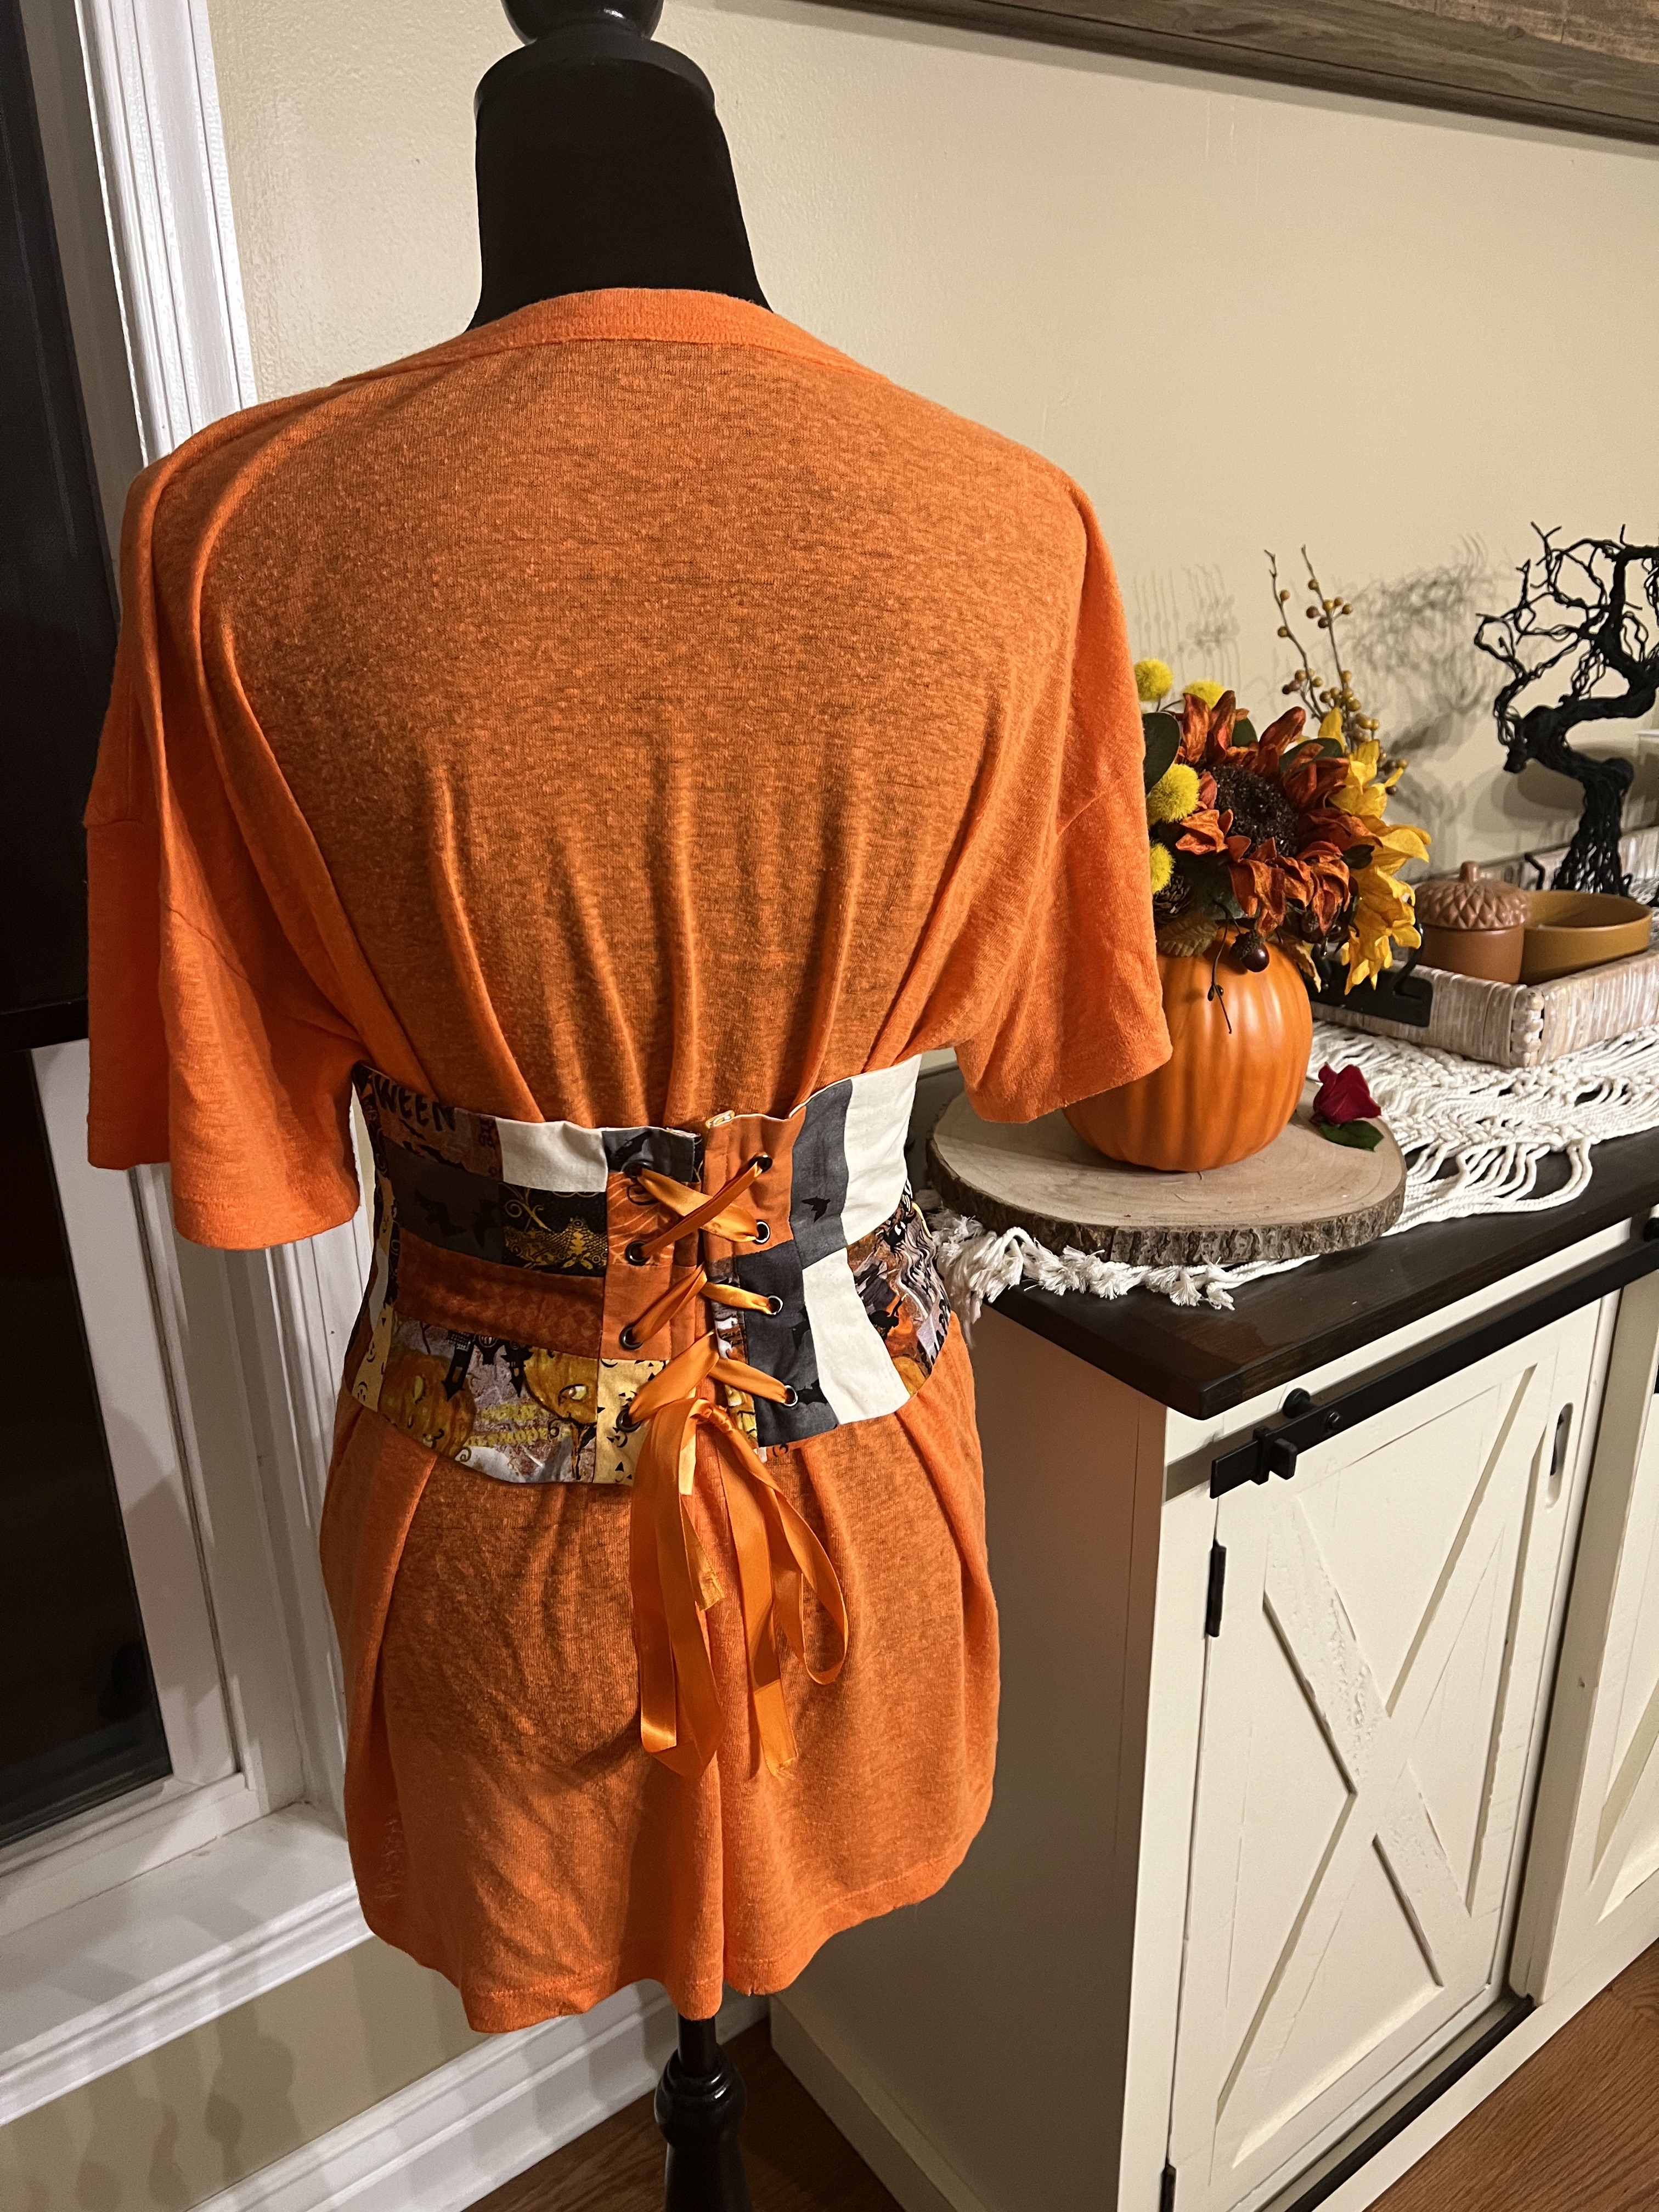
Finally, add grommets to the back of your corset and thread some ribbon through. If you don’t want to put grommets in go ahead and add some other closure (separating zipper, loops, etc).
You now have a spooky good corset to wear to any Halloween event!

PIN IT FOR LATER





Leave a Reply