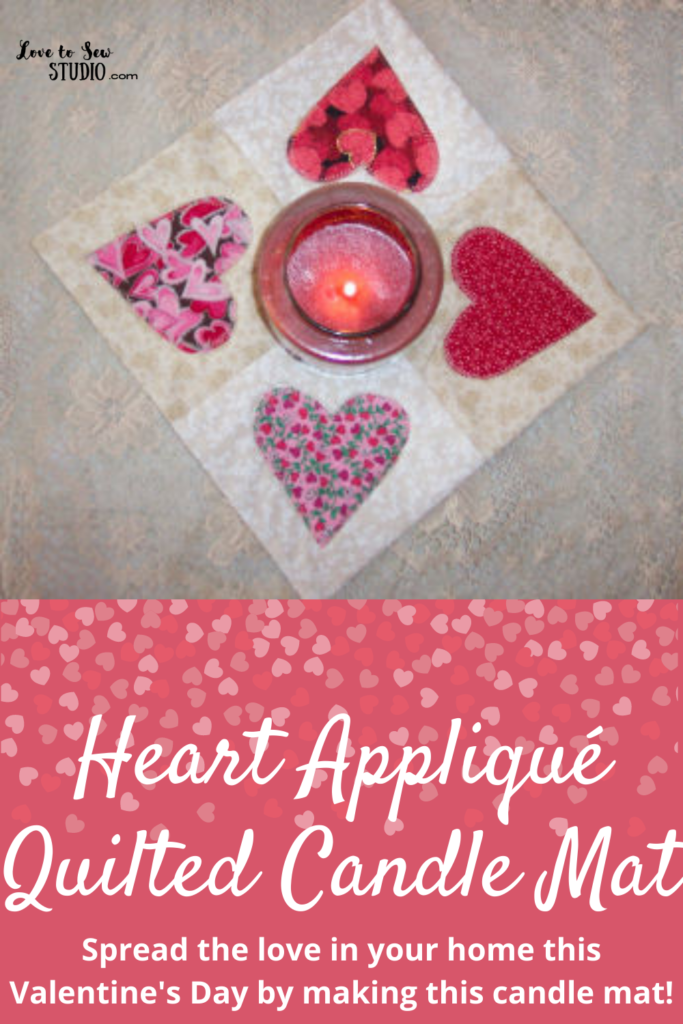
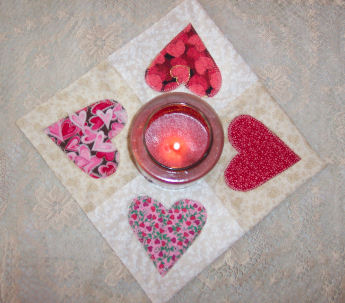
This sweet Valentine Heart Appliqué Quilt is quick and easy to make, and will look great with a scented candle. I love spreading some love especially on Valentine’s Day and this sewing project is one way I can do it!
This post contains affiliate links. You can read my full disclosure HERE.
SPREAD SOME VALENTINE CHEER WITH THIS HEART QUILTED CANDLE MAT! HERE IS WHAT WE USED TO MAKE IT:
- pink, red, and cream cotton Valentine fabric
- quilt batting
- basic sewing supplies
Heart Appliqué Quilted Candle Mat – Step 1
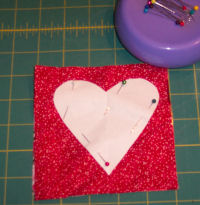
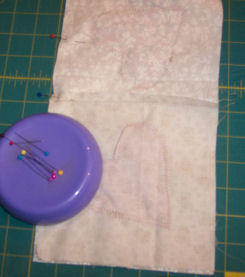
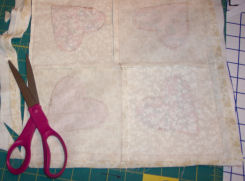
First you will need to make yourself a heart pattern from paper. The heart should measure about 4″. Cut four squares from red or pink Valentine’s print fabric measuring 5 1/2 “. Pin and cut out four hearts from the fabric squares.
Heart Appliqué Quilted Candle Mat – Step 2
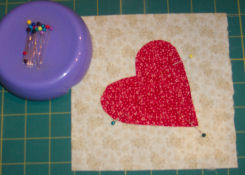
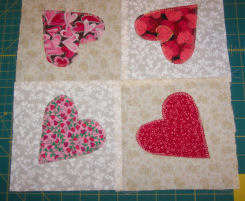
Cut four 6 1/2″ squares of cream colored fabric for your quilt top. Place one heart on one quilt top square with the point of the heart facing the bottom right corner of the square as shown in the photo. Center the heart and pin in place. We will be using the machine appliqué method. To appliqué the hearts on, zigzag around the heart staying as close to the edge of the outside of the heart as possible.
Heart Appliqué Quilted Candle Mat – Step 3
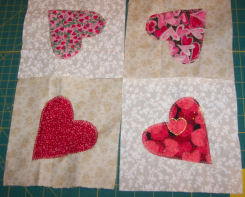
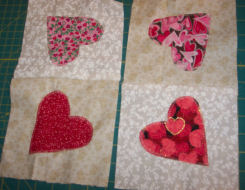
Do this to all of your hearts and squares until you have four as shown in the photo. Line up the hearts the way you want them to appear on your quilt top. (All the points of the hearts should be facing the outer corners of the quilt top as shown in the photo above.)
Heart Appliqué Quilted Candle Mat – Step 4
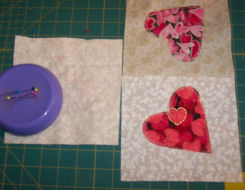
Now let’s put the quilt top together. First take the two squares on the right and pin them pretty sides together. Stitch using a 1/4″ seam or use the pressure foot as your guide.
Heart Appliqué Quilted Candle Mat – Step 5
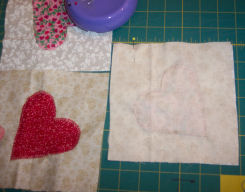
Look at the photo above. Notice the two squares on the right are sewn together. Now we will do the same for the two squares on the left. Place them pretty sides together and stitch a 1/4″ seam.
Heart Appliqué Quilted Candle Mat – Step 6
Now that both the right and the left sides of your quilt top are sewn together, we need to sew the two rows together to complete the quilt top.
Heart Appliqué Quilted Candle Mat – Step 7
Place the rows pretty sides together. Pin the center seam. Sew down the center seam using a 1/4″ seam allowance.
Heart Appliqué Quilted Candle Mat – Step 8
Now your quilt top is done. Using your quilt top as a guide cut out fabric for the quilt back and quilt batting the same size as the quilt top.
Heart Appliqué Quilted Candle Mat – Step 9
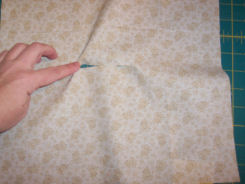
Cut a 3″ slit on the quilt back and batting at the same place. (This is where we are going to turn your mini quilt pretty side out after we sew it together.)
Heart Appliqué Quilted Candle Mat – Step 10
Place your three layers together. Quilt batting on the bottom. Then the quilt back with the pretty side up facing you. Last the quilt top with the pretty side facing down. Pin and sew all the way around your quilt top, once again using a 1/4″ seam allowance.
Heart Appliqué Quilted Candle Mat – Step 11
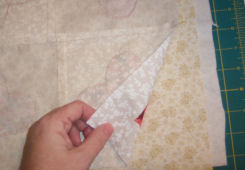
Trim corners and seams around your quilt. Turn quilt pretty side out. Poke out corners.
Heart Appliqué Quilted Candle Mat – Step 12
Hand stitch the opening (slit) closed. Press your quilt nice and flat. Now let’s quilt the three layers together. We are going to outline each heart with stitches. Straight stitch around each heart. Try and stay as close to the outer edge of the heart as possible with out sewing into the white fabric area.
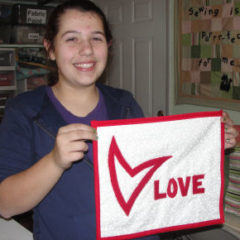
You sweet appliquéd quilt is now finished and ready to spread some love this Valentine’s Day!

PIN IT FOR LATER






Leave a Reply