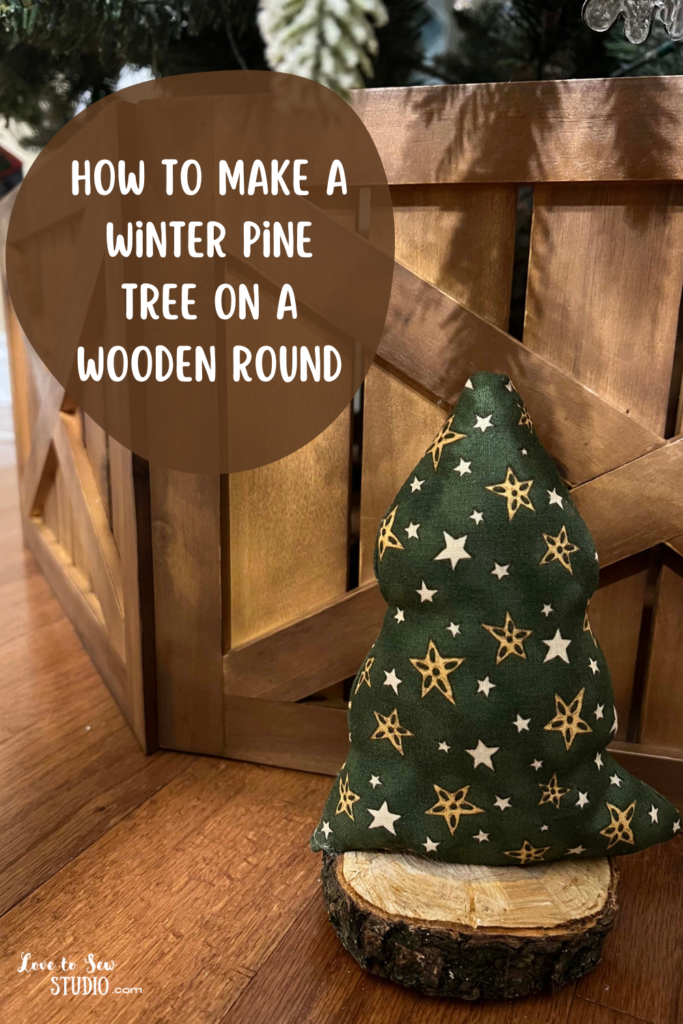
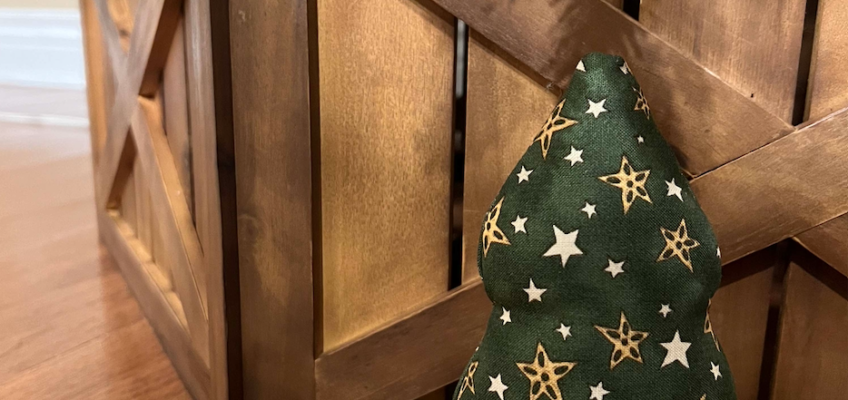
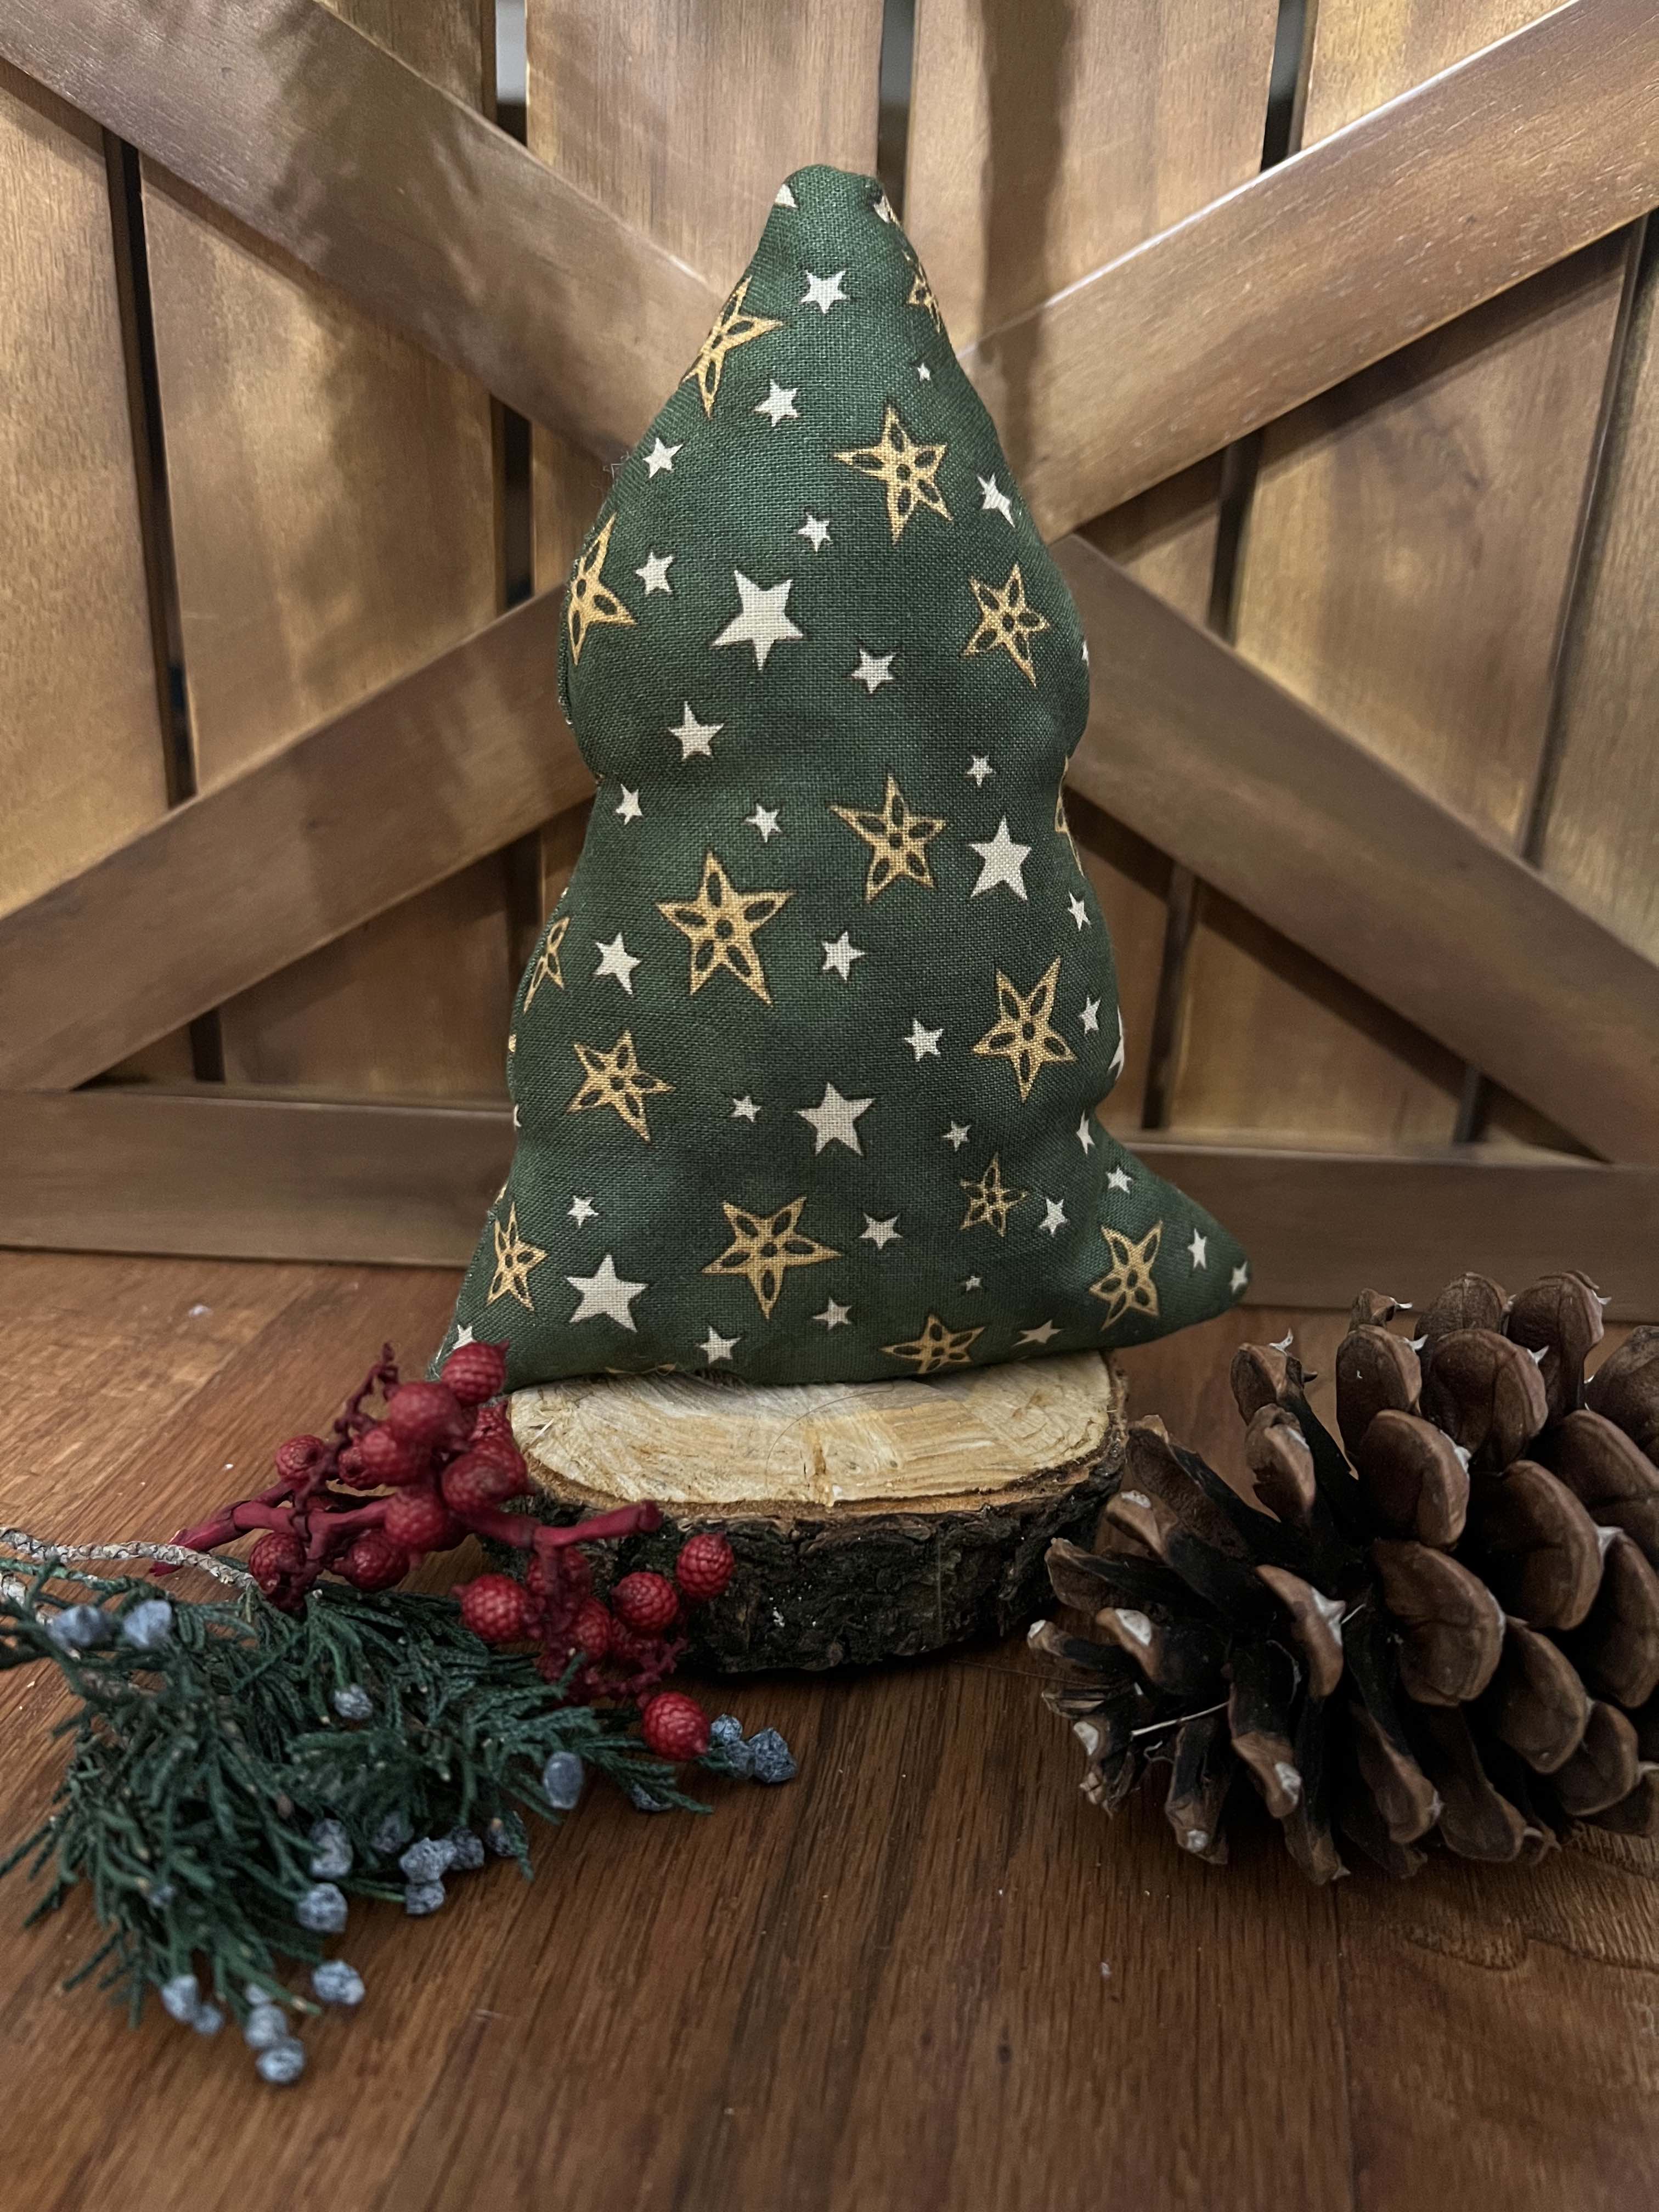
Get your home ready for this winter season with this woodland pine tree that was placed on a wooden round! It looks great for the holiday season as well as all winter long. This tree looks beside some pine, acorns, or some wood!
This post contains affiliate links. You can read my full disclosure HERE.
DISPLAY THIS WINTER PINE TREE ANYWHERE IN YOUR HOME THIS WINTER! HERE IS WHAT WE USED TO MAKE IT:
- winter or holiday fabric
- wooden round
- stuffing
- hot glue
- basic sewing supplies
Feel free to use our free winter tree pattern!
Winter Tree – Step 1
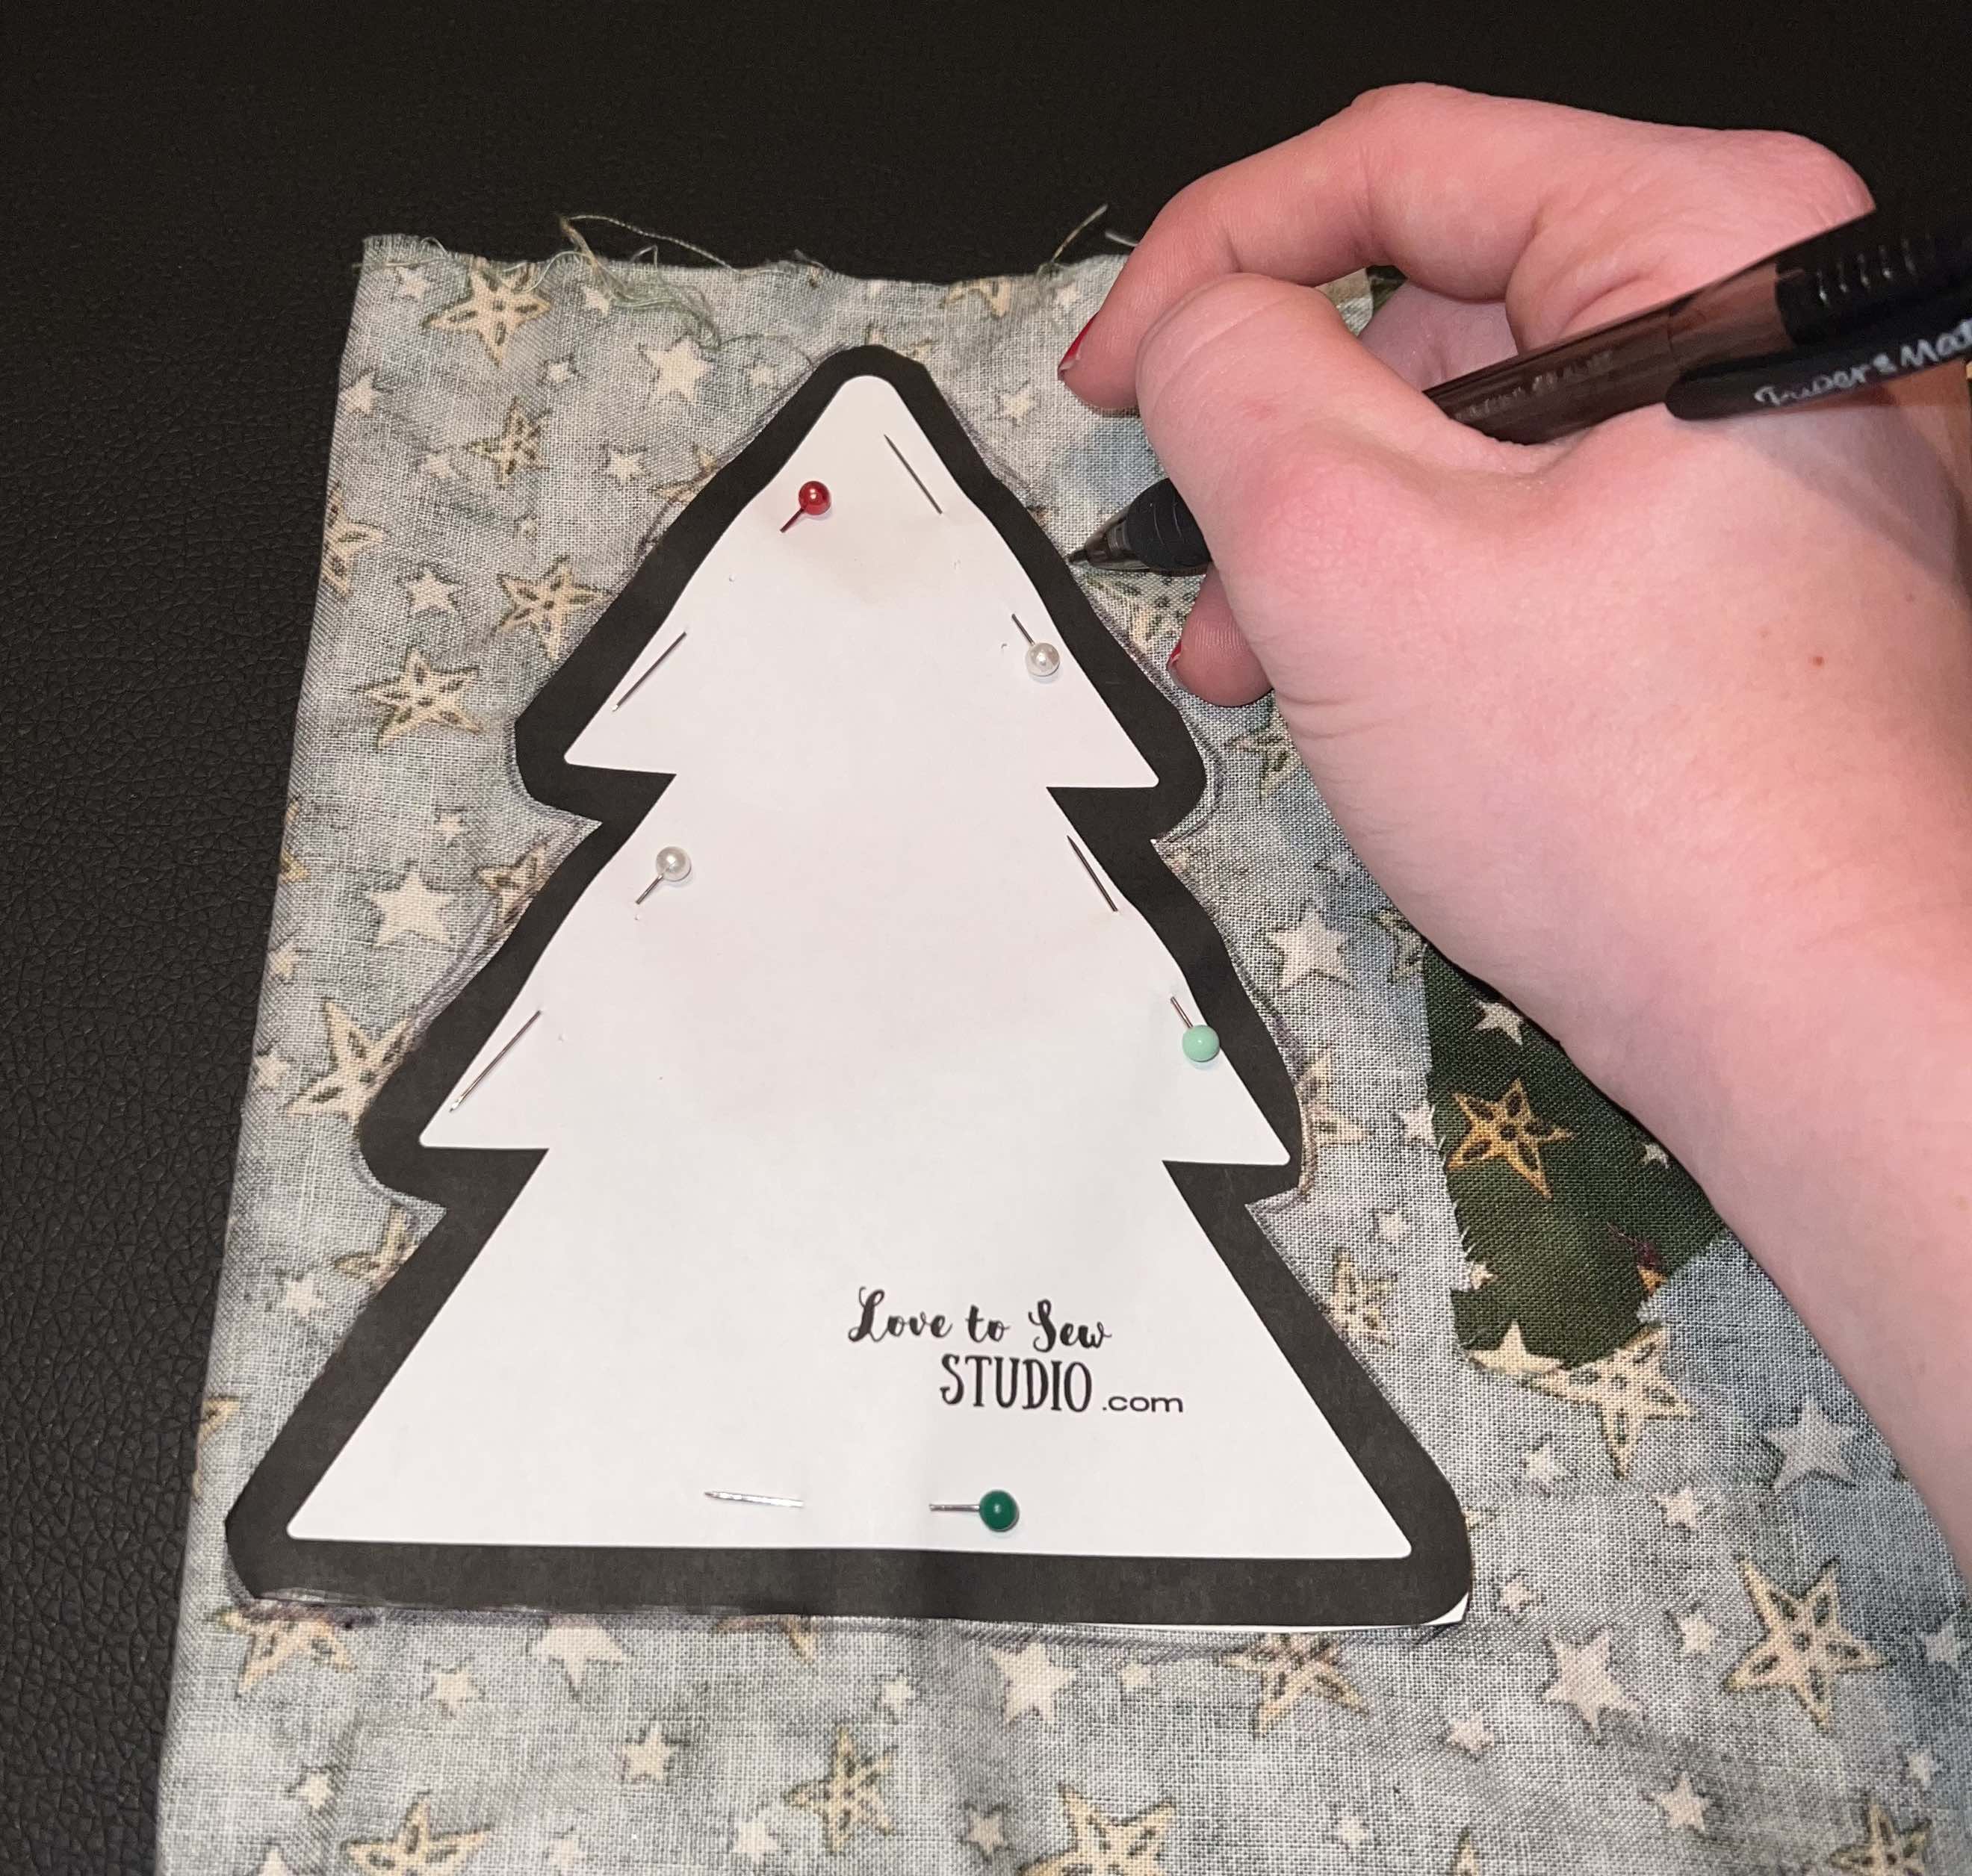
Start by cutting out your winter tree pattern. Feel free to use our free winter tree pattern! After that you are going to fold your fabric in half so that the ugly (non patterned side) of your fabric is facing out. Once you have done that pin your tree pattern through all the layers. Using a pen trace around your tree pattern as shown above.
Winter Tree – Step 2
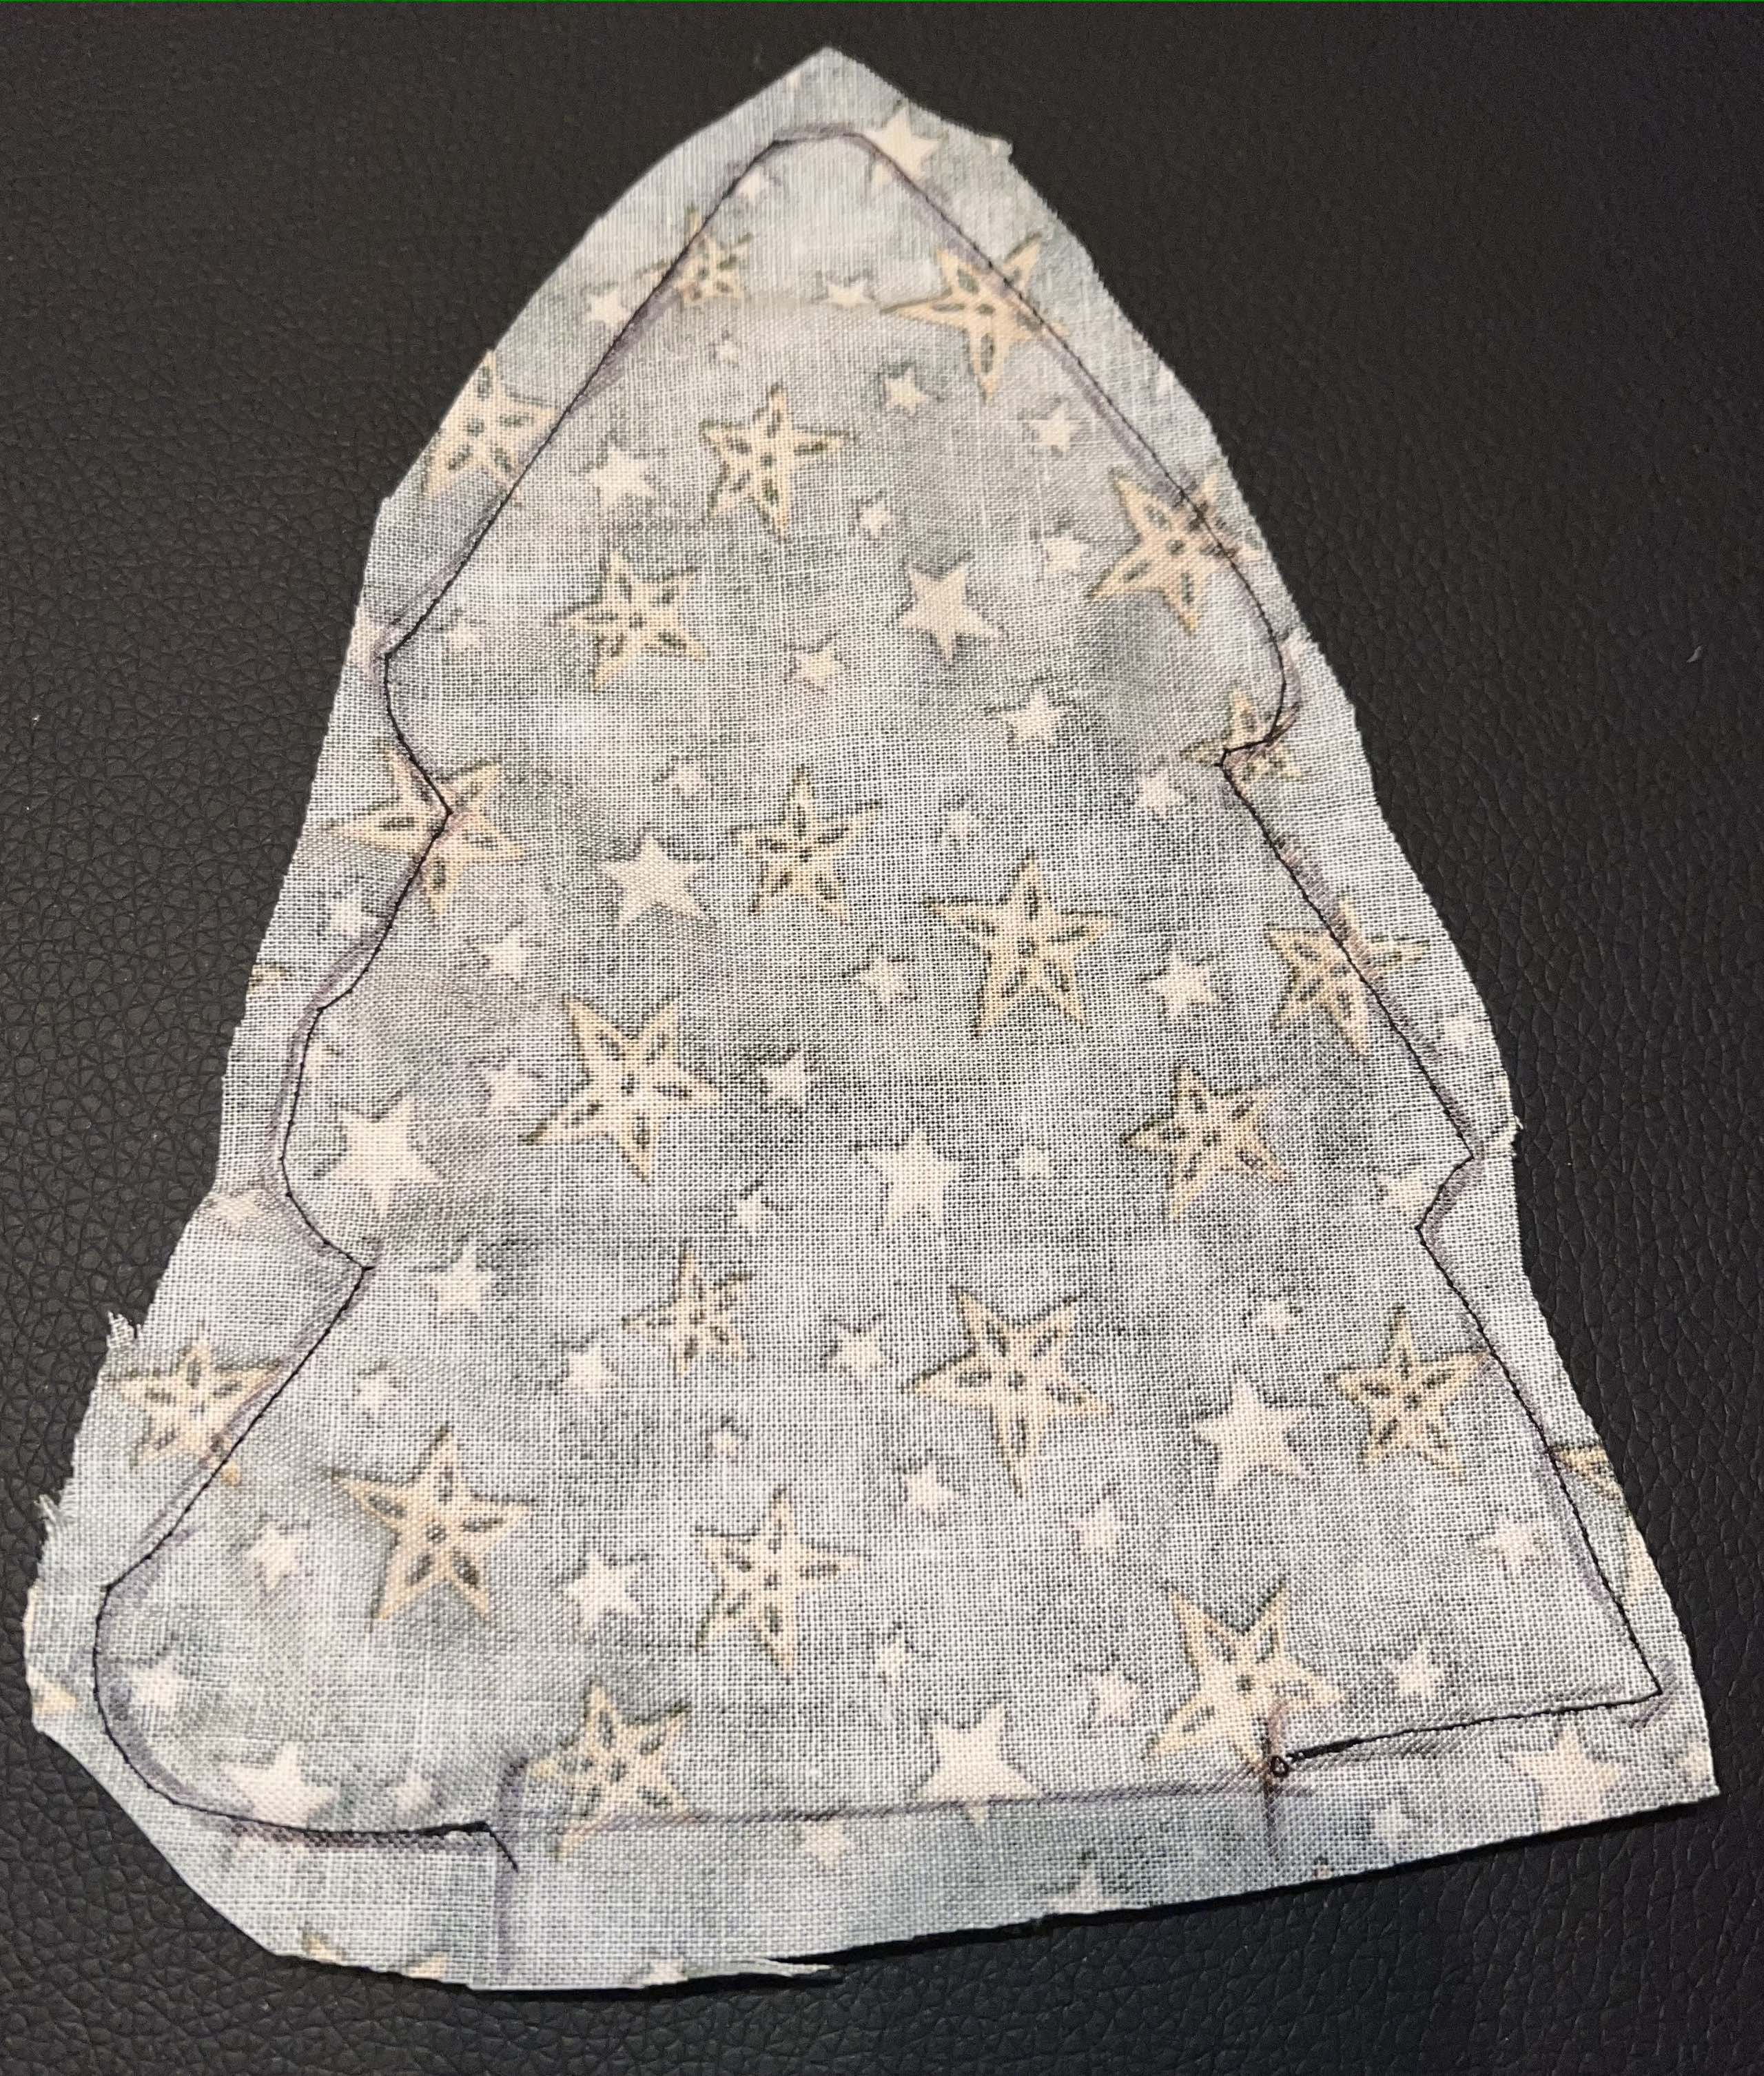
Next you are going to sew around on the line that you just previously traced. Make sure to leave an opening at the bottom about 2 inches (I marked mine with pen lines). After that cut out your tree making sure not to cut into your stitching.
Winter Tree – Step 3
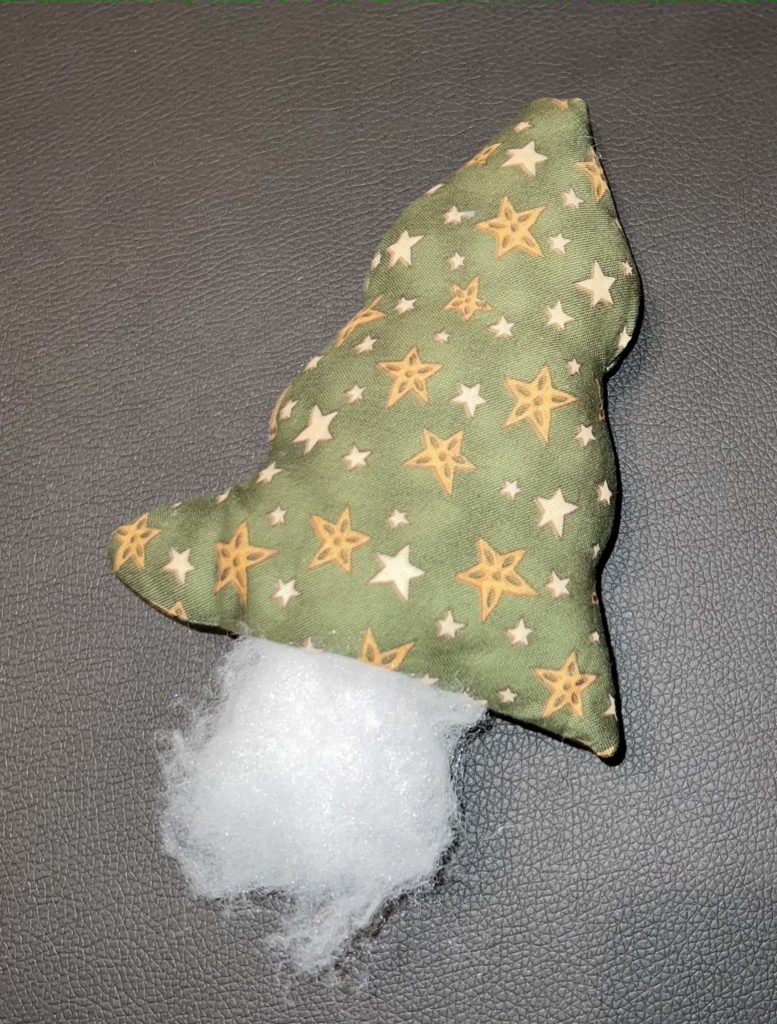
Then turn your tree pretty sides out, poke out your corners, and stuff it.
Winter Tree – Step 4
Finally use hot glue to attach your tree to the wooden round.
Your winter pine tree is now finished and ready to decorate your home this season!

PIN IT FOR LATER








Leave a Reply