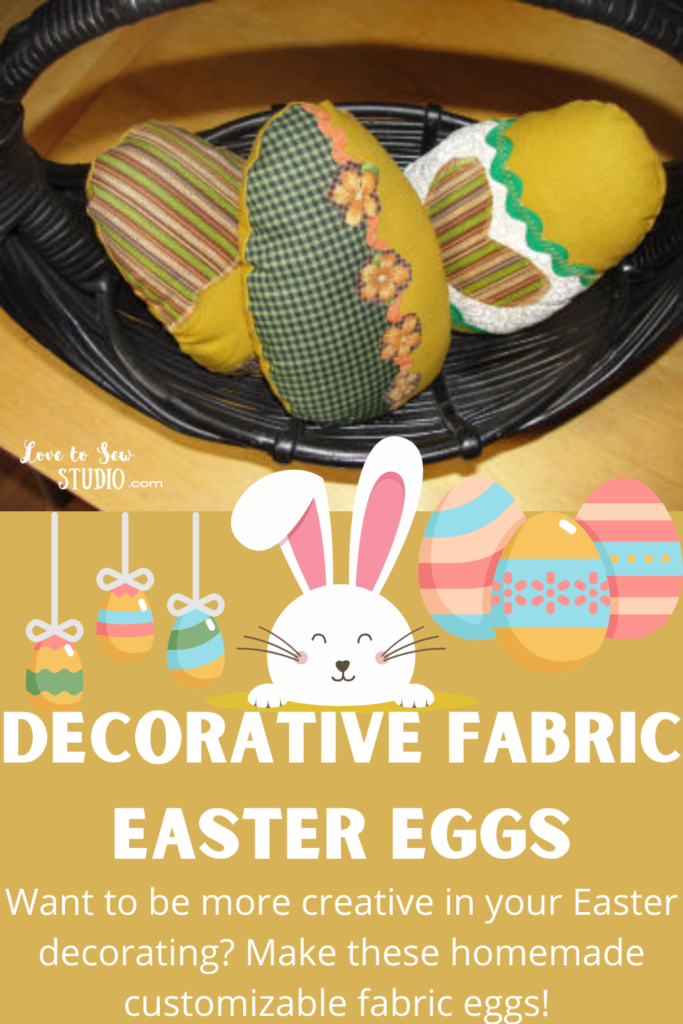
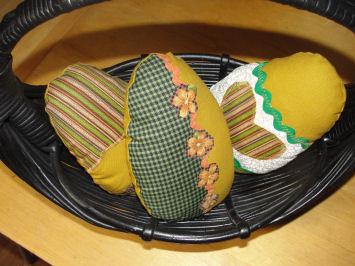
These adorable fabric Easter eggs are fast and easy to sew together. You can be as creative as you want to be. When you’re done, place them in a basket with Easter grass. Happy Spring Sewing!
This post contains affiliate links. You can read my full disclosure HERE.
CREATE SOMETHING BEAUTIFUL FOR YOUR HOME THIS EASTER WITH THESE FABRIC EGGS! HERE IS WHAT WE USED TO MAKE THEM:
- yellow fabric for main part of egg
- Easter fabrics
- trimmings and embellishments for egg
- basic sewing supplies
The supplies can change to be whatever you would like since the eggs are up to you and the colors and designs are what you want for them!
Feel free to use our free Easter egg pattern!
Decorative Easter Eggs – Step 1
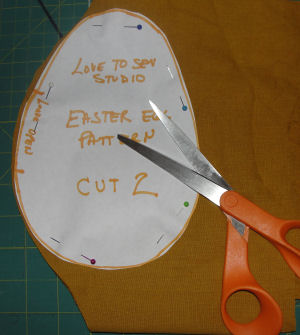
Start by cutting out your eggs. You can make your own pattern or use our free Easter egg pattern!
Decorative Easter Eggs – Step 2
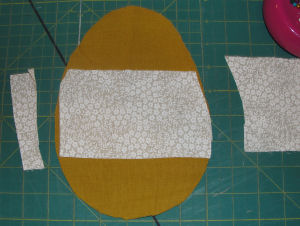
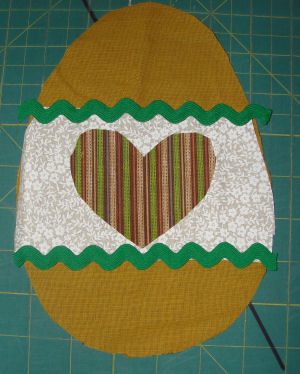
Now it’s time to decorate the front of your egg using a zigzag stitch to attach your trimmings. Save the back of the egg for later.
Decorative Easter Eggs – Step 3
This is where you can be as creative as you want while decorating your egg. You can copy mine, but try and create some on your own. We’d love to see the fabric eggs you made. Send us a photo!
Decorative Easter Eggs – Step 4
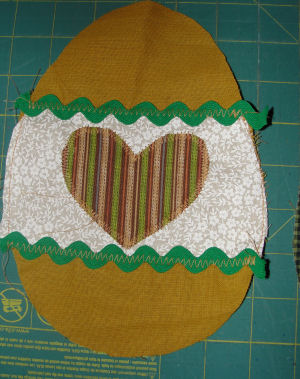
Use a close zigzag stitch to attach your trimmings and embellishments on the egg front. Be creative!
Decorative Easter Eggs – Step 5
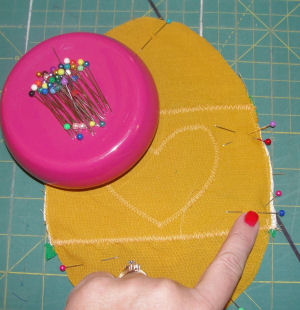
Once you are done “decorating” your egg, place the front and back pieces pretty sides together and pin around the outer edge. Leave a 3.5″ opening on the side as shown in the photo by using double pins. Straight stitch around the egg using the pressure foot as your guide. Don’t forget to leave the opening.
Decorative Easter Eggs – Step 6
Finally turn egg pretty side out through the opening. Stuff with fiber fill, and hand sew the opening closed.
Your pretty decorated fabric eggs are ready to be put in a basket and welcome friends and family for the spring weather and Easter holiday.

PIN IT FOR LATER






Leave a Reply