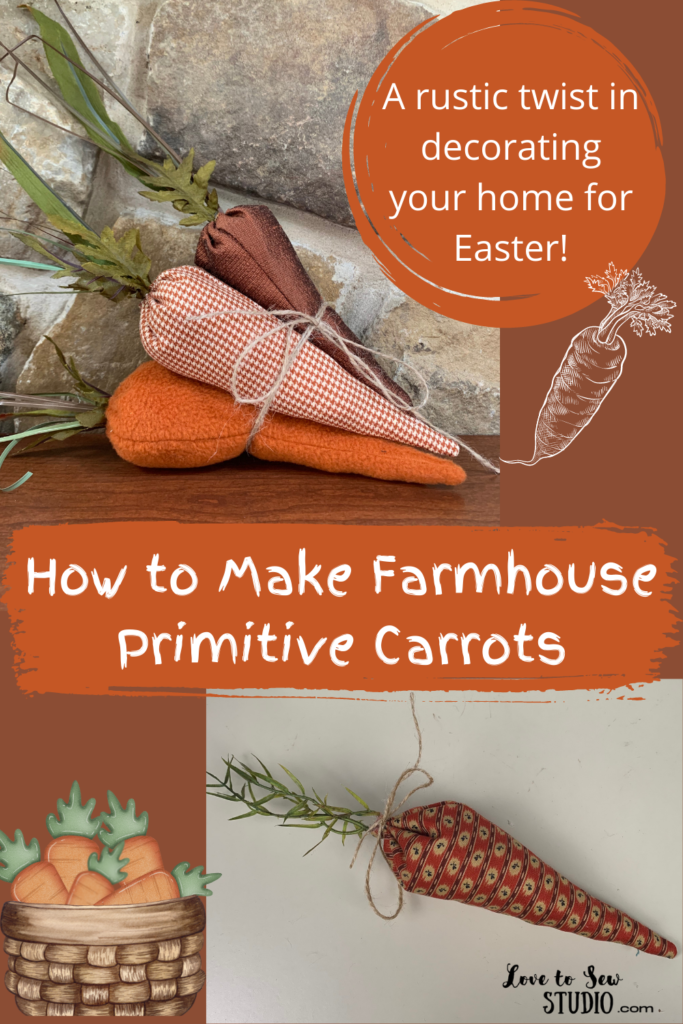
Do you want to decorate your home for Easter and Spring with some farmhouse charm? Let’s make some country fabric carrots together!
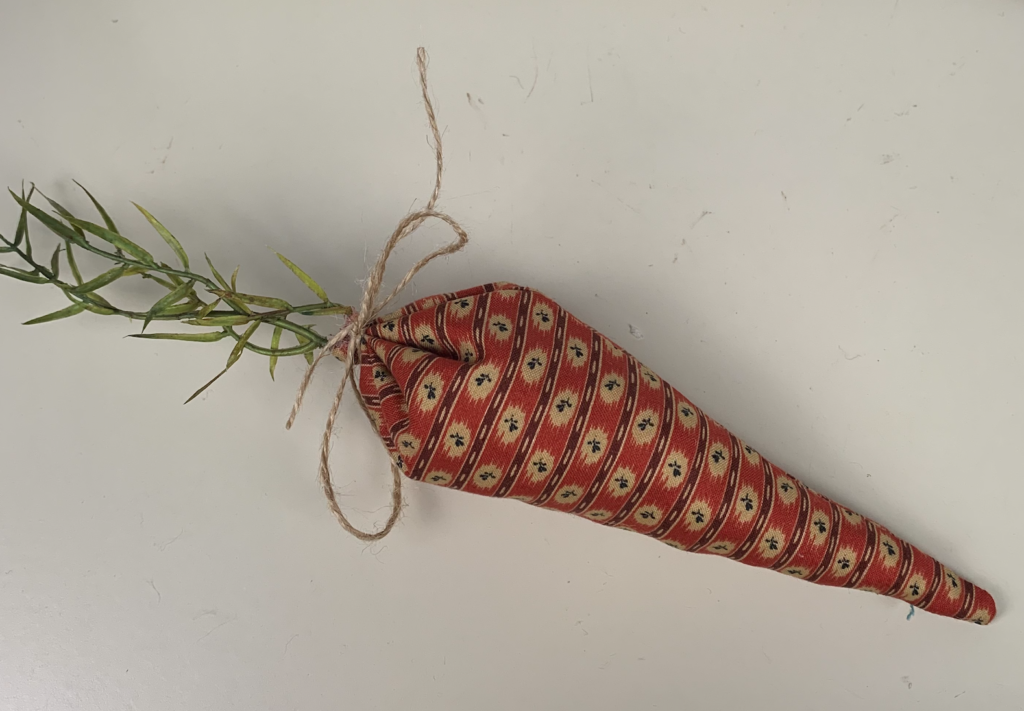
These primitive stuffed fabric carrots are the perfect way to add a simple and rustic look to your holiday decor!
The Best thing is… You can Sew OR Glue these Farmhouse Country Fabric Carrots Together!
I love how quick and easy they are to sew (or glue), and we even have a FREE printable primitive fabric carrot pattern for you to print at home!
You can sew our stuffed fabric carrots by machine, or by hand sewing them. Don’t know how to sew? These DIY Easter fabric carrots are so simple, that you can hot glue all the sewing steps if you don’t know how to sew.
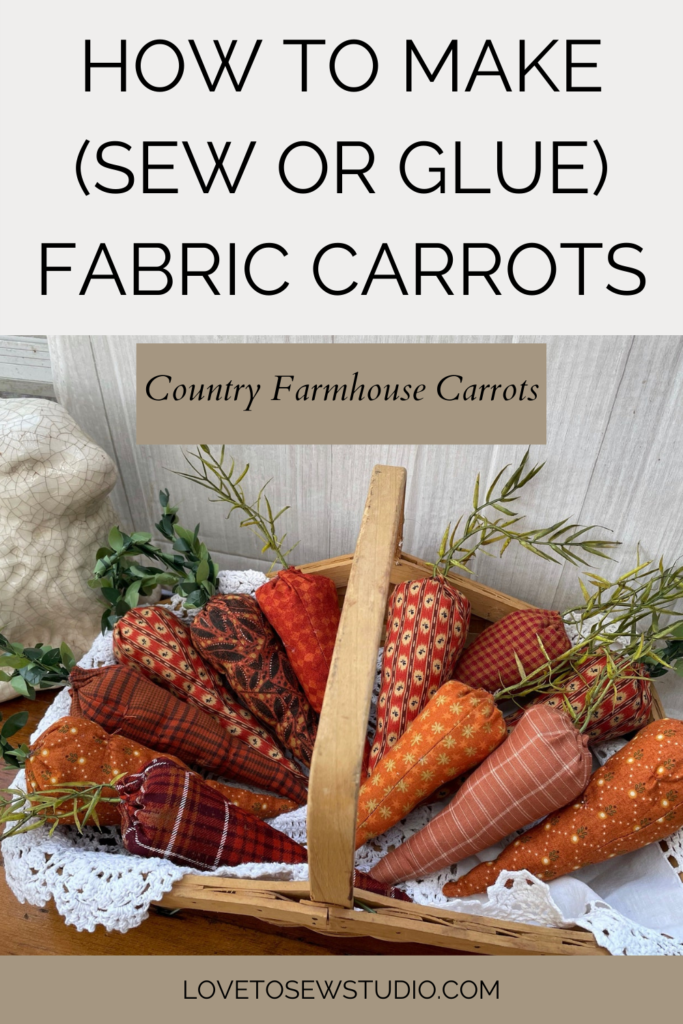
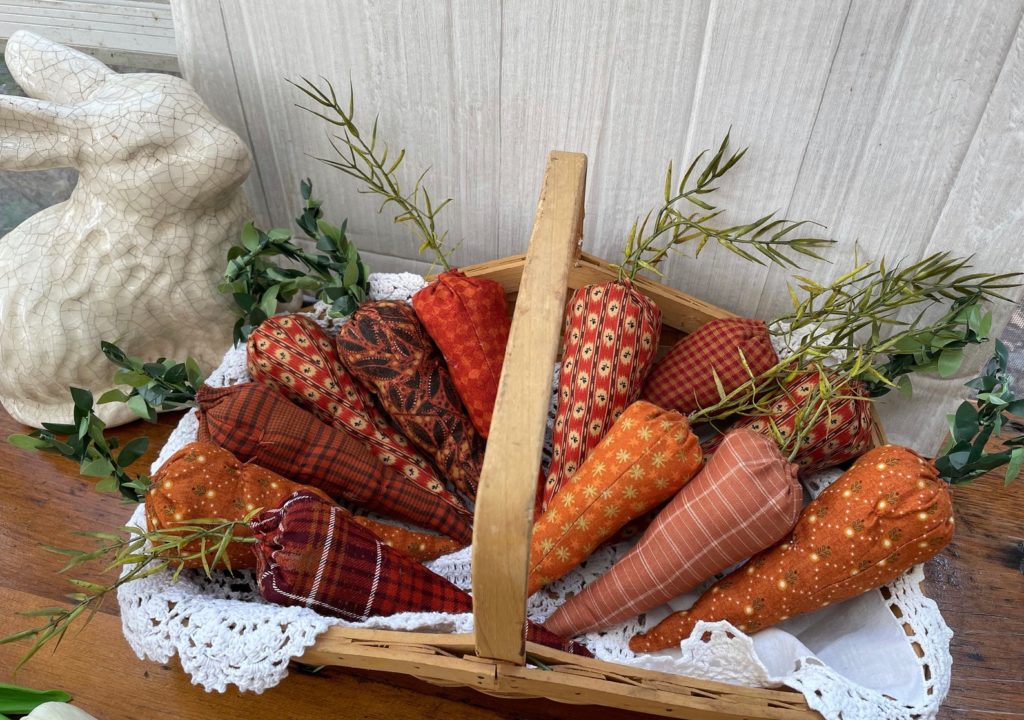
After I made one of these charming stuffed fabric carrots, I was hooked. They just look so darling in my country farmhouse kitchen. I just had to make a whole bundle of them. I display a group of them in a large basket which is the center-piece on my dining room table for the Easter season. You can do the same and even add some fresh greenery or spring plants into the large basket too. The best part is, they never expire so you can use them for your decorating year after year!
Basket Suggestions to Display Your Handmade Carrots in:
Do you need some orange, rust, or carrot color inspiration to make primitive fabric carrots? You can see the ones I sell on ETSY to get ideas. Judi’s ETSY SHOP Farmhouse Carrot Bundles 4 Sale.
This post contains affiliate links. You can read my full disclosure HERE.
I LOVED MAKING AND DISPLAYING THESE FARMHOUSE CARROTS AND YOU WILL TOO! HERE IS WHAT I USED TO MAKE THEM:
- orange primitive fabric
- artificial greenery (There are tons of artificial greenery to pick from, but I like the kind that can be easily picked apart and then glued right into the carrots.)
- jute rope
- hot glue and hot glue gun
- basic sewing supplies
Farmhouse Primitive Carrots – Step 1
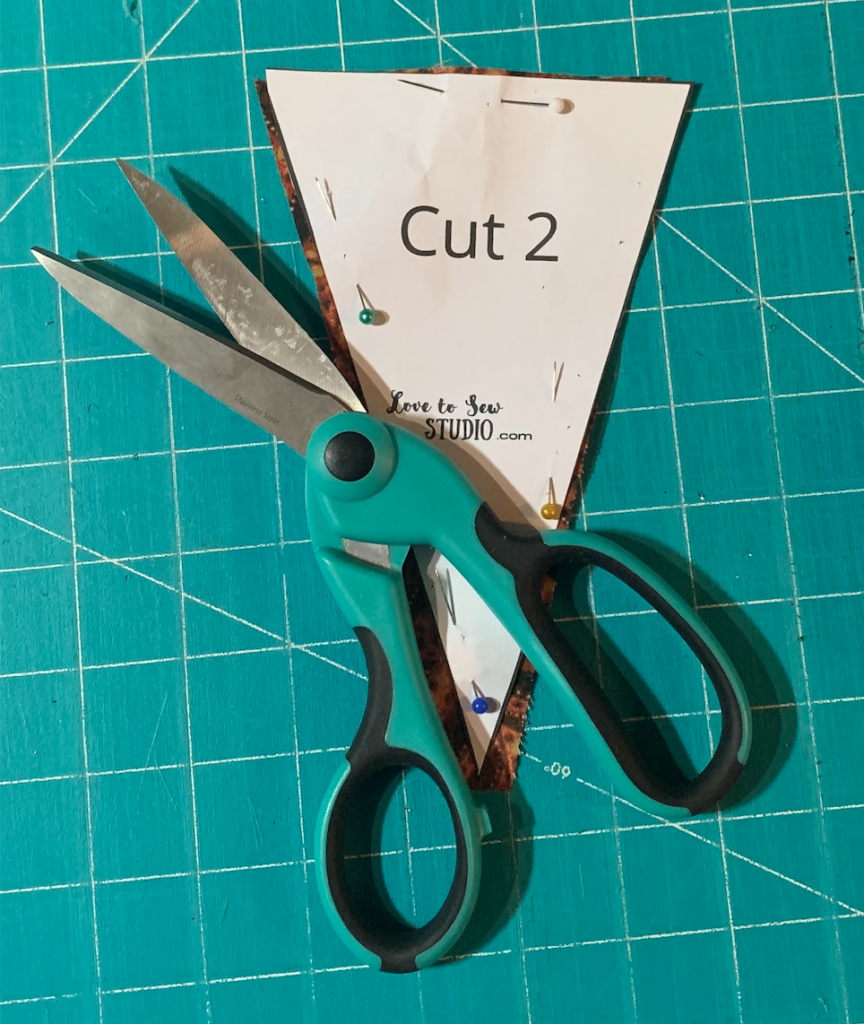
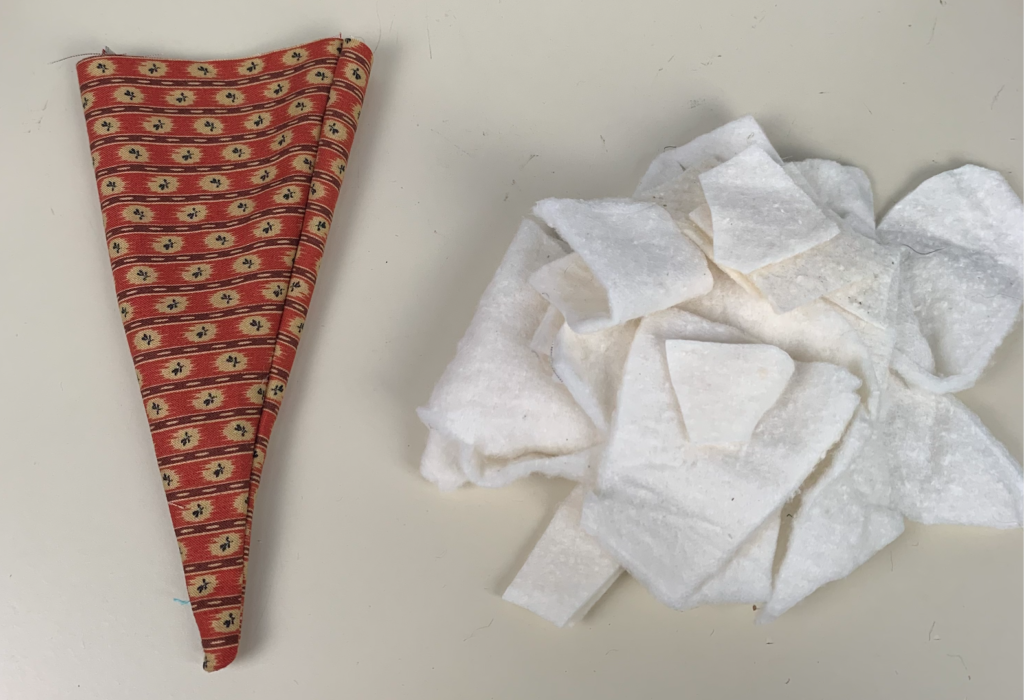
Print out our FREE Fabric Carrot Pattern. Pin and cut out 2 for each carrot you want to make.
Farmhouse Primitive Carrots – Step 2
Sewing the Carrot:
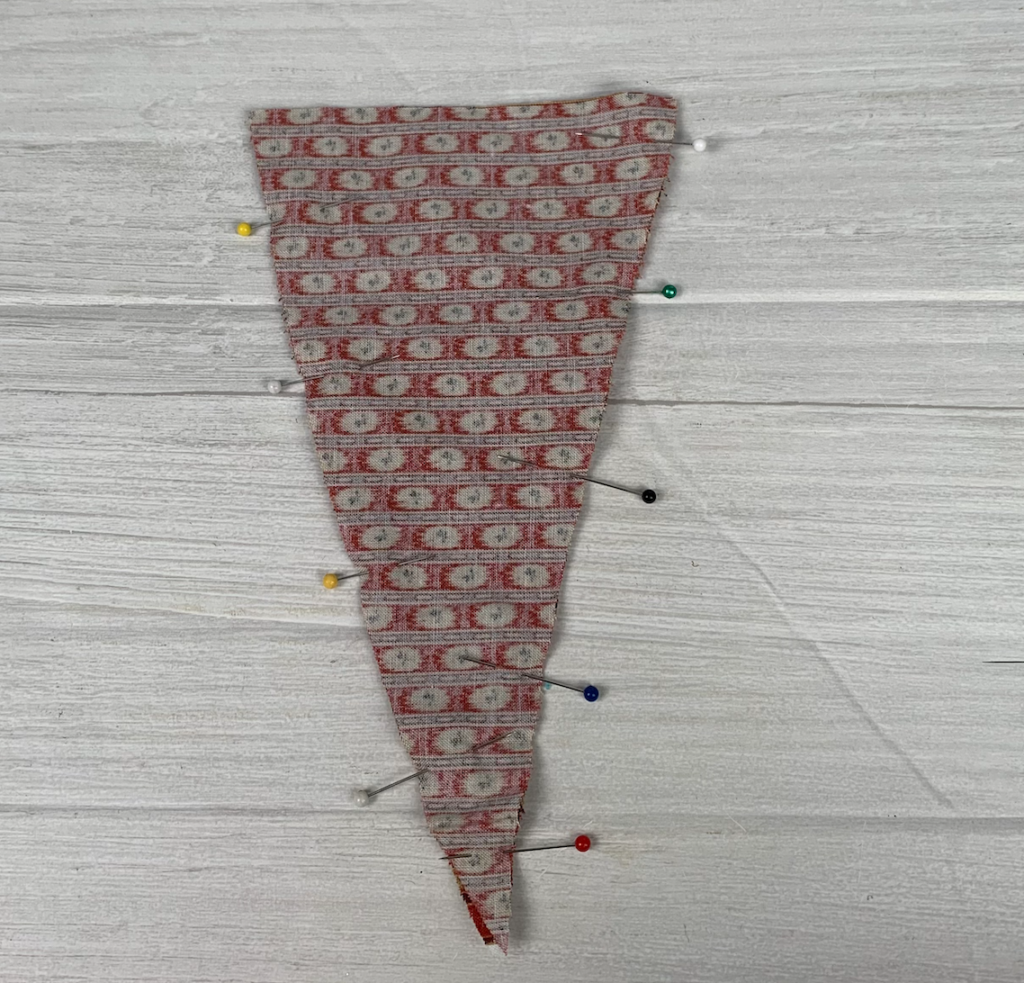
Place two fabric carrots pretty sides together and pin around the two long sides. We are going to leave the top part open so we can turn it and stuff it.
Either hand sew or machine sew the two long ends about 1/4″ in. Make sure you back stitch at the beginning and the end, and pivot at the corner.
Glueing the Carrot:
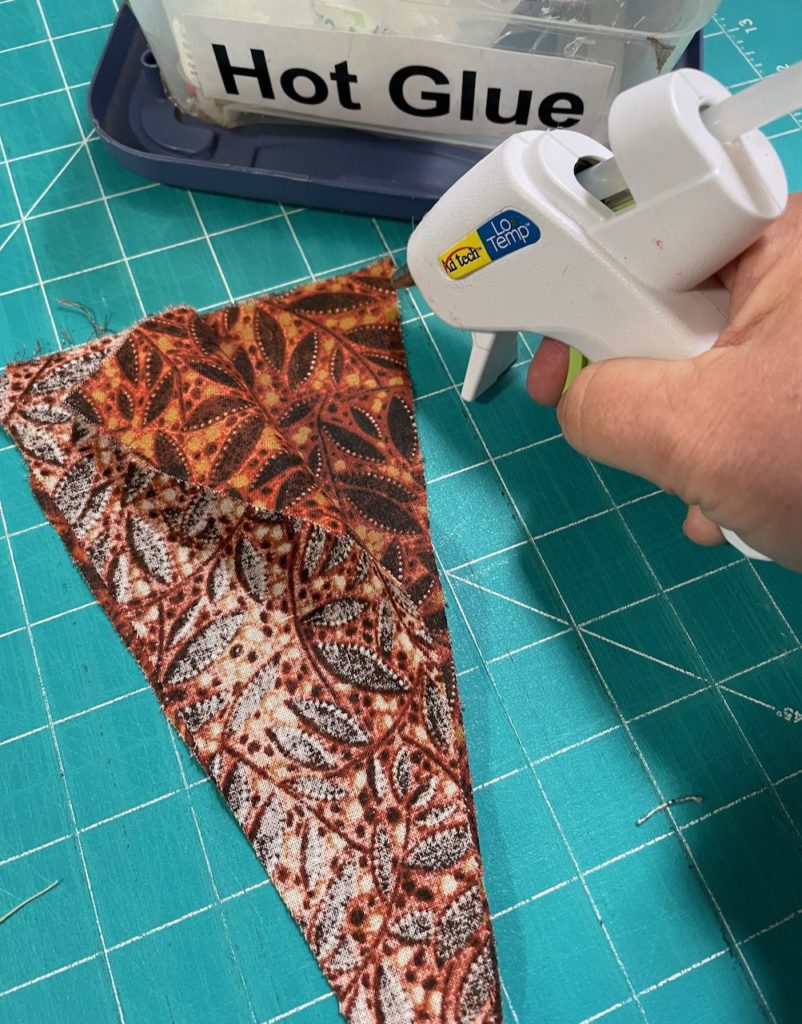
If you prefer to hot glue your carrot together instead of sewing it, hot glue a thin strip along the two long edges with the pretty sides together. Glue about 2″ and then press the fabrics together, and then glue another 2″ and press the fabrics together. You don’t want to glue the entire two long sides of the carrots and then press them together, because by that point, the glue will be almost dry (cold). So it is best when hot gluing fabric, to work with 2 inches at a time.
Farmhouse Primitive Carrots – Step 3
Next, gently turn your carrot pretty side out and poke out the bottom of the carrot with a pencil or chopstick. (We use chopsticks as turners, pointers, and pokers here in our sewing studio.)
Now, you can stuff your carrot. You can use craft stuffing or cut up quilt batting. We get so many donations of quilt batting from our local quilt guilds that we cut up quilt batting for our craft stuffing. If you are on a tight budget, cut up old sweaters, socks, or towels will work just fine.
Farmhouse Primitive Carrots – Step 4
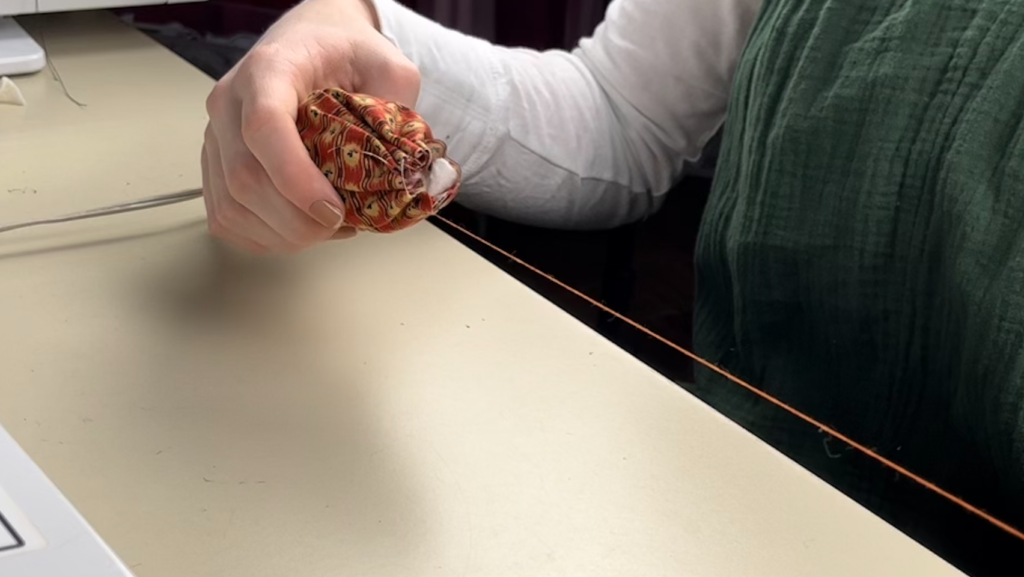
Using a hand needle hand gather around the circle. To hand gather, complete a running stitch around the circle and then pull the thread tight. Before you knot it, see step 5 below.
If you are hot glueing the carrot and not sewing it, you don’t have to gather it with a sewing needle, you can just gather it with your hands/fingers and put a little bit of glue to hold. Don’t use a lot of glue because we still need to add the greenery.
Farmhouse Primitive Carrots – Step 5
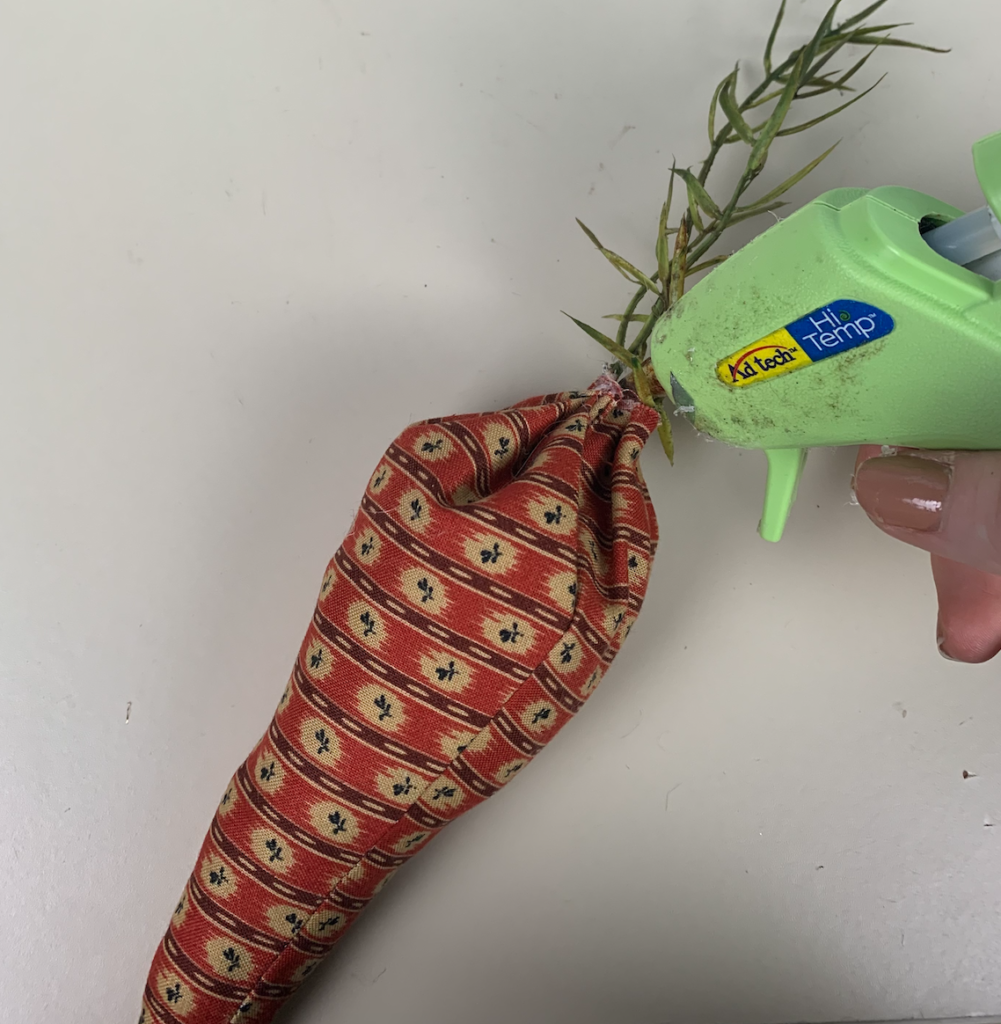
Insert your greenery into the top of the carrot and then add a dot of hot glue to hold it in place. Now your can knot your threads.
If you are glueing your carrot together, place some greenery in the opening at the top of the carrot and place some hot glue at the opening of the carrot. Carefully squish or gather the fabric around the greenery and hold in place for a few seconds until the glue dries.
Farmhouse Primitive Carrots – Step
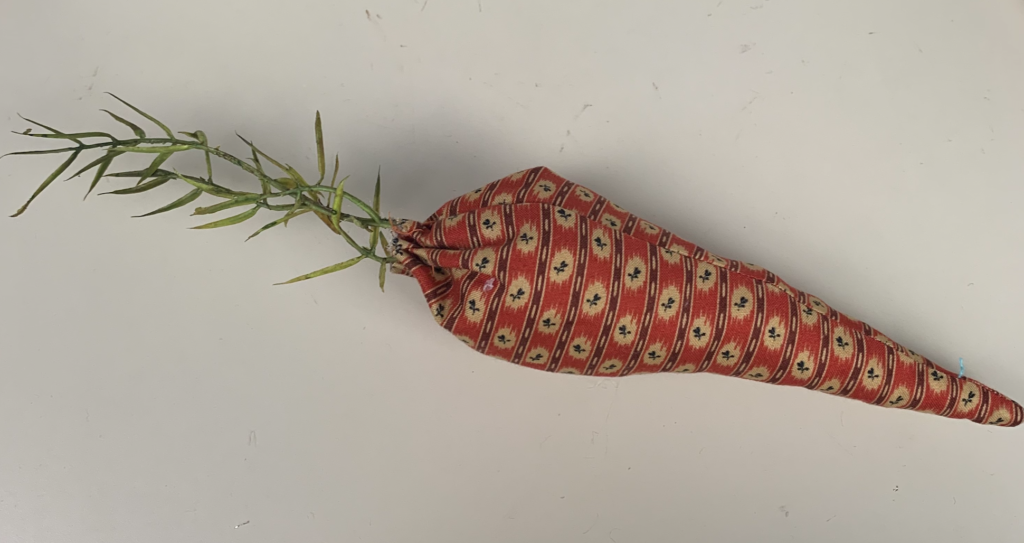
The final touch to finish off our charming country fabric carrots, is to tie a bow around the top from jute rope!
You now have a rustic carrot to display in your home this Spring/Easter. Time to make a “bunch” of carrots now!
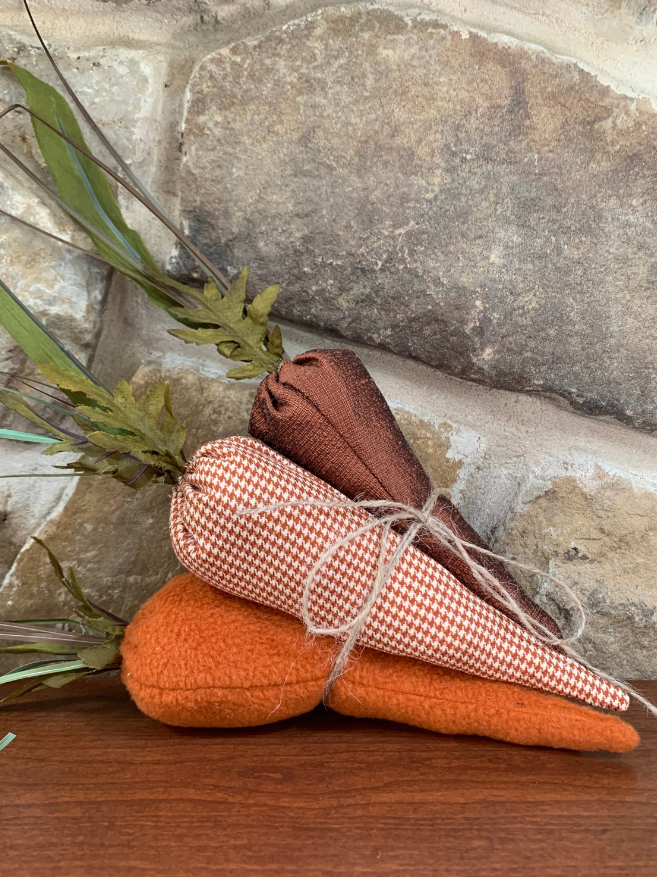
You can also group three together like we did below!
Even after seeing how easy these charming country carrots were to make, if you still don’t want to make them yourself, I do sell them in my ETSY shop. You can see them here. Judi’s ETSY SHOP Farmhouse Carrot Bundles 4 Sale.
BUT, as a sewing fiber arts and crafts instructor for the past 24 years, I’d rather still encourage you to make them yourself.






Leave a Reply