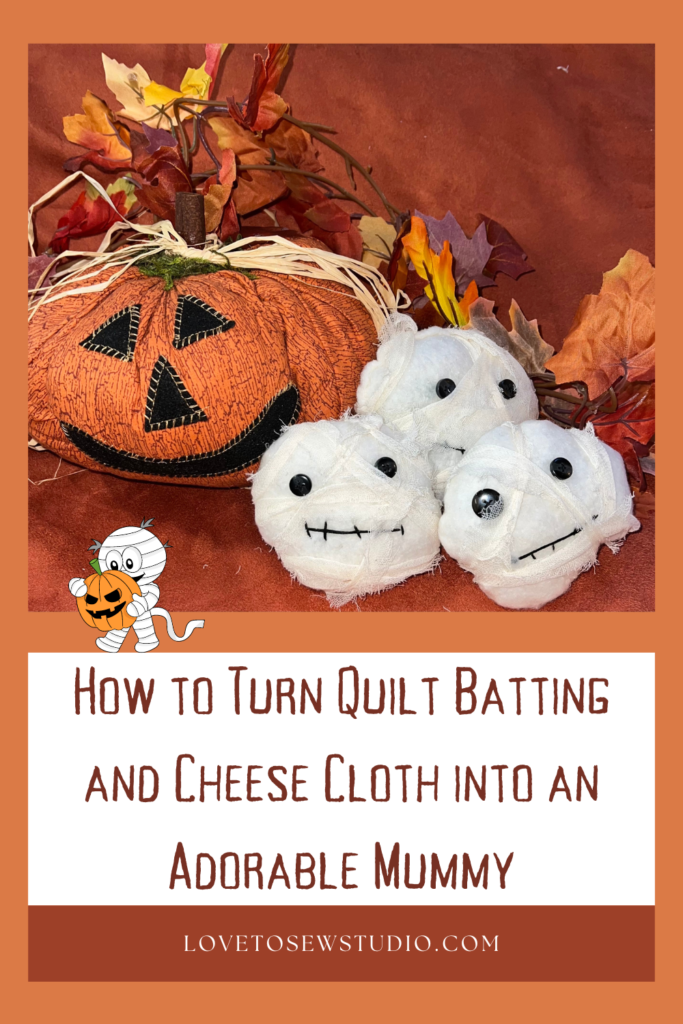
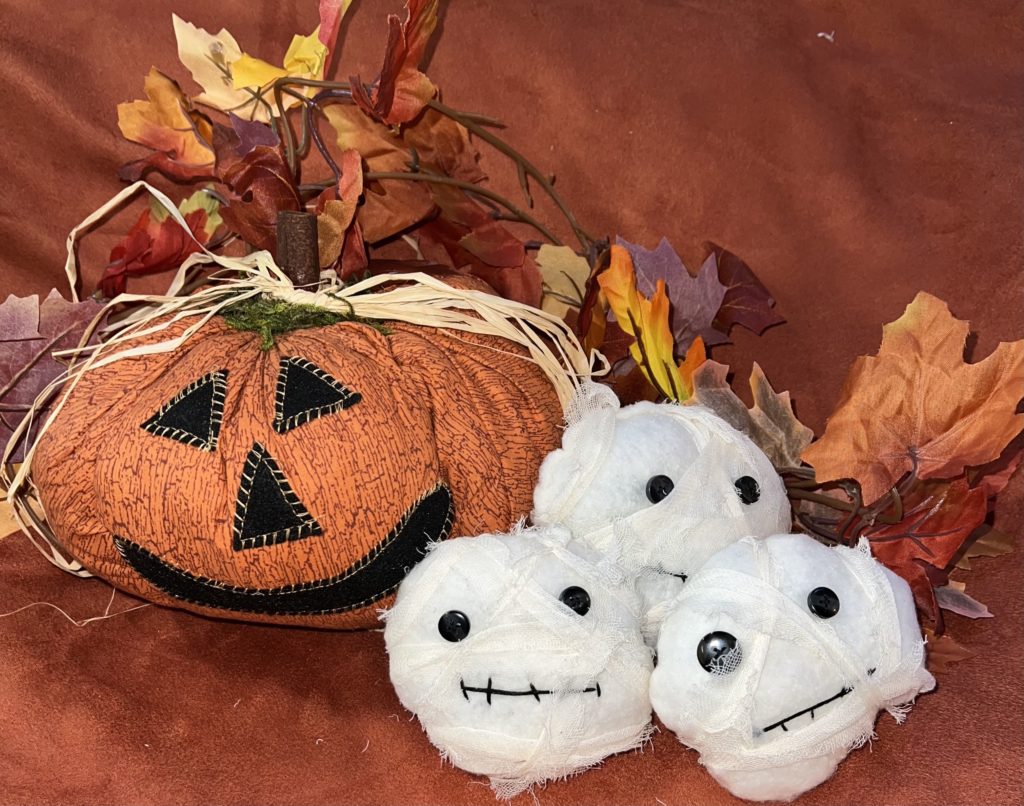
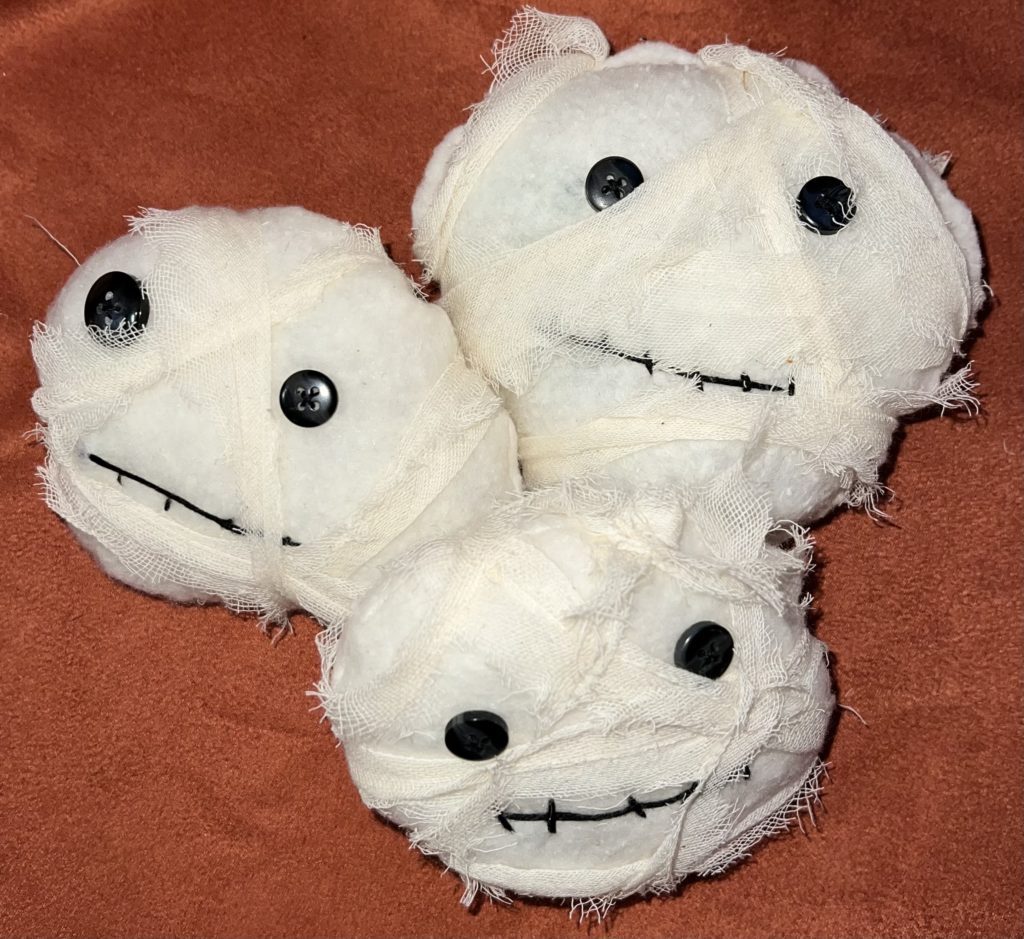
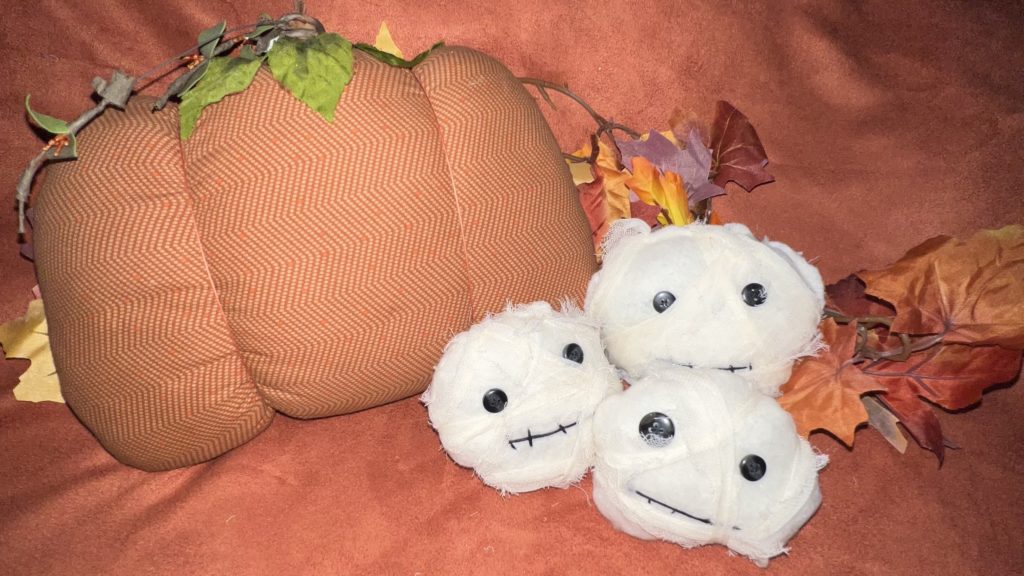
These adorable round mummy faces are one of the easiest and least expensive ways to decorate for Halloween. Use quilt batting scraps, missed-match black buttons found in your button jar, cheese clothe found in your kitchen or first aid kit, and black embroidery floss or yarn, to make them. You’ll find they are fun to make, and adorable to place throughout your home for your Halloween decor. Place them in a bowl, or mix them within your other spooky decor!
This post contains affiliate links. You can read my full disclosure HERE.
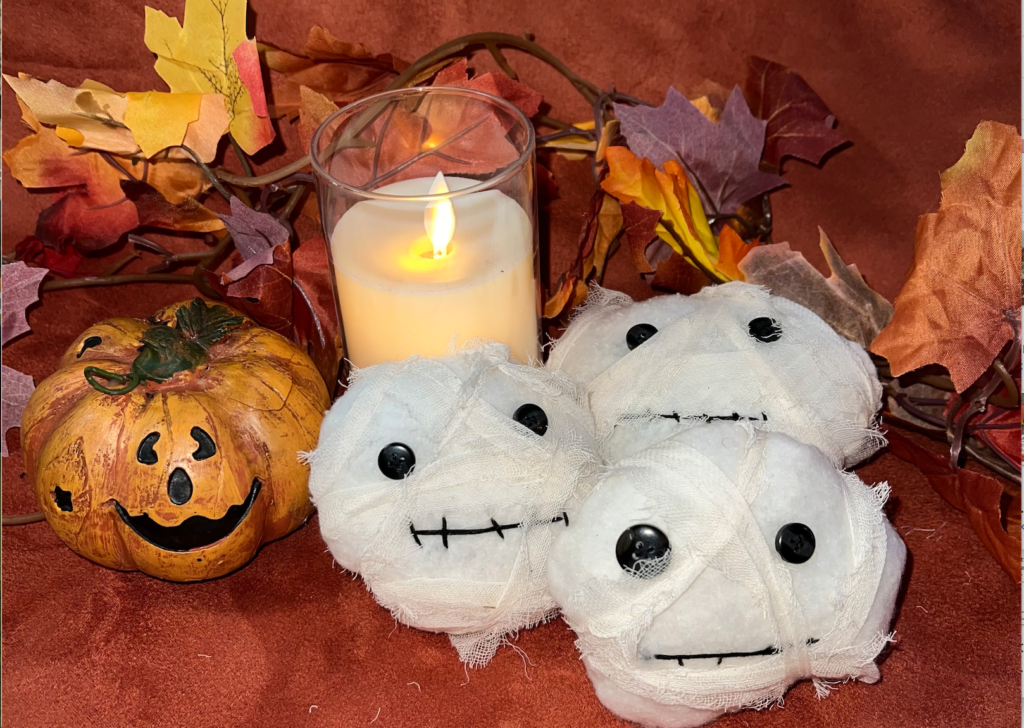
I LOVE THESE ADORABLE MUMMIES AND YOU WILL TOO! HERE IS WHAT WE USED TO MAKE THEM:
- Warm & Natural Quilt Batting Scraps
- Cheesecloth
- Black Buttons
- Black Embroidery Floss
- Craft Stuffing
- Basic Sewing Supplies
Feel free to use our MUMMIES PATTERN!
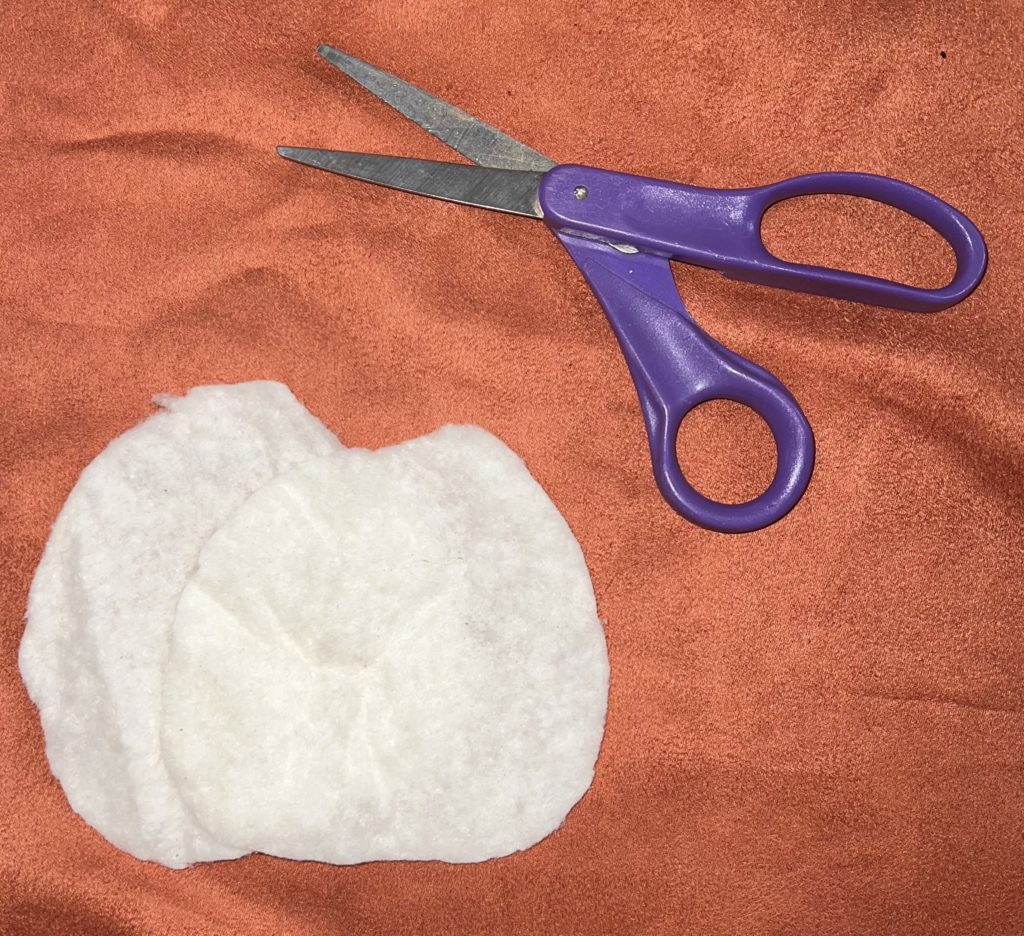
Mummies – Step 1
Start by cutting out two circles from some quilt batting. I didn’t want my mummies to be perfect circles so I cut out blobs. Feel free to use our MUMMIES PATTERN!
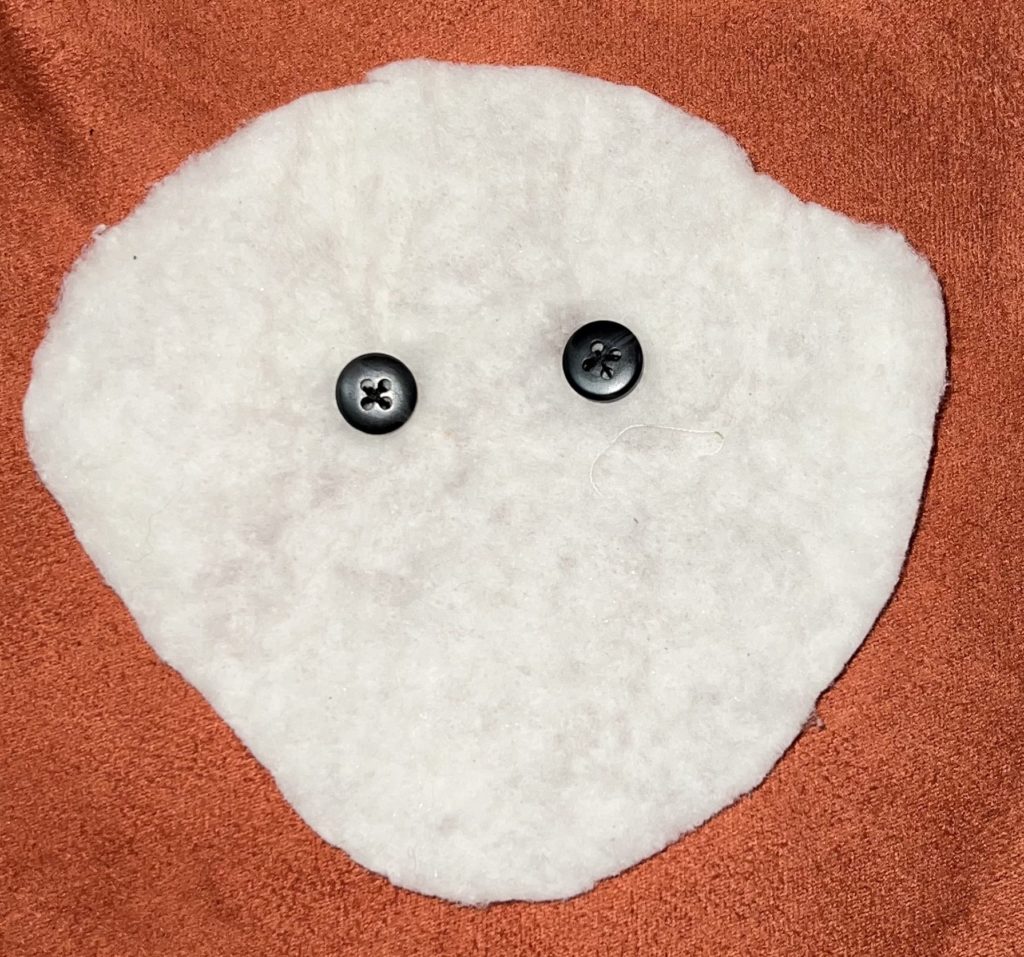
Mummies – Step 2
Now you are going to hand sew on two black buttons for your mummy’s eyes to one of your quilt batting blobs.
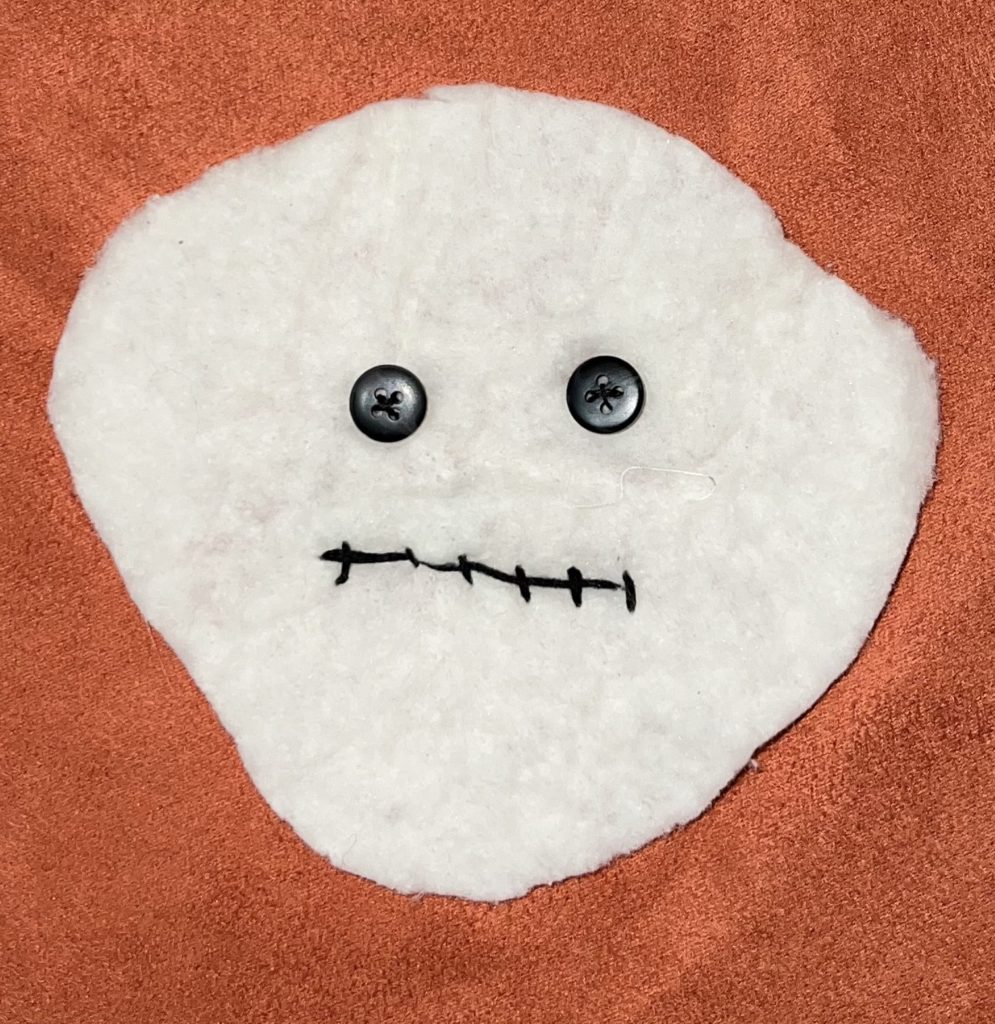
Mummies – Step 3
Next you are going to use embroidery black thread to hand embroider on a mouth for your mummy.
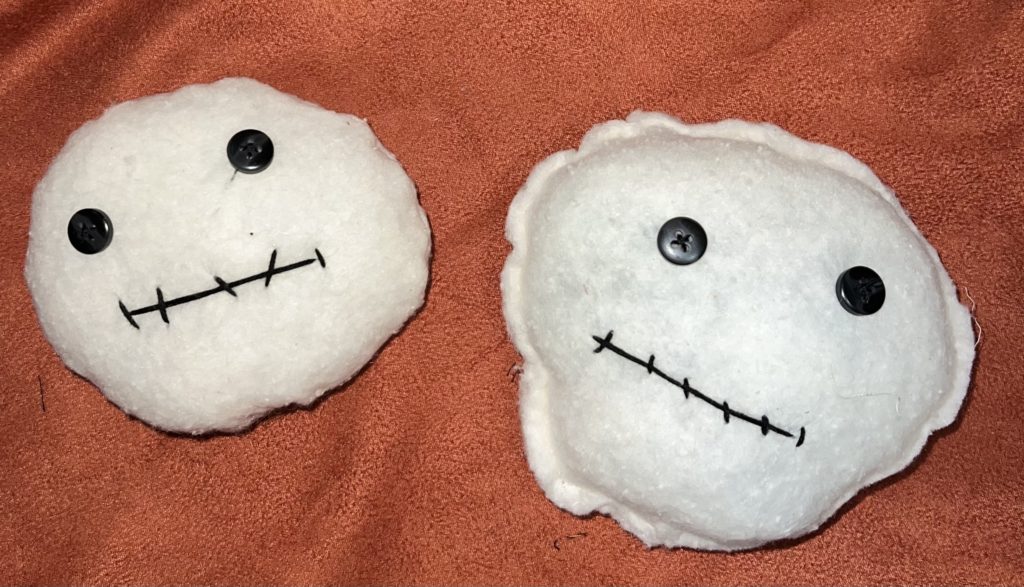
Mummies – Step 4
Then you are going to sew your quilt batting blobs together. You can do this two ways. One way is to put the pieces pretty sides together and sew around leaving and opening at the bottom. After that turn it pretty sides out and stuff it. Lastly, hand sew the opening closed. This way make it so that no raw edge is showing on your mummy. Option two is to sew your blobs ugly sides together leaving an opening to stuff it. Once that’s done just machine sew the opening closed. This creates a rougher look for your mummies.
Mummies – Step 5
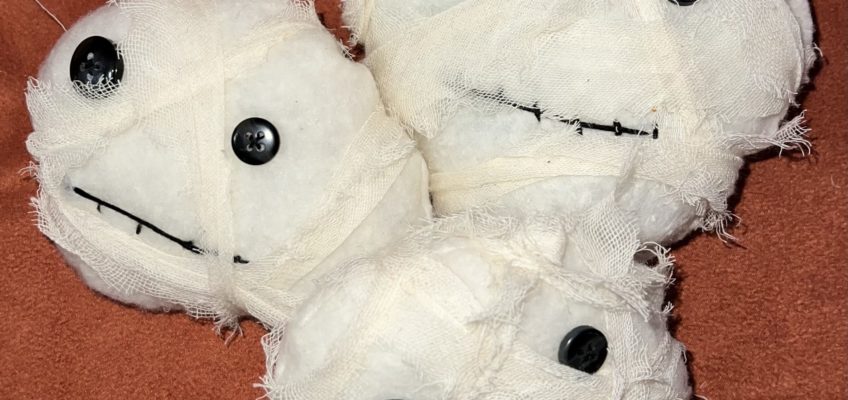
Finally you are going to take pieces of cheese cloth and wrap it around the mummy. You can just tuck the ends into the wrap or hot glue to secure it extra.
Your cute little mummies are now finished and ready to be displayed this spooky season!

PIN IT FOR LATER



Leave a Reply