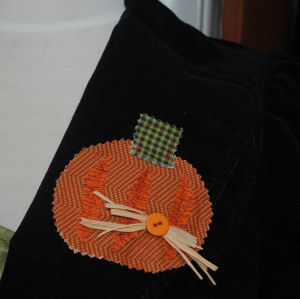
With a little time and little bits of left-over fabric scraps you can make this mini fabric pumpkin lapel pin.
This post contains affiliate links. You can read my full disclosure HERE.
I LOVE ADDING THIS FABRIC PUMPKIN PIN TO EVERYTHING AND I BET YOU WILL TOO! HERE IS WHAT YOU WILL NEED TO MAKE IT:
- Scraps of orange and green fabrics
- 6″ square piece of quilt batting
- 1 button
- Little piece of raffia
- Basic sewing supplies
Pumpkin Pin – Step 1
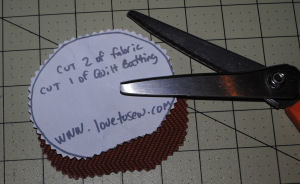
Here is our Mini Pumpkin Pattern:
From our pattern cut out 2 pumpkin pieces using pinking shears.
Pumpkin Pin – Step 2
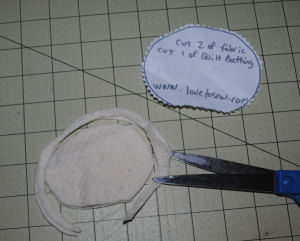
Using regular scissors cut out 1 layer of quilt batting. Once it is cut out trim around the entire pumpkin to make it smaller.
Cut out the green stem in the same manner as you did the pumpkin.
Pumpkin Pin – Step 3
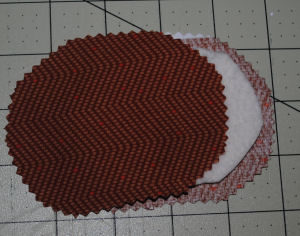
Sandwich the quilt batting pumpkin between the 2 pumpkin fabric pieces as shown.
Do the same to the stem.
Pumpkin Pin – Step 4
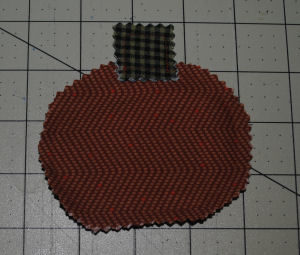
Place the stem on top of the pumpkin. Pin in place. Stitch all the way around the pumpkin and stem going through all layers of fabric.
Pumpkin Pin – Step 5
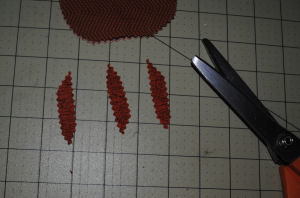
Using the pinking shears cut out 3 straight moon shaped pieces from a different orange fabric.
Pumpkin Pin – Step 6
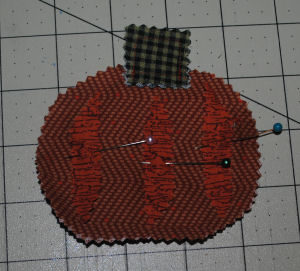
Pin in place and sew down the pieces.
Pumpkin Pin – Step 7
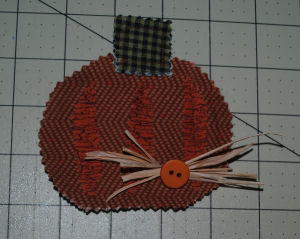
Place little pieces of raffia, and hand-sew a button catching the raffia and all 3 layers of fabric.
Pumpkin Pin – Step 8
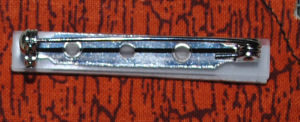
Hot glue a safety pin to the back of the pumpkin.
Another option is to glue a magnet to the back of the pumpkin to create an adorable fridge decoration!

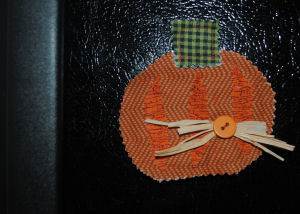
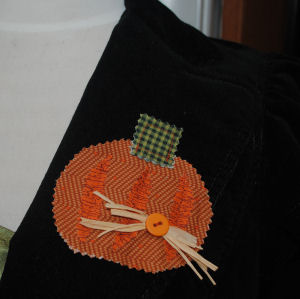
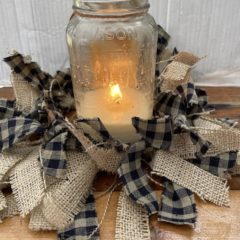
Congratulations! You have created an adorable pumpkin pin that could work as a magnet or candle ring!
See Our Other Mini Softie Candle Rings:
Quilted Fabric Candy Corn
Witchy-Poo Hat







Leave a Reply