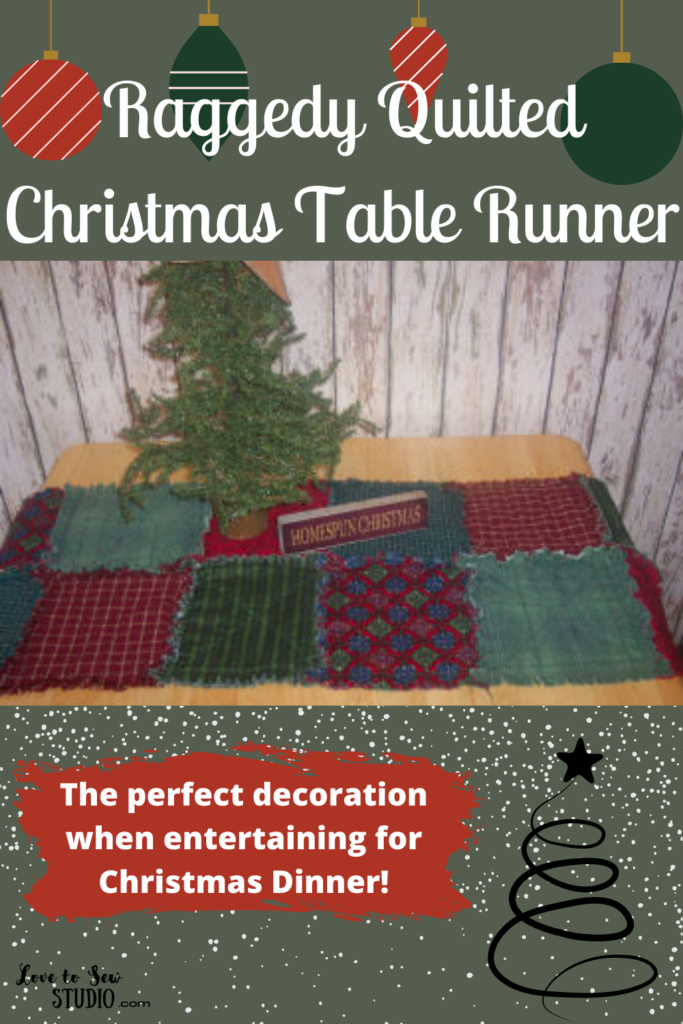
I love to entertain for the holidays! This Christmas table runner is the perfect decoration for my table. It is the perfect conversation starter and I feel so accomplished when I get complements on my runner. Additionally I love that I got to personalize what fabrics I used.
This post contains affiliate links. You can read my full disclosure HERE.
THIS RAGGEDY QUILTED CHRISTMAS TABLE RUNNER IS PERFECT FOR THE HOLIDAYS! HERE IS WHAT YOU WILL NEED TO MAKE IT:
- Scraps or fat quarters of red, cream, and green Christmas homespun cotton fabric
- Quilt batting (We like warm and natural the best!)
- Basic sewing supplies
Raggedy Quilted Christmas Table Runner – Step 1
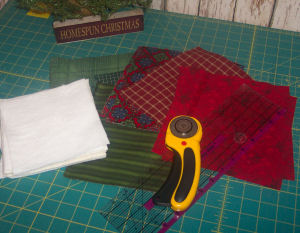
The first thing you are going to do is cut twelve 6″ squares of quilt batting, twelve 8″ squares of green fabric, and twelve 8″ squares of cranberry fabric.
Raggedy Quilted Christmas Table Runner – Step 2
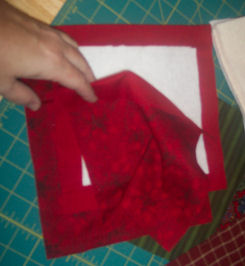
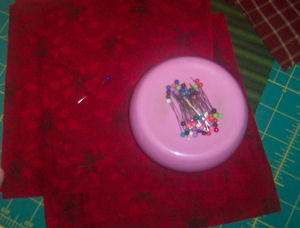
Next you are going to sandwich one quilt batting square in between two red squares with pretty sides out. The pretty sides are the patterned side that you want on the outside.
Raggedy Quilted Christmas Table Runner – Step 3
Then you are going to place two pins in the middle of the square. You want to do this for all of the sets of squares. There should be twelve sets of squares pinned at this point.
Raggedy Quilted Christmas Table Runner – Step 4
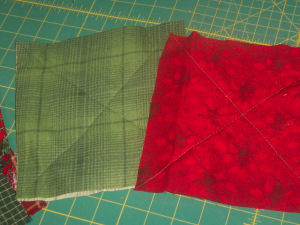
After you are done pinning you will sew an “X” through all three layers on each square. Make sure to start all the way in one corner and end diagonally in the other corner. There is a picture of this step above. Unlike most other quilts where the quilt top is sewn first and then the three layers are quilted to form a quilt, raggedy quilts are quilted as they are being made. You should complete this step for all of your twelve squares.
Raggedy Quilted Christmas Table Runner – Step 5
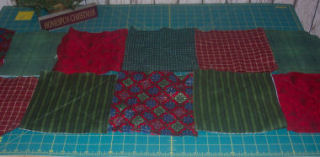
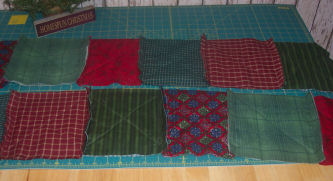
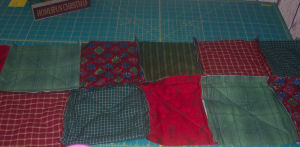
Once you are done sewing your X’s you are going to arrange your squares the way you want them to be for your table runner.
Raggedy Quilted Christmas Table Runner – Step 6
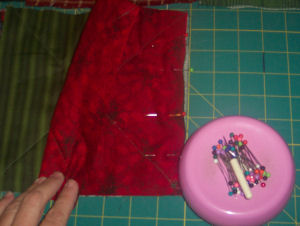
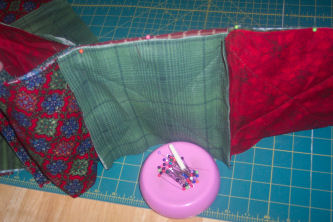
Now you are going to sew your squares together. We are going to sew one row together first, then the other. Start with the top row. Pin the first two squares together on the side seam as shown. Stitch down the side using a 1″ seam allowance. Continue this process until you have sewn all 6 together for your top row.
Raggedy Quilted Christmas Table Runner – Step 7
Then stitch your bottom row in the same manner as the top. Above is what your two rows should look like after they are sewn.
Raggedy Quilted Christmas Table Runner – Step 8
Next you are going to sew your two rows together. You want to pin them pretty sides together making sure to match seams (where you previously stitched together). Sew down the long seam with a 1″ seam allowance.
Raggedy Quilted Christmas Table Runner – Step 9
After that you are going to want to stitch a 1″ seam allowance all around the outside edges of your runner. This will help hold together your runner when you cut slits and wash/dry it.
Raggedy Quilted Christmas Table Runner – Step 10
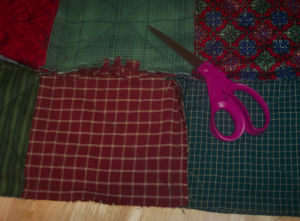
Now to get the “ragged” look cut slits in seam allowances.
Begin cutting slits on EVERY seam allowance.
Lots and Lots of cutting…
Just keep cutting those slits…
Yes, I know…more cutting…
The smaller the slits, the more “raggedy” your table runner will look!!!
Raggedy Quilted Christmas Table Runner – Step 11
Once all the slits are cut, wash your raggedy table runner in COLD/COLD, and then dry it in the dryer. Shake it out!!!
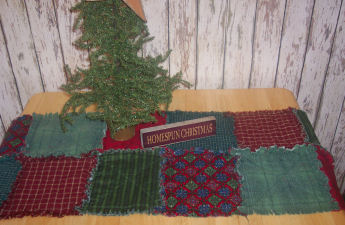
Your raggedy quilted Christmas table runner is now finished and ready to be displayed!

PIN IT FOR LATER



Leave a Reply