
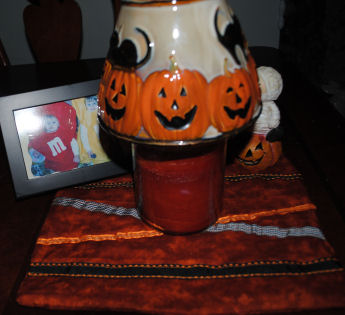
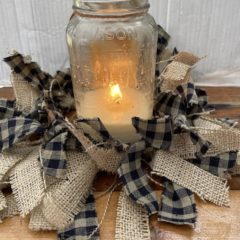
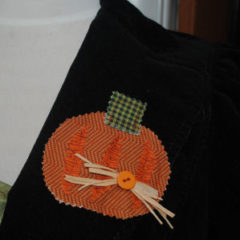
Besides making crafts, quilts, and baking during the fall and winter, burning scented candles is my next favorite thing to do. I am always thinking of new and fun ways to make a candle mat. Here’s a spooktacular way to spice up your Halloween candles!

This post contains affiliate links. You can read my full disclosure HERE.
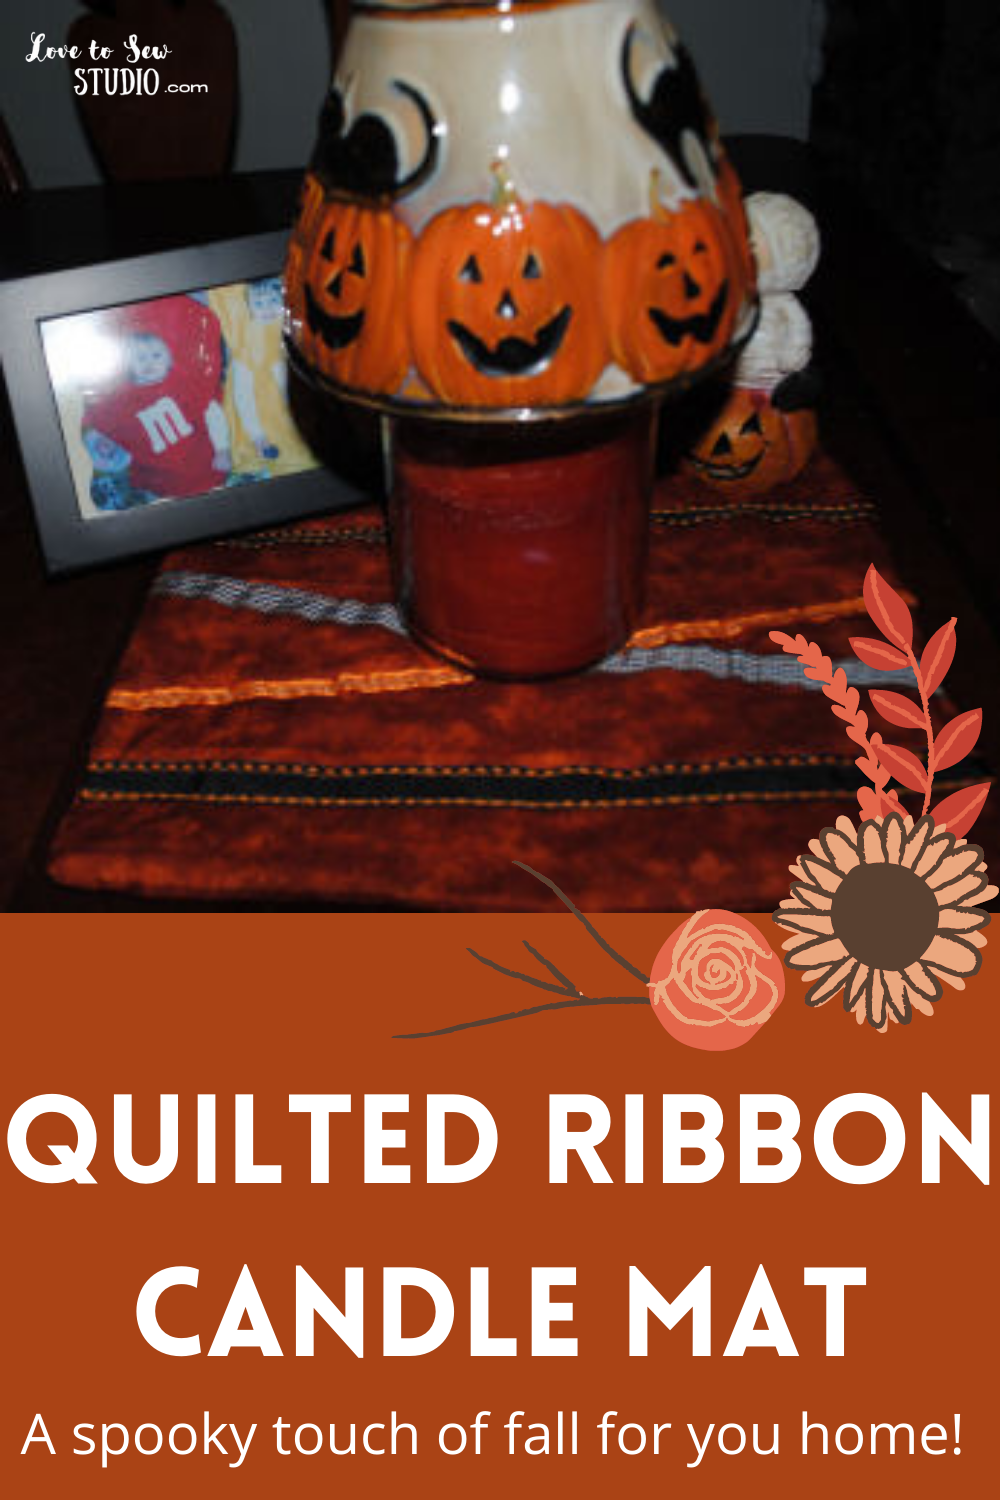
ADD A TOUCH OF HALLOWEEN WITH THIS QUILTED RIBBON CANDLE MAT! HERE IS WHAT YOU NEED TO MAKE IT:
- Two 12″x12″ orange fabric scraps or fat quarters
- One 12″x12″ cotton quilt batting
- Several different shades, and sizes of black and orange ribbon
- Basic sewing needs
Quilted Ribbon Candle Mat – Step 1
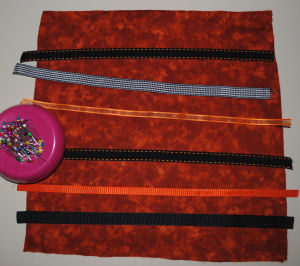
Cut ribbons about 1/4″ longer than the width of the fabric.
Pin the ribbons on ONE of the orange pieces of fabric on the PRETTY SIDE the way you want them to look.
Quilted Ribbon Candle Mat – Step 2
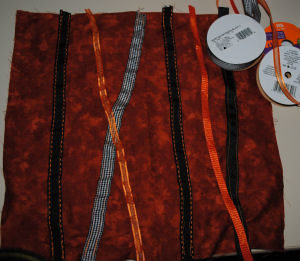
Using straight stitch or zig-zag, stitch the ribbon in place.
Quilted Ribbon Candle Mat – Step 3
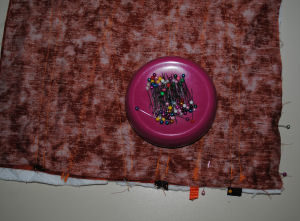
Place the two orange pieces of fabric pretty sides together. Place them on top of the quilt batting and pin through all three layers.
Stitch around the outside of the candle mat through all three layers. Leave a 4″ opening at one side for turning.
Quilted Ribbon Candle Mat – Step 4
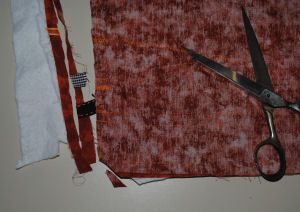
Trim seams and clip corners if needed.
Quilted Ribbon Candle Mat – Step 5
Turn candle mat pretty side out and gently poke out corners with a pencil.
Hand stitch the opening closed.
Quilted Ribbon Candle Mat – Step 6
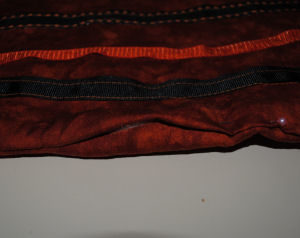
Time to quilt through all the layers! Stitch down the center of each ribbon to quilt the three layers together.
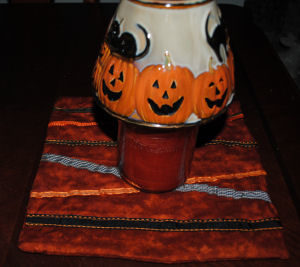
Your Halloween quilted ribbon candle mat is finished.
Congratulations! You just finished a marvelous mat for all your favorite candles!

PIN IT FOR LATER


Leave a Reply