Recycle a soup can, grab a branch from a tree, rip a piece of fabric for a bow, and wrap some little styrofoam balls with white cheese-cloth or muslin, and you’ve got yourself some cute little ghost hanging in a tree that makes a great Halloween center piece! No sewing required for this craft!
This post contains affiliate links. You can read my full disclosure HERE.
I’M OBSESSED WITH THIS GHOSTS IN TREE CENTER PIECE AND I BET YOU WILL BE TOO! HERE IS WHAT YOU WILL NEED TO MAKE IT:
- 5.5″ white muslin fabric squares for the ghosts (or cheese-cloth fabric)
- 3/4″ styro-balls for the ghosts head
- Brown paint
- A tree branch
- Recycled soup can cleaned
- Fabric strip for bow
- Styrofoam block
- Basic crafting supplies
Ghosts In Tree Centerpiece – Step 1
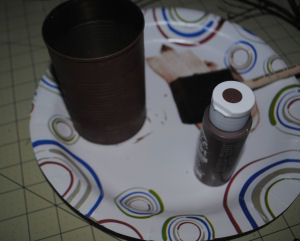
Clean and dry a soup can. Paint the soup can brown or black.
Ghosts In Tree Centerpiece – Step 2
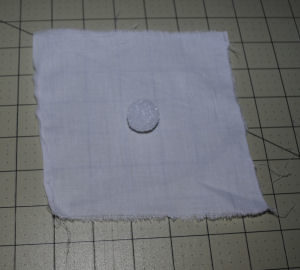
For a more primitive look rip the muslin fabric (You will have to cut the cheese-cloth piece).
Place one styrofoam ball in the center of one piece of white fabric.
Ghosts In Tree Centerpiece – Step 3
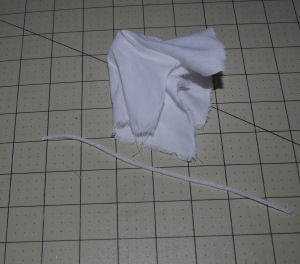
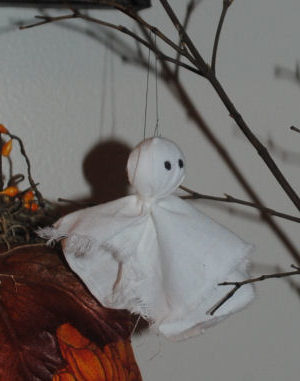
Wrap the fabric around the ball. With yarn, embroidery floss, or thread tie a piece around the styrofoam ball gathering up the fabric.
Ghosts In Tree Centerpiece – Step 4
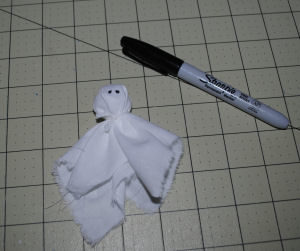
With a black marker, make 2 eyes on the ghost.
Ghosts In Tree Centerpiece – Step 5
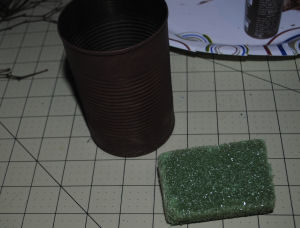
Cut a piece of styrofoam block to fit in the bottom of the soup can. Hot glue in place.
Hot glue moss on styrofoam.
Hot glue the end of the tree branch and put in the styrofoam.
Ghosts In Tree Centerpiece – Step 6
Thread a needle and go through the top of the head of the ghost to form a handle.
Place ghosts on branches.
Ghosts In Tree Centerpiece – Step 7
Tie raffia or ripped Halloween fabric around can.
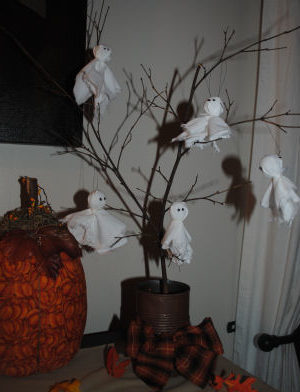
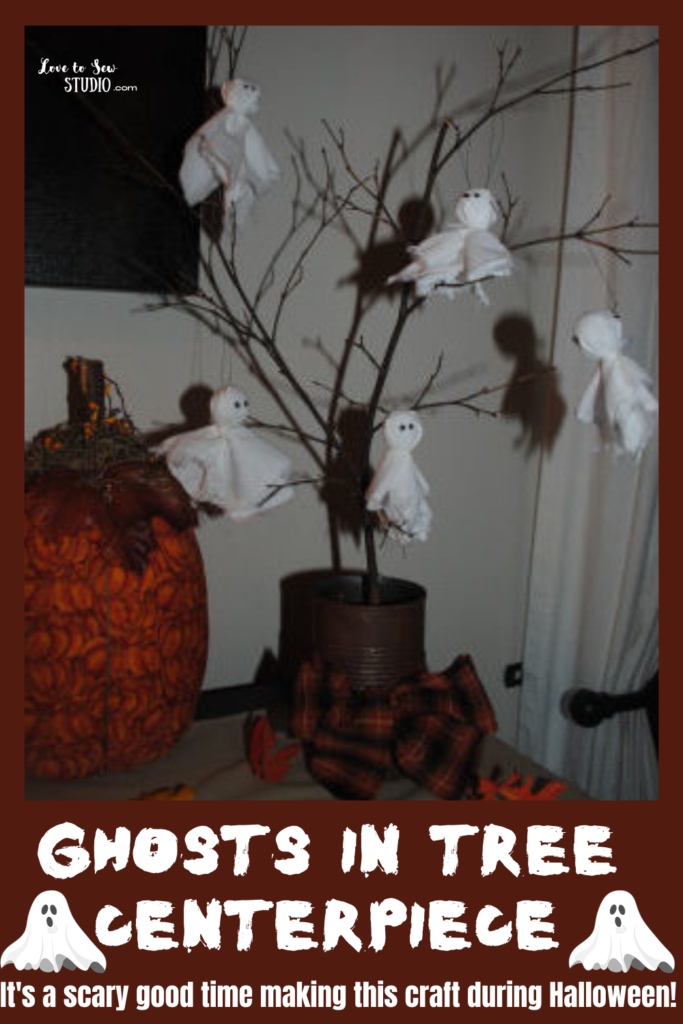
Your swinging ghosts in a tree branch Halloween center-piece is finished!
Congratulations! You have now made this haunting Halloween craft with the cutest little ghosts!



Leave a Reply