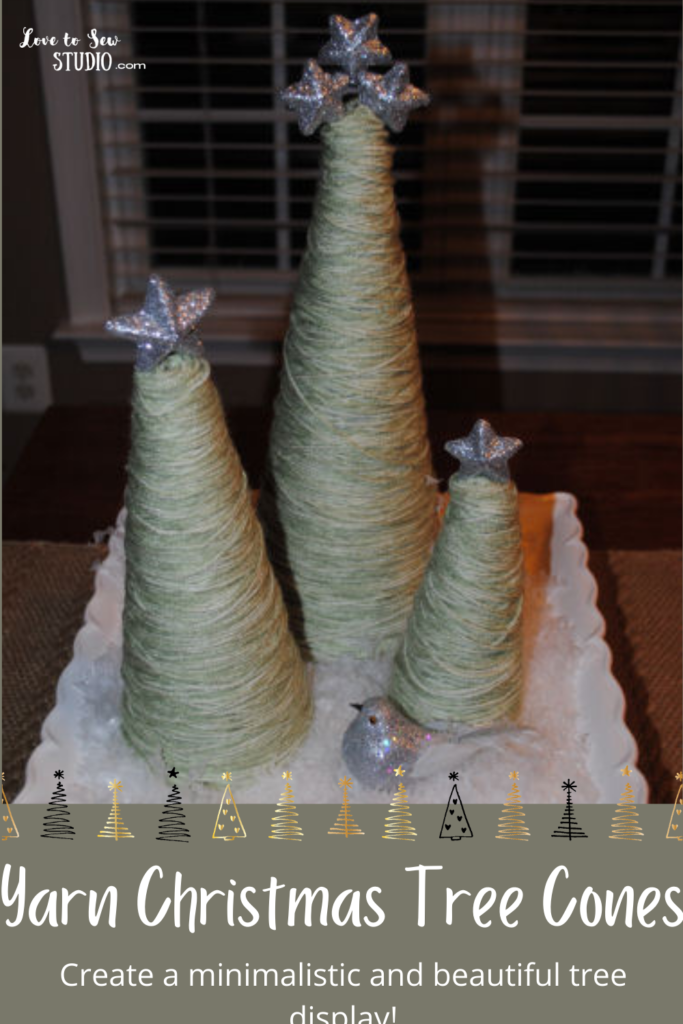
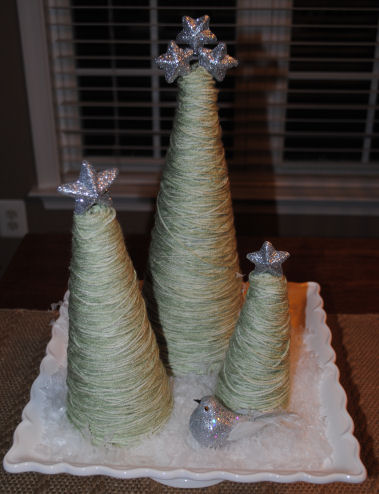
O Christmas tree, o Christmas tree thy decoration looks so beautiful. These yarn Christmas trees are a great project to make with your friends and family, as they are simple and are no sewing involved! Once finished, they look festive and glistening as a table center piece.
This post contains affiliate links. You can read my full disclosure HERE.
WRAP AROUND THE CHRISTMAS TREE WITH THESE ADORABLE YARN TREE DECORATIONS. HERE IS WHAT YOU WILL NEED TO MAKE THEM:
- Styrofoam cones
- Green yarn
- Small crafting pins
- Glitter stars
- Craft snow
- Glitter birds
- White milk glass cake plate for display
- Basic crafting supplies
Yarn Christmas Tree Cones – Step 1
The first thing you want to do is take one cone and secure the yarn at the base with a flat head straight pin by putting it through the end of the yarn and wind the yarn around the pin once or twice. Push the pin at the bottom of the cone. Then wind the yarn around the cone starting at the bottom. Continue to wind it until it covered the entire flat top, adding extra yarn at the top to cover the Styrofoam and make it look like it had a point at the top and secured it with another straight pin.
Yarn Christmas Tree Cones – Step 2
Continue until all cones are layered with yarn. Then poke a cute little shimmery star onto the top of your trees. I got mine at my local craft store.
Yarn Christmas Tree Cones – Step 3
Now all you have to do is place your trees in a dish, I used my white pedestal cake dish, with some snow at the bottom. Finally you can add a tiny bird to your display like I did.
Your yarn Christmas tree is now complete! Place this winter scenery anywhere in your home to add some Christmas cheer!
PIN IT FOR LATER






Leave a Reply